*Updated February 2022
Taking on a new creative venture is hard, even when you’re fully prepared. It’s intimidating to make the leap from what’s familiar to what’s unfamiliar with the good faith that your hard work will pay off in the long run.
If you’ve been working toward a specific goal for some time — *cough* starting a YouTube channel — then the stakes probably seem monumentally high right now. And looking at the statistics isn’t always the best way to alleviate that pressure.
But, with that being said... There are 38 million active channels and 500 hours of content uploaded every minute on YouTube.
If you’re one of the 22,000 content creators with one million subscribers, this data isn’t so daunting — but for someone who’s just starting out, it’s a big pill to swallow.
To start a YouTube channel, the actual sign-up process takes seconds — we’re talking create-an-account-and-go fast. But it’s not enough to add your channel name and upload a profile picture. There’s more to it than that.
A YouTube channel is an ongoing investment. To get the best outcome at the end of the day and reap the benefits of YouTube monetization, you have to put in the work and follow through on the most important steps (ahem, the seven steps covered in this guide).
Want to start a successful YouTube channel?
- Develop your channel concept and niche
- Take a cue from successful YouTubers
- Invest in your own pre-production protocol
- Make your concept a reality during production
- Bring everything together in post-production
- License music the safe (and smart) way
- Optimize, optimize, optimize
This guide will break down each of these steps so that you can showcase your YouTuber brand and create content that your target audience will love. To help your YouTube channel stand out among the 38 million others, we’ll also share a few easy-to-implement marketing tips.
With all that being said, let’s jump right in.
Develop your channel concept and niche
Signing up for a YouTube account is the easy part. The real challenge is what comes next — namely, working out the logistics of your channel and answering some important questions about brand identity.
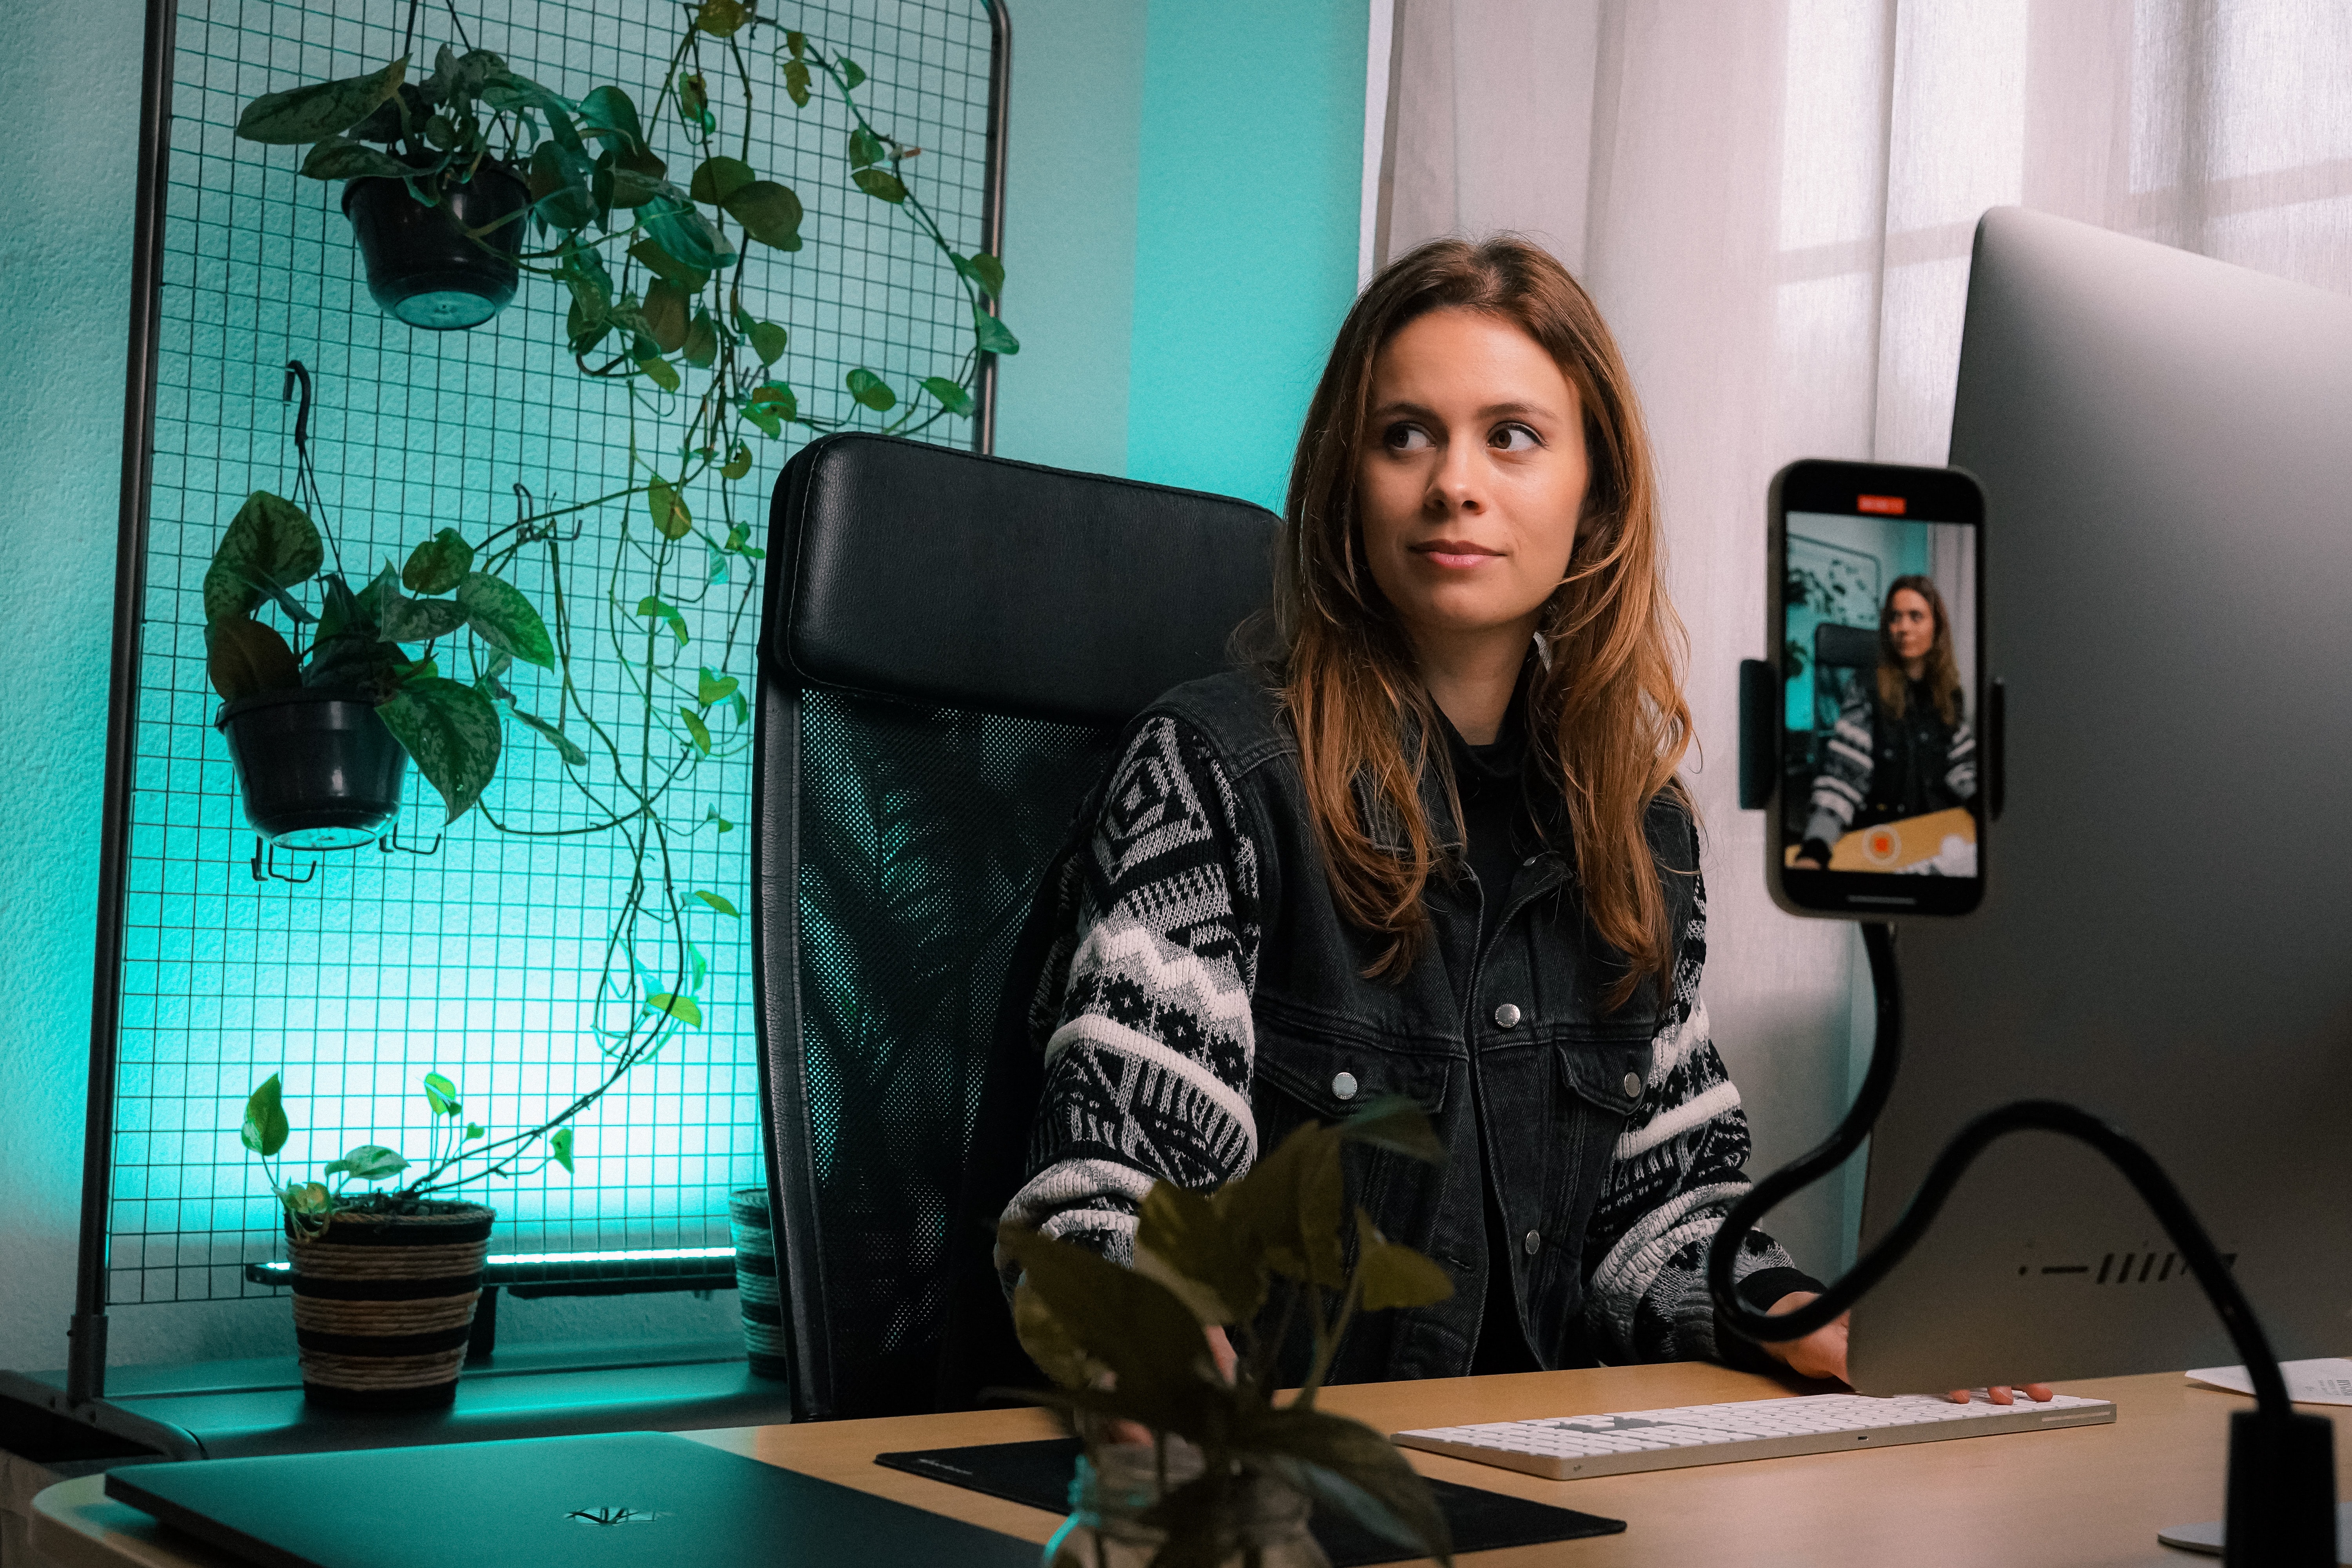
Photo Source: Photo by Jenny Ueberberg on Unsplash
What is your purpose as a content creator? How will you align that purpose with your YouTube channel? Why should viewers want to watch your videos and, ultimately, subscribe?
Since the barrier to entry is so low on YouTube, anyone can start a new YouTube channel at any time. You don't need thousands of dollars to make sure your channel is off to a good start — as long as you have a clear purpose on the platform.
So, it isn’t enough to sign up for a YouTube account and call it a day. For you to have a successful YouTube channel and become memorable to viewers, you have to give them a reason to feel that way. You have to know why your channel matters and then showcase that value in your branding.
But how do you do that?
According to Heather, the creator behind the YouTube channel Fellow Filmmaker, successful branding is much more than eye-catching channel art and visuals:
“To me, branding is less about logos, colors, and clever titles and more about the goals and identity of those who are running the brand. You can have an amazing looking brand, but if it has no heart then you just have a beautifully painted wall with no real drive or purpose. Build the house first, then paint and furnish it!”
If you have a unique perspective and expert insight to offer, let that fuel your YouTube video ideas. If you want to talk openly about challenging topics, create a space where viewers can come together as a YouTube community to share their thoughts.
Heather does this on her own YouTube channel with a series titled “Challenging Topics - Dive into the nitty gritty.” By being vulnerable and authentic, she’s opening the door for her viewers to connect with her on a more personal level.
Here’s an example of the type of video content she creates for her audience:
Take a cue from successful YouTubers
Before you start uploading videos to your YouTube channel, set aside some time to find out how other YouTubers are creating content for this platform. In other words, it’s time for a bit of market research.
Start with the YouTubers that you personally subscribe to — even if your own target audience doesn’t match theirs. Why do you like them? What stands out about their content?
For YouTuber Oliver Wright, answering these types of questions led to a better understanding of branding as a content creator:
“I don’t watch someone like Jordi Koalitic's videos because I’m excited to see what he’s doing, I watch because they’re creatively inspiring. However, someone like Peter McKinnon is watched for both his experience and his sense of humor which I would consider to be his brand.”
The takeaway for Oliver was clear: “Defining your own brand is the most important thing to being a content creator, because I’m more likely to trust and purchase from someone I feel some kind of connection with.”
Once you understand what motivates you as a viewer, you can redirect your focus to other YouTubers in your same content niche. Since you share a target audience, this is a good opportunity to learn how they manage their own successful YouTube channel.
From there, you can start identifying what they do right and what they could still improve. And if they share recommendations for vlogging accessories, camera stabilizers, and other production gear, that’s an added bonus.
As you learn more about different YouTubers’ processes, you’re more informed when fine-tuning and perfecting your own process. (To help you get inspired, here are seven up-and-coming creators worth checking out.)
Invest in your own pre-production protocol
The thing about content creation is that “winging it” will only get you so far. Without an upload schedule or production cadence, your YouTube channel could quickly get a reputation for being inconsistent and unreliable. (It’s hard to bounce back from a reputation like that.)
Fortunately, a good pre-production protocol can help you stick to an upload schedule and set yourself up for a smoother production and post-production. By following the following steps, you can give each video — and your YouTube channel as a whole — a better chance at standing out.
1. Come up with video concepts and series ideas
Once you have the big-picture concept for your YouTube channel mapped out, the next step is to get hyper-specific about the type of videos you want to create and share with your audience.
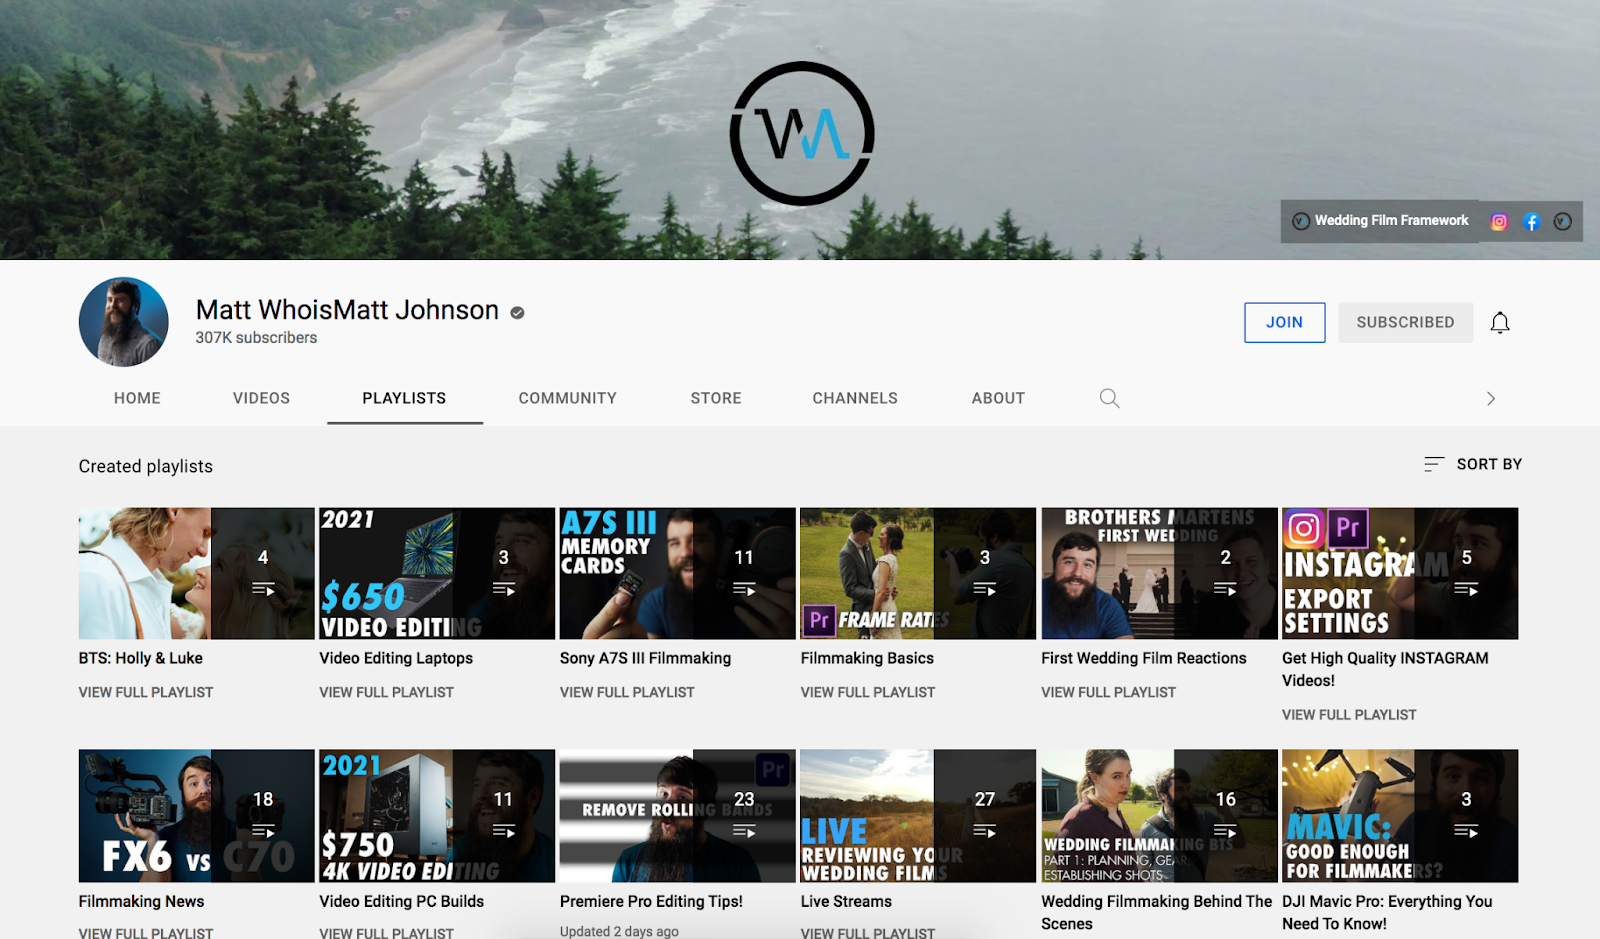
In this brainstorming stage, make a list of potential topics and video descriptions and organize these under different series (or playlist) categories. That way, you can diversify the content you create and make it easy for viewers to find more of what they’re looking for.
Check out how YouTuber Matt Johnson did this for his channel:
At the individual video level, a YouTube video script and video checklist are two pre-production documents that can help you be better prepared for production. Even if you want to go off-script or ad lib most of the time, a basic outline is an asset once filming starts.
And, because the start of your YouTube video is what hooks viewers, here’s an extra pre-production resource to help you create your best YouTube intros.
2. Make a shot list for your YouTube videos
If you’re going to start a YouTube channel as a travel vlogger, you could be filming content in a different location every week. If you’re making a different type of YouTube content — i.e., product reviews, talking head videos, sponsored content, etc. — you could be filming most videos in the same studio environment.
The great thing about being a YouTuber is that you have full creative control over what you’re shooting, when you’re shooting, and where you’re shooting. Whether you’re constantly on the move or not, making a shot list can help ensure that you capture all the footage you need for a YouTube video.
A shot list is a pre-production document that benefits anyone in video production. It’s customizable, meaning that you can make a full shot-for-shot breakdown or just stick with the essential shots.
To get you started, we’ve created a free shot list template that you can download here for free.
3. Improve video quality with budget-friendly gear
Even though you won’t actually use audio and video equipment during pre-production, you don’t want to be scrambling on filming day to figure out what gear you need. Planning ahead and making a literal (or mental) gear checklist can save you a lot of unnecessary hassle later.
To start creating video content for a new YouTube channel, you don’t need a Hollywood-level production setup and a massive budget. The gear that you already have — even if it’s just a smartphone and tripod — is really all that you need starting out with a YouTube account.
You can always invest in more gear down the line, but as Heather put it, “Be creative with what you have. Limitations are not a stumbling block but actually a stepping stone to your success — limitations will make you more creative, ingenuitive, and unique in problem solving.”
If you’re on the lookout for new gear recommendations, here’s a shortcut to some of the best equipment on the market today:
- Looking for softbox lighting kits? Check out this blog post.
- Interested in a gear starter kit for YouTube? Here are a few of our top picks.
- Need a laptop under $1,000? See what Matt Johnson recommends.
- Want the best camera for YouTube? This guide will help you out.
Whatever your budget is, these articles can help jumpstart your search when it’s time to invest in new gear.
4. Plan out your lighting strategy
Good lighting can take the content quality of your new channel to the next level. So, even though lighting technically falls under the gear category, it deserves its own spotlight in this guide. If you're looking for more video lighting advice, check out the following articles:
In the YouTube video above, Soundstripe’s resident filmmaker Chris Haggerty shares a few tips and tricks for lighting three different types of YouTube spaces. (If you want to learn more about this topic in detail, then check out this blog post.)
Whether you’re staging lighting equipment in your studio or a different location, pre-production is a great time to hash out the details so that you can set everything up quickly and easily when the time comes.
For a more detailed look into the entire pre-production process (and more free templates), here’s another resource for you.
Make your concept a reality during production
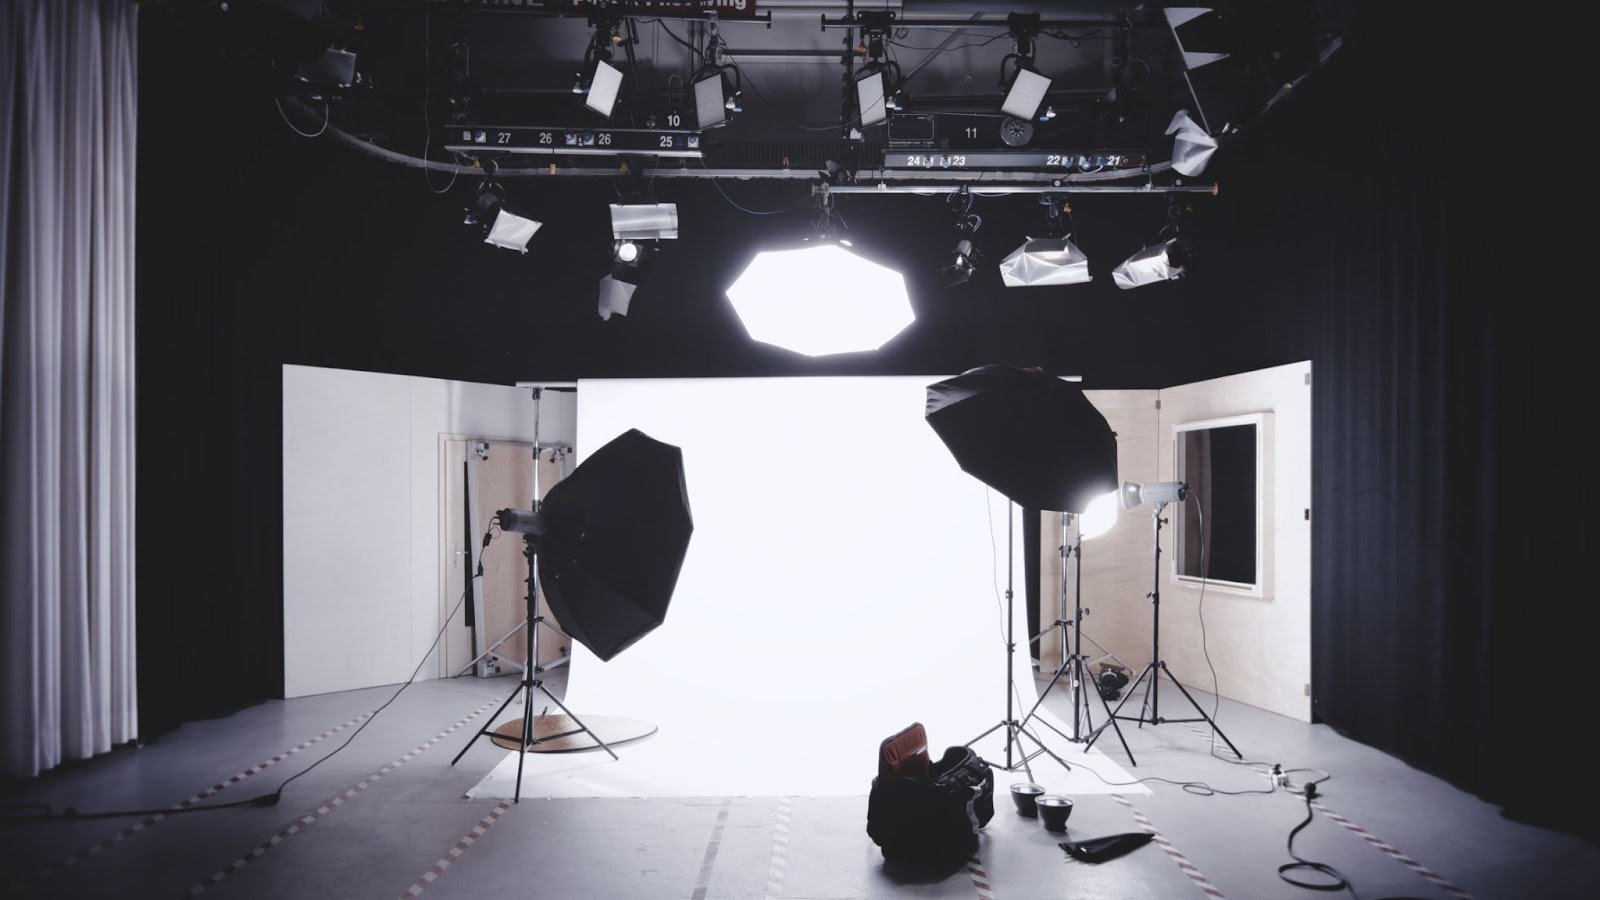
Photo Source: Photo by Alexander Dummer on Unsplash
When you invest in the pre-production process, a chain reaction takes place: Because production is more structured and planned, you capture all of the footage you want exactly how you want it. You aren’t rushing to meet deadlines or randomly jumping from task to task.
More importantly, your new and subscribed viewers get consistently great content from your new channel every time you upload videos.
At this stage, your main objective is to capture everything on-screen like you planned. So, you’ll make final adjustments to the camera settings, stage your YouTube backdrop, set up the motivated lighting, and then roll the camera.
Because you have documents like a shot list and script to refer to, you’re better equipped to keep production on track and adapt easier if and when flukes occur.
Bring everything together in post-production
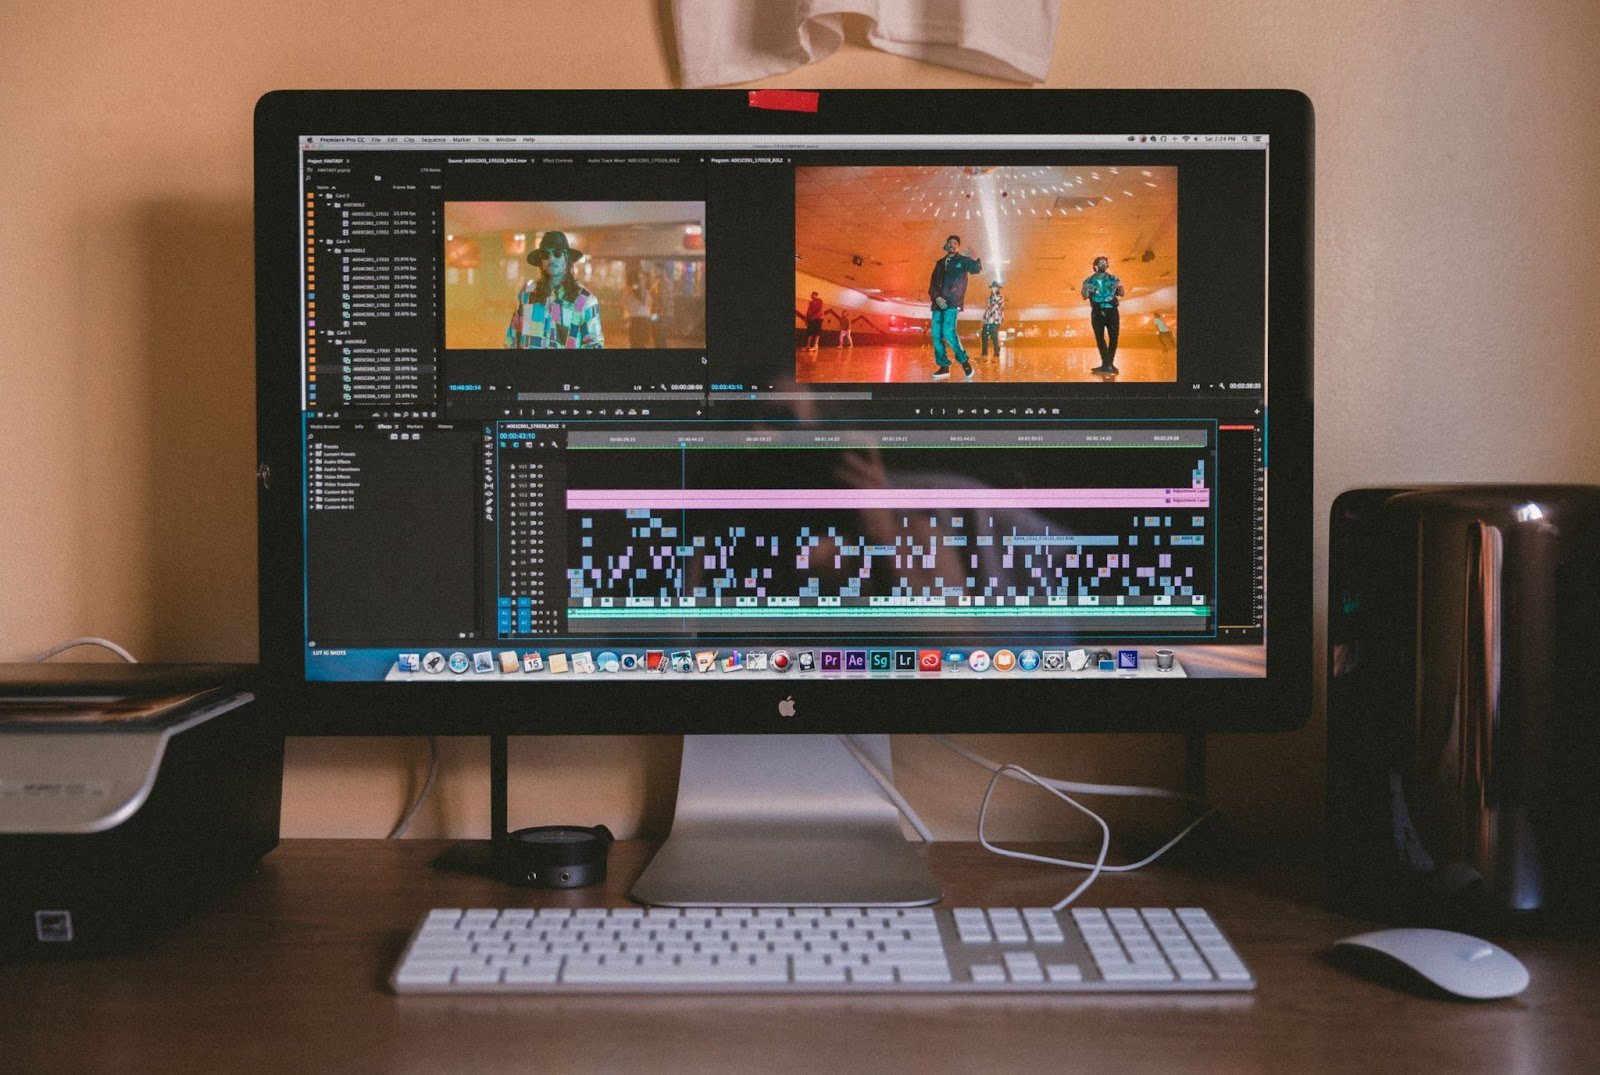
Photo Source: Photo by Jakob Owens on Unsplash
Once you wrap up production, you’re left with a ton of RAW footage to sort through, color correct, and edit in post-production. This can be an extremely time-consuming process, especially if you’re uploading longer videos on a weekly or bi-weekly basis.
As long as you have a set pre-production protocol (and follow through during production), everything should go smoothly up until this point. When it’s time to import all your footage into an editing software, all that’s left to do is bring everything together.
But maybe you aren't an expert in stuff like YouTube transitions or color correction. Part of that comes from practice and time, developing your skills in these areas. Or you could invest in things like aesthetic overlays or LUTs to simplify the process for you.
To help you streamline your workflow, we’ve created this YouTuber-specific guide to post-production. If you’re looking for more technical editing advice, check out the following blog posts:
- 5 Mistakes to Avoid When Editing YouTube Videos
- How to Record Audio for YouTube
- Best Voiceover Mics for YouTube
- How to Edit a YouTube Video
License music the safe (and smart) way
Video editing tips and tricks aside, there’s one essential part of content creation that you’re legally obligated to get right when starting a YouTube channel: How you use music in your videos.
Music licensing is a complex process that hasn’t always been easy or budget-friendly for filmmakers and other creators. These days, you have a few different options for adding music to YouTube videos and other media:
- You can license music the traditional way by negotiating with copyright holders, paying licensing fees, and then making royalty payments. (The negotiation process can take weeks, if not months, to finalize.)
- You can license royalty free music from a stock media company like Soundstripe and avoid negotiations altogether. (This can take five minutes or less, on average.)
- You can license music from the YouTube Audio Library or other “free” sources. (This also takes five minutes or less.)
No matter which path you take, YouTube will keep an eye on how you use copyrighted materials with the automated Content ID system. And since you need to license music on a near-constant basis for YouTube, the traditional music licensing method might not be the best option.
Soundstripe and YouTube Audio Library are reliable alternatives that allow you to license all of the songs you need — anytime.
Soundstripe's music library

YouTube Audio Library
If you’ve been on the fence about using either of these resources, here’s a blog post that breaks down the key differences between Soundstripe and YouTube Audio Library. That way, you can make an educated decision about what will work best for you and your channel.
For more music-related advice on starting a YouTube channel, check out the following blog posts:
- How to Deal with a DMCA Notice on YouTube
- How to Automatically Clear YouTube Content Claims
- YouTube Music Policy 2021: Here's Everything You Need to Know
- YouTube background music guide
- YouTube sound effects guide
- Why You Should Use Royalty Free Workout Music On YouTube and Twitch
Optimize, optimize, optimize
When you start your YouTube channel, remember there’s an audience for your content — you just have to make it easier for viewers to find you. (And let’s face it: With 38 million channels, YouTube isn’t exactly a small pond.)
The best and most data-proven way to get your content in front of more people is to optimize everything and pay attention to YouTube analytics. It’s a process called YouTube SEO (which you can learn more about here).
For YouTuber Adam Bell, the most important analytics to pay attention to on YouTube are:
-
Click through rate % of thumbnails: “I may make a new thumbnail if a video isn't getting many clicks right away.”
-
Average view duration of videos: “I can see when people click off, meaning I can tell when something was boring so I can improve on it next time.”
-
How well the video does over time: “If a video did well last year, it may do well again now if we spice it up a bit.”
Monitoring YouTube analytics can be helpful going forward, but until you gather that data, learn as much as you can about SEO strategy. Here’s a couple articles to get you started:
Jumpstart your YouTube channel growth
Viewer engagement and YouTube channel growth go hand-in-hand, but as Oliver puts it, “Starting out, engagement is less about what your audience wants because you haven’t cultivated that audience yet.”
He adds that, “As you continue to grow your channel, it’s important to create similar content because the YouTube algorithm seems to be designed as such that if you create content outside of what an audience member is interested in, they likely won’t see it as a suggested video.”
By implementing the steps outlined in this guide, you can propel your channel to a top ranking spot in the YouTube search results and suggested videos — but this process takes time.
As you transition from “starting” to “growing” your YouTube channel, you have to adopt an even more strategic and creative mindset. Fortunately, we’ve made a free e-book to help you do that step-by-step. And that will help you continue to evolve your process and improve your channel, whether you’ve earned 1,000 subscribers or 1,000,000.
Wrapping up how to start a youtube channel
Hopefully this guide has spurred many YouTube channel ideas and given you some great inspiration for creating videos on your YouTube channels which can entice your audience into giving just a few clicks extra than before.
Remember though, your YouTube journey will always be unique to you and your video content. Try to focus on building your brand as organically and authentically as possible — whether that be by testing methods with your personal channel or by doubling down as a full-blown YouTube creator with a full YouTube partner program setup.
Further reading
This blog post is packed with additional resources and articles that can help you launch a successful YouTube channel. But if you’re interested in honing even more production-related skills, these articles from the Soundstripe blog are worth checking out:

