Feb 22, 2022
Most filmmakers want their videos to be perfect. Not “perfect” in a literal sense, because art is subjective — more in the “matches the picture in my head” sense. But approaching a creative project with that mindsight can turn into the cycle of never being satisfied with what we make.
This is one of the biggest motivators for why filmmakers are always looking for ways to save time, effort, and/or money. If you can find a shortcut without sacrificing the quality of your work, it might just be a tool or technique that’s worth adding to your creative process.
Overlays are basically the gold standard for “things to save you time and effort,” especially if you find yourself sinking too much time into post-production.
Sure, edits are a big part of video production…but that doesn’t mean it has to be something you dread.
If you take advantage of resources like aesthetic overlays, then chances are good you’ll get the best of both worlds: Footage that looks like you want without you having to experiment for 10 hours to get that one scene just right.
What are overlays in video production?
The term “overlay” means different things to different people, depending on your background in video. But for the purpose of this article, we’re using the term “aesthetic overlay” because it’s just specific enough to really hone in on the thing most filmmakers mean when they’re talking about overlays.
Now, let's tackle this in three short, easy-to-remember questions.
-
What is an overlay? An overlay is technically any visual effect (or even a LUT) that alters the appearance of footage without actually changing the footage itself.
-
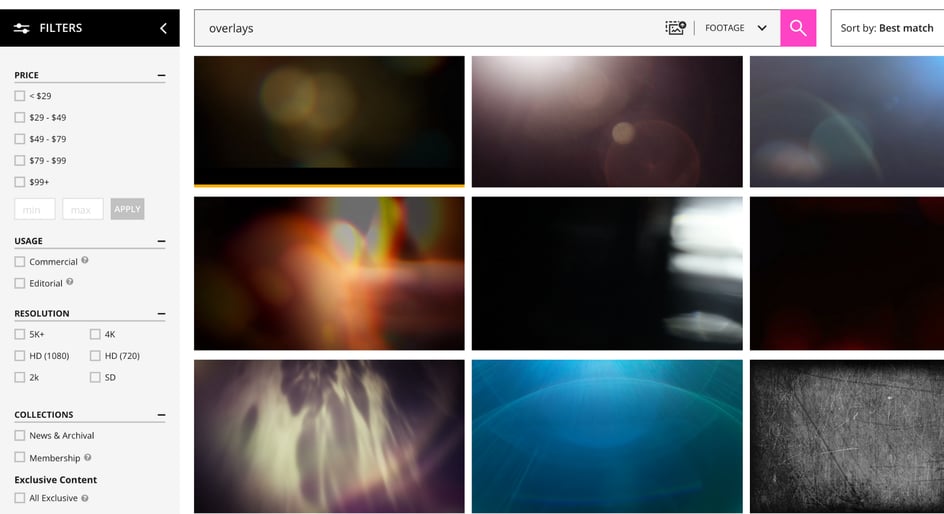
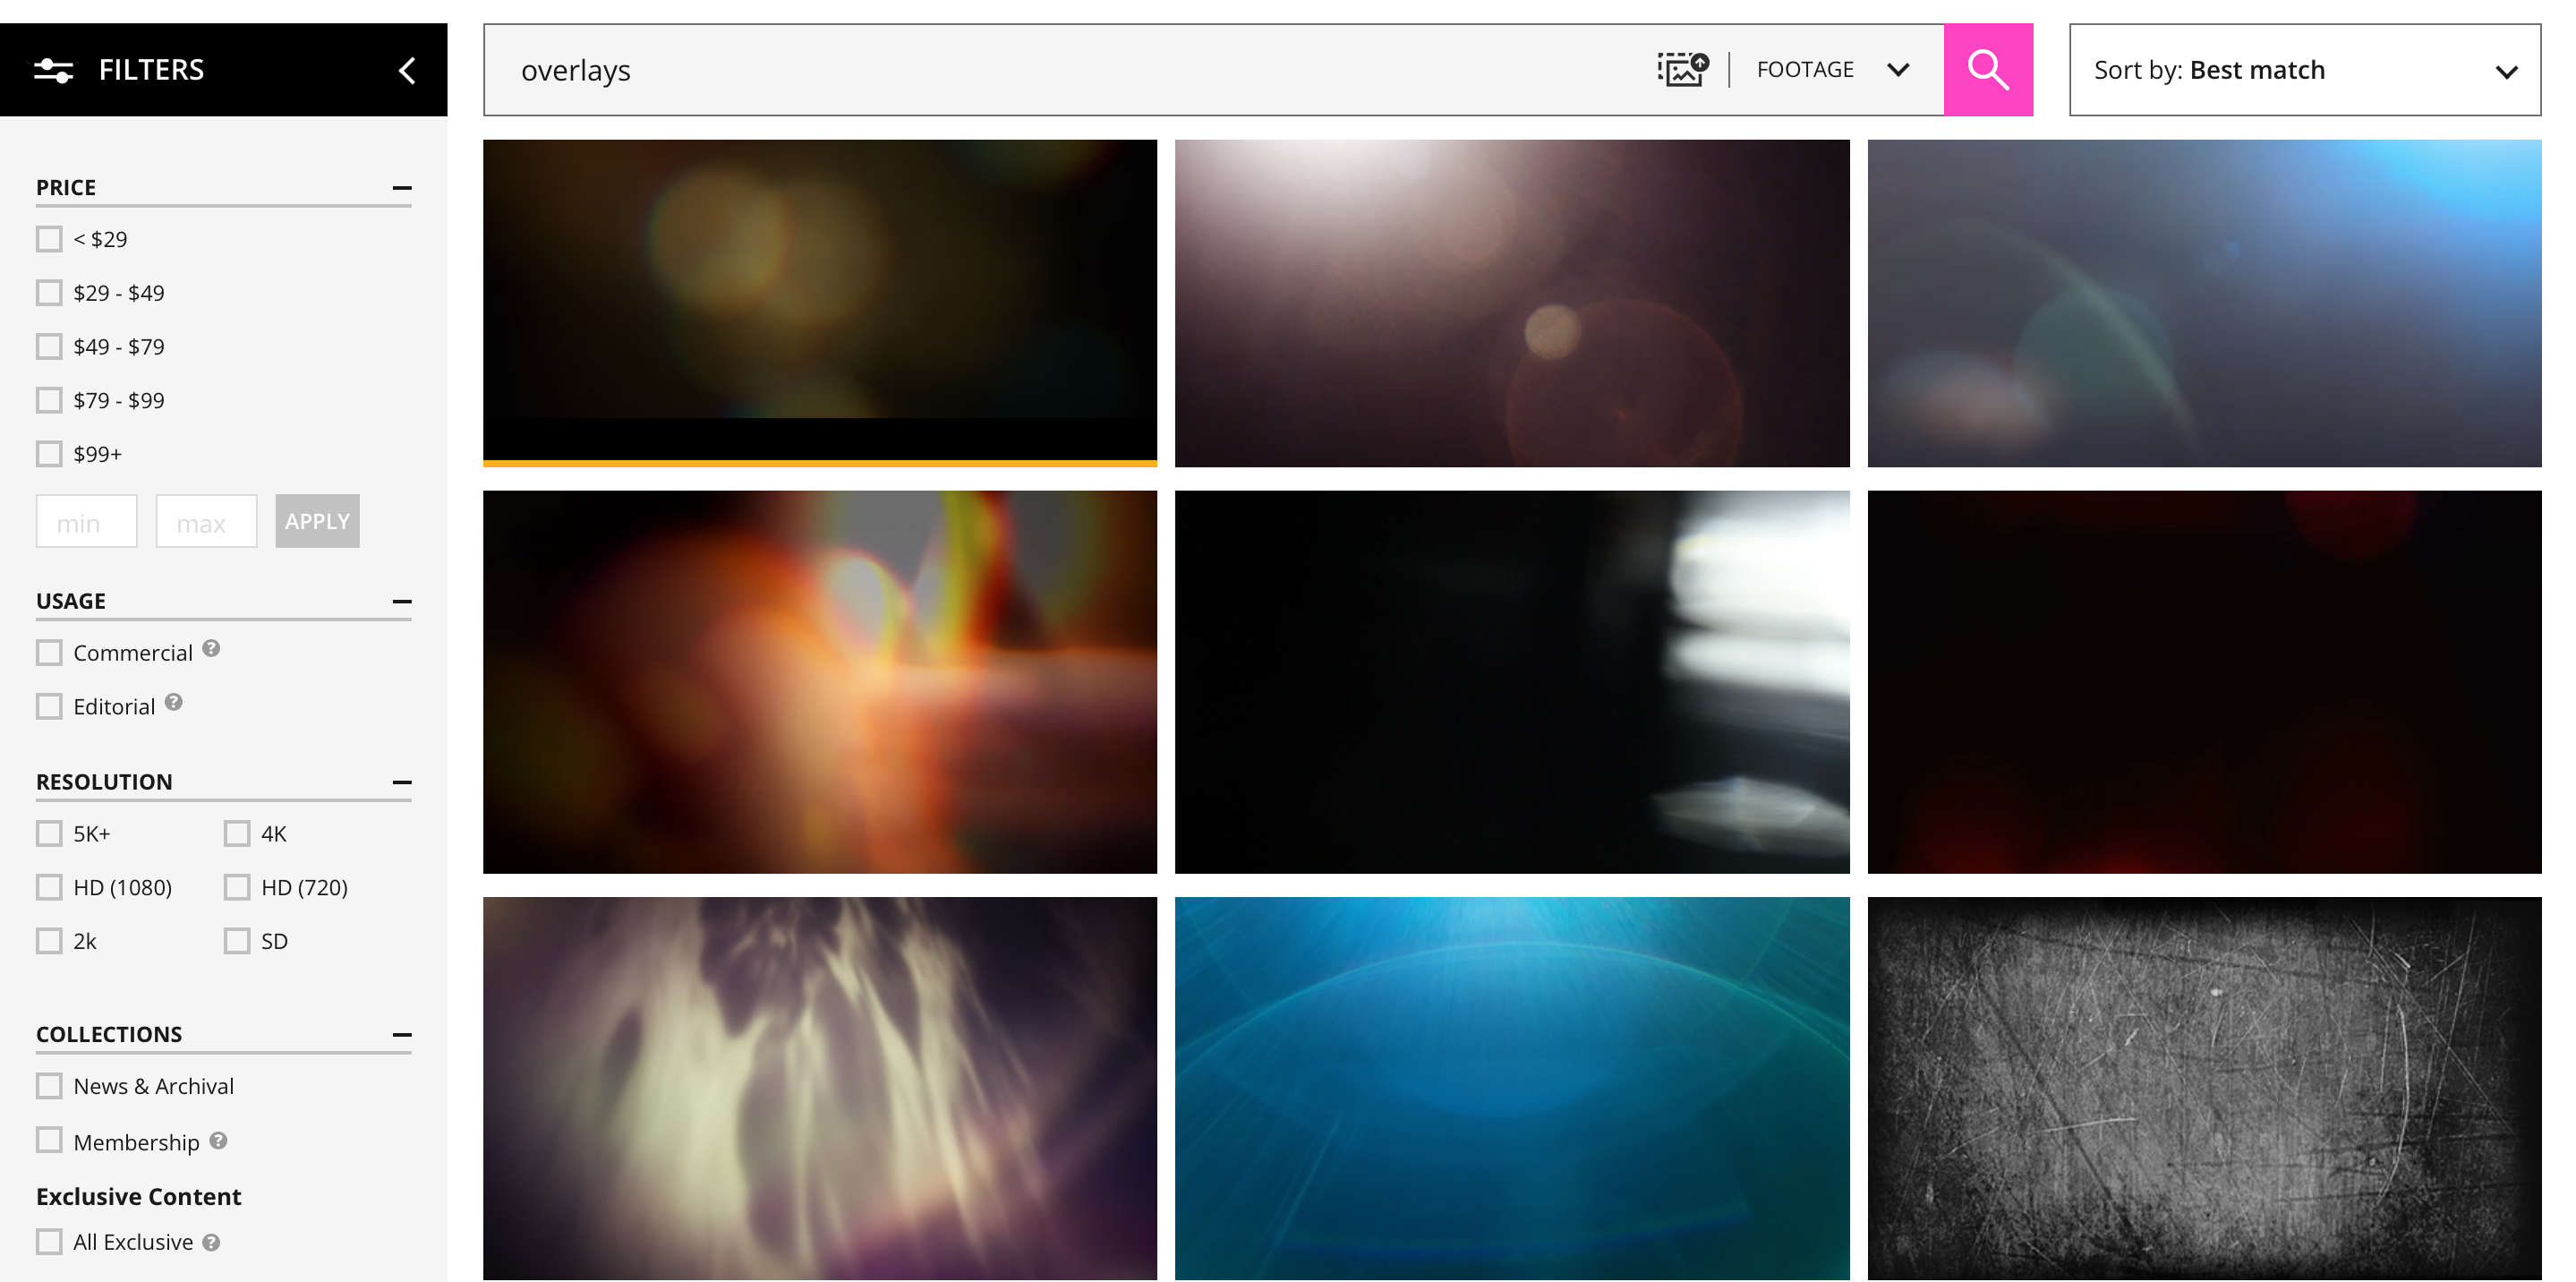
Where can you find an overlay? You can find aesthetic overlays in a variety of places, whether it’s a free download, a Patreon link on your favorite YouTube channel, or a storefront of creative assets you found on Google.
-
Are overlays free to use? As long as you follow the usage rights and guidelines, you’re clear to download as many as you can find and drop them into your own projects whenever you want.
In all of these cases, using an aesthetic overlay is like adding a new visual layer on top of your timeline without having to manually key in all of the adjustments yourself. But in the case of aesthetic overlays, we’re talking about stuff like smoke effects, glitch effects, light leaks, and of course film grain.
In fact, there are a lot of different overlays out there — more than we can cover in one sentence. Different filmmakers prefer different looks, which makes it hard to summarize such a broad category, even if the way you use them is pretty clear-cut.
But two pretty clear examples you’ve seen before (or even used yourself) are a black and white overlay or a film grain overlay.
Why are aesthetic overlays helpful?
Even if you have the desire to shoot a film in full black and white, you may not have the gear or the experience to pull it off. Adjusting ISO, checking exposure constantly, desaturating footage in post, and of course lighting a scene from a completely new perspective — it’s a lot.
You know what’s not a lot of work? Shooting your video like normal and applying a black and white aesthetic overlay to the footage in your project timeline.
This video really highlights how simple it is to use overlays. (And yes, sometimes you’ll even find these visual filters built into popular video editors.) Because really, what’s easier than a drag-and-drop edit?
Another hugely popular example of aesthetic overlays is film grain. That’s because not many filmmakers have the resources to shoot everything on 16mm film, let alone edit all of that stuff in the old school scissors-and-tape way.
Even if you spend dozens of hours getting the locations, costumes, lighting, and camera settings lined up to create a 1970s-era short film, you can’t just hit the “film grain” button on your camera and get that perfect classic look for your project.
(In reality, this whole thing is ironic. Filmmakers do extra work to add film grain these days, while a few decades ago we were doing our best to hide the visual noise of film.)
Now, it’s hard to imagine even the most avant-garde filmmaker adding individual grains of noise to each frame of a project. But overlays provided a new, simplified way that almost feels like magic.
And since that list video shows just how easy adding overlays to a timeline is, here’s just one of the many examples of a film grain overlay (complete with dust, hairs, and scratches) that is available to filmmakers:
Creatives can style their film without mastering a new technique or getting access to expensive gear. You can literally download a film grain overlay right now, drop it over the footage currently in your project timeline, and the job is done.
Just like that, you’ve just added cool vibes to a video. And it probably took you less time than you’d spend making a cup of coffee.
Further reading
Talking about aesthetic overlays is really just scratching the surface of what you can do in post-production. But exploring them is a sign that you’re working smarter, not harder, and that’s the kind of next-level filmmaking that frees you up to focus on the stuff you enjoy.
Here are a few other blog posts where you can learn about coloring, green screens, royalty free music, and all the editing tips and tricks a filmmaker needs.