Sound quality is something that we really only notice when it’s bad.
Ambient noise, varying audio levels, and competing sounds tend to make the experience of watching a video or listening to a podcast far more distracting than enjoyable. And, sometimes, it’s reason enough to stop listening altogether.
When the sound quality is good, it’s a completely different story. Listeners get immersed in the sound of the Foley, voice overs, music, dialogue, and other audio. As long as the video and content quality is on par, they’ll keep listening from start to finish.
This is the type of result you want to see when reviewing your engagement analytics on YouTube, but it takes a good deal of recording and mixing expertise to get this outcome.
If you want to record better audio for YouTube videos, this guide will cover four tips for doing exactly that:
- Start with gear that you actually need
- Write an AV script (or at least a video outline)
- Stage your equipment for easy recording
- Pick up some tips and tricks from fellow creators
If you don’t have the budget bandwidth to invest in a ton of new gear or a bigger sound team, outsourcing sound effects and music from a stock media company is always an option. (More on that later.)
With all that said, let’s get into it.
How to improve the sound quality in YouTube videos
As a YouTube content creator, odds are that you bear all of the responsibilities of the production designer, director, writer, editor, talent, and — you guessed it — audio engineer.
Fortunately, this guide can help make it easier and more cost-effective for you to capture great audio during and after filming.
1. Start with gear that you actually need
When it comes to the audio side of production, the first step in getting great sound quality is to consider two factors: your filming needs and your budget.
Maybe you film and record YouTube content in the same studio every week. Or maybe you’re constantly on the move shooting travel vlogs.
Before you invest in the newest high end audio gear, make sure that the type of equipment you’re looking for will actually help you during a shoot.
For instance, if you’re a travel vlogger, you need gear that is lightweight, portable, and versatile. You’ll probably invest more in wind protection accessories than, let’s say, a YouTuber who films in a small soundproof studio.
The last thing you want is to buy gear that overcomplicates your process, so consider your filming style first and then figure out how much room in the budget you have for new gear.
To jumpstart your gear search, here are three mic recommendations for different use-case scenarios:
Shure SM7B

The Shure SM7B is a dynamic mic with a great reputation in the creative community. It’s a go-to choice for YouTubers, podcasters, musicians, and other professionals that want to capture crisp audio in a studio environment.
For YouTube, specifically, this mic is reliable whether you want to capture great quality audio during livestreams or record voice overs in post-production.
Blue Yeti

If you want a more budget-friendly alternative to the Shure SM7B, Blue Yeti is the way to go. This USB condenser microphone has four distinct pickup patterns and adjustable modes depending on your recording needs (i.e., bidirectional mode, omni mode, and stereo mode).
Like the Shure SM7B, this mic is an ideal option for recording livestreams, voice overs, podcasts, and other audio in a studio setting.
Rode SmartLav+
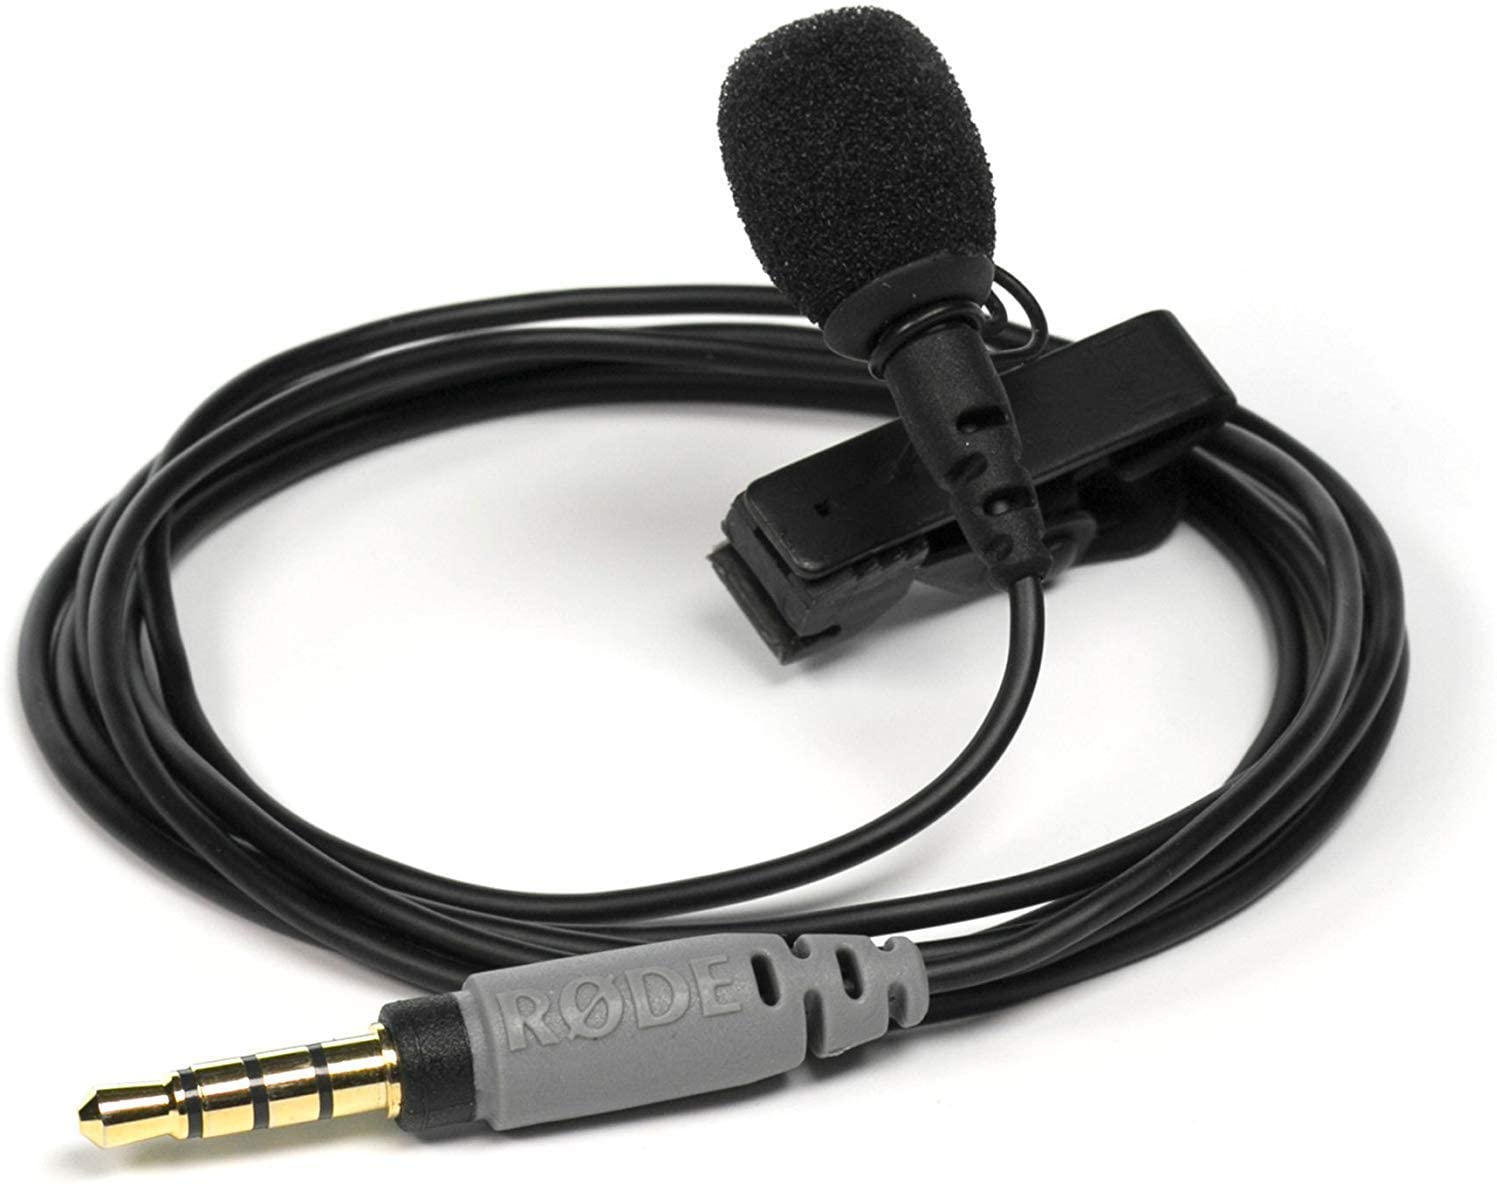
A lavalier mic like the Rode SmartLav+ is a dependable option for YouTubers that need a lot more freedom of movement during filming. It’s also just good for recording audio close to the source in a discreet way since the mic can easily be hidden away.
One of the main perks for investing in this Rode mic is that it’s designed for smartphones. So, if you’re recording any (or all) of your video footage on a smartphone, you’ll be able to record better quality audio than you would just on the device.
(Note: Just be wary of creating excess noise from rustling clothes when recording with a lavalier mic.)
If you’re looking for even more mic recommendations, check out our blog post “How to Choose the Best Microphone for YouTube” after finishing up this post.
2. Write an AV script (or at least a video outline)
Even though you record audio during production and post-production, the process really begins in pre-production.
But here’s the thing: YouTubers don’t have to create a 10+ page script before shooting a video for their channel. In fact, many YouTubers opt for a more off-the-cuff approach so that their content seems authentic and unscripted to viewers.
Of course, that doesn’t mean you should start recording audio without any plan whatsoever. (You could end up spending a ton of extra time recording or re-recording audio and still forget to mention important points.)
This is where an Audio/Visual (AV) script or a brief video outline can come in handy.
With this type of script, you can plan out how your audio will sync together with the footage on-screen. And because you’re the one calling the shots for your YouTube channel, you can be as detailed as you want when writing this script.
Since we’re on the subject of scripts, you also have the option to create a voice over script — which is especially useful if you’re recording an ad for a video sponsor.
Ultimately, this second step is in place so that you can go into a recording session with a game plan.
3. Stage your equipment for easy recording
Selecting and setting up the right audio equipment for production is half the battle when it comes to capturing great quality audio.
If you’re always recording in the same studio, then you could probably close your eyes and describe exactly where each piece of equipment goes from memory. But when you switch gears and film outside of this setting, you have to reimagine your entire audio setup.
Let’s say you’re getting ready to film a live music video or a wedding shoot for a client or your channel. These are two types of productions that take you outside of your everyday studio setting and require you to capture excellent audio in real-time.
Since reshoots are rare in both of these scenarios, the stakes are high to get great sound quality the first go around. To make your job easier, you might create an input list like our Creative Team did in the video below:
Like we mention in the video, an input list is a planning document that outlines exactly where your audio equipment needs to go once you arrive on location.
While this type of document isn’t always necessary, you can save yourself a lot of stress and post-production edits by preparing for the shoot ahead of time. Because every recording environment is different, you’ll need to adjust how you set up your gear accordingly.
4. Pick up some tips and tricks from fellow creators
Whether you just started a YouTube channel or you’ve been creating content for years, there will never be a shortage of new skills to learn and new gear to test out. (That’s just the nature of video production and content creation.)
To improve the production value of your videos, you have to make an intentional effort — it doesn’t just happen overnight or by accident.
If you’re not well-versed in the audio side of video production yet, no problem. You can gain a lot of insight from fellow creators like Ben Johnson by watching videos like the one below:
Not only does Ben share his own techniques for recording audio, but he also lists out his favorite audio gear in the video description.
By seeking out tips and tricks from other creators, you’re able to learn a lot and get a better idea of a product’s pros and cons before making a purchase.
How to outsource different types of audio
When you’re working with a set budget, uploading schedule, and level of expertise, it’s not always possible to record all of your own audio all the time.
Even if you have the skillset to record sound effects (SFX) and music for your YouTube videos, you probably won’t have the time needed to do that yourself. Your best course of action might be to outsource the audio from a stock media library like Soundstripe.
With 6,000+ royalty free songs and 55,000+ SFX to choose from, you can narrow your options based on factors like genre, mood, characteristic, and categories. There’s also an entire playlist series designed for YouTubers and content creators.
If you sign up for a monthly or yearly plan, you can license an unlimited amount of media and safeguard your videos against Content ID claims. And once you license a song or SFX, it’s perpetually protected in your YouTube video — no relicensing hassle required.
Further reading
Capturing audio is only part of content creation. To find other tips and tricks about creating videos and building a successful YouTube channel, here are some other articles on the Soundstripe blog for you to check out:

