Jan 18, 2022
“Same old, same old” is a phrase that doesn’t really apply to a freelancer’s workflow — especially when you specialize in filmmaking, videography, and/or photography.
By its very nature, freelancing is an ever-changing career style. One week you could be filming an entire wedding package for a client, and the next you could be shooting product commercials and social media ads for a brand.
It’s a role that demands adaptivity, which means you probably already have an upperhand when it comes to managing lighting setups. It’s inevitable that you’ll face new (but still familiar) challenges like overexposure, poor ambient lighting, and mixed color temperature every day on the job.
To help you make the most out of whatever hand you’re dealt, we’ve compiled a list of five bounce lighting tips that can be applied to any type of freelance project you take on. Let’s start with the basics.
What is bounce lighting?
Bounce lighting is exactly what it sounds like: A technique that involves bouncing light off of some type of surface (i.e., a reflector, wall, ceiling, bounce board, etc.) onto a subject. The primary purpose here is to soften harsh shadows and shape light in a specific way.
There are many different ways to pull off this technique. You could use the sun as your key light and set up a reflector on a stand nearby. Or, when shooting indoors, you could position your lighting gear at an angle so that the light bounces off a white wall.
Your approach can quickly change as you go from one filming environment to the next, so here are five tips to help you get the best lighting quality anywhere.
5 tips for getting the perfect bounce lighting setup
1. Always plan ahead
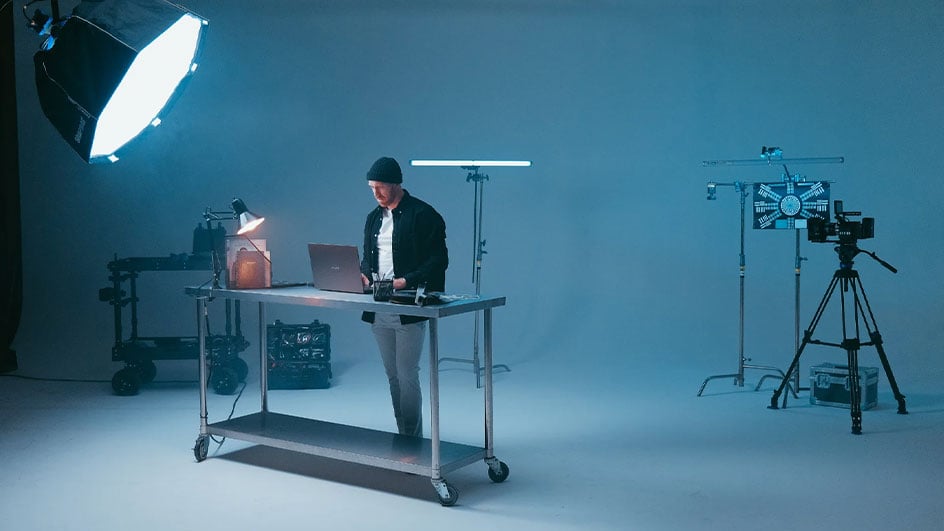
As ideal as it would be, it’s not always possible to shoot footage in a controlled studio environment. More often than not, you’ll have to adjust your lighting setup to an unfamiliar location — indoor or outdoor — with limited time to get it right.
The best way to save time, reduce stress, and limit last-minute problems is to plan ahead with lighting overheads and other pre-production documents (like a shot list). Here’s an example of a lighting overhead our team at Soundstripe made for a live music video shoot:
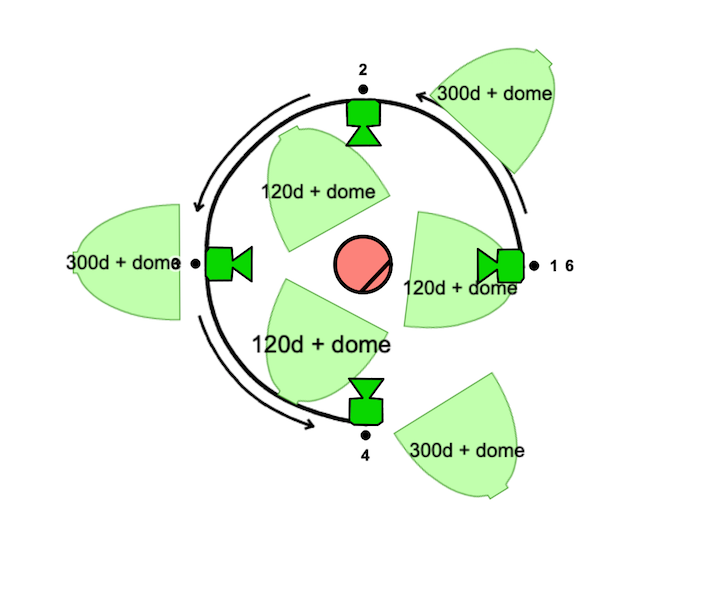
From this overhead, you can see that we set up several domes around the music artist — represented by the red circle — with Aputure 300d and Aputure 120d lights. (You can also see that we set up a circular dolly track to move our camera around the artist.)
2. Use a setup that works for you, not someone else
Getting advice from other creators is never a bad idea, especially since it’s easy to do. With a quick YouTube or Google search, you can find tons of videos by creators who have tested out different lighting equipment and techniques that you’re interested in learning about.
While this is great, keep in mind that what works for someone else might not work for you.
If you’re working on your own in hectic filming environments, you’ll probably prioritize gear that is minimal, versatile, and easily portable. If you’re working in the same studio 90% of the time, you have more freedom to invest in gear without worrying so much about portability.
There isn’t just one way to get great bounce lighting — you just have to choose a setup that works for you, not against you.
If you’re looking for some lighting setup inspiration, the video below offers some advice for lighting three different indoor spaces:
3. Pay attention to the size and position of your light source
When a light source is very bright and concentrated — think the sun on a cloudless day — proper bounce lighting is incredibly important. Without the use of reflectors or diffusion material, this type of lighting leads to harsh shadows and overexposure.
(In this type of scenario, clouds act as a diffusion layer that make bounce lighting less necessary because the light source isn’t as concentrated. There’s a more even spread of light.)
Depending on your light source’s position, you’ll want to set up the reflector across from, below, or beside your subject in the shot. This is true whether you’re filming with natural light, tungsten light, or a mix of the two.
4. Take advantage of the resources around you
Bounce lighting can be achieved with a variety of reflective materials. Some of the most common examples are:
- Reflectors
- Bounce boards
- Foam boards
- White walls
- White ceilings
- Table tops
- Fabric
You always have the option to buy reflective gear, but there are plenty of DIY alternatives as well. For instance, you could secure an old white bedsheet to two light stands with clamps, or angle your subject so that the nearest wall can function as your bounce board.
When it comes to bounce lighting, you have some freedom to get creative and use the available resources around you. So before you make a new purchase, take stock of the materials you already have.
5. Enlist the help of a second shooter
Try as you might, you can’t be in multiple places at once.
Reflector panels and stands make it easier to set up your gear and then focus on manning the camera, but if you’re taking on a massive client project, this still might not be enough to get the perfect lighting and all the shots you want.
A strategic next step could be hiring a second shooter that can help share the workload and be there to assist you with the reflectors and other gear. This can be a time saver on the day of a shoot, especially when you have limited time to begin with.
Bounce lighting advice for freelancers
At the end of the day, you don’t need to invest thousands of dollars on new equipment to get great bounce lighting. While there are always exceptions, most diffusion gear is inexpensive and easily portable. (We’re talking less than $20 for a set of reflectors like this.)
Whether you already have a go-to lighting setup or not, you can incorporate bounce lighting into your everyday workflow in simple and effective ways. With a diverse set of tools and techniques for diffusing and shaping light, you can make the most out of any filming scenario while working on your own or with a team.
At the end of every shoot, you can walk away with great-quality footage — no matter how many logistical curveballs are thrown your way.
Further reading
This guide outlines five tips and tricks for getting the perfect bounce lighting, but there are so many other aspects of video lighting that can’t be covered in this one blog post. Fortunately, these articles from the Soundstripe blog can help fill in those gaps:
- The Basics of Green Screen Lighting for Filmmakers and Vloggers
- How to Light 3 Different Spaces for YouTube
- A Beginner's Guide to Video Lighting for Vlogs
- How To Use Motivated Lighting For YouTube Videos
- The 10 Best Softbox Lighting Kits to Take With You Into 2022
And if you’re looking to hone your production skills even more, check out this YouTube video playlist where our team at Soundstripe shares a wide range of filmmaking advice.