Dec 17, 2019
*Updated January 2022
If you’re just starting a YouTube channel (or maybe looking to reinvent an existing one), you’ve probably got a laundry list of things to figure out.
Whether that’s music for your videos, topics to cover, editing software to download, or picking out the best camera there’s always one more puzzle to solve.
And what about lighting? Do you have a budget for equipment? Will you need some creative solutions to get your video lighting on par with the channels you subscribe to?
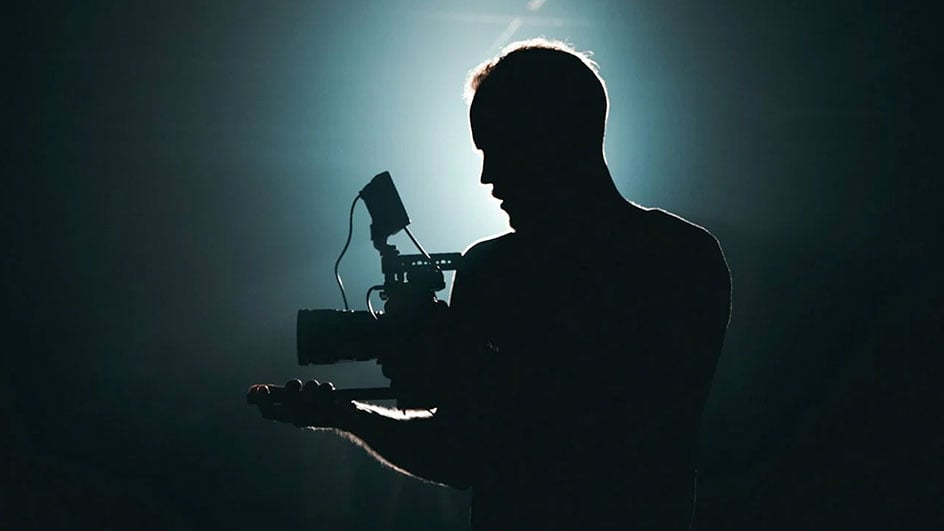
Most videographers and photographers know the ins and outs of lighting. Whether you’re shooting outdoors or on a staged set, three-point lighting is an industry standard. And the same standard applies to content creators who are just getting started.
Three-point lighting isn’t just a thing for professionals to keep in mind — it’s something viewers unconsciously expect in every video they watch. In some ways, great lighting is like a stamp of professionalism. It’s a promise to view about the quality of content they’re about to watch.

A consistent lighting setup can go a long way in establishing your channel as a go-to source of information (even if you are by no means an expert). YouTube viewers can literally tell at a glance if you’re serious, so it helps to try and match the visual standards they expect.
But not every aspiring vlogger has a studio lighting kit just lying around. We understand.
Fortunately, it doesn’t take much to replicate a three-point lighting setup at home and make your videos look just like the million-subscriber channels you currently follow.
In this guide, we'll share why each of these components are staples in a vlogger's lighting setup:
But before jumping right into that, it's important to get one thing straight: Different filming environments call for different lighting setups. You'll probably rely on some gear more than others when filming in small spaces, large spaces, garages, etc.
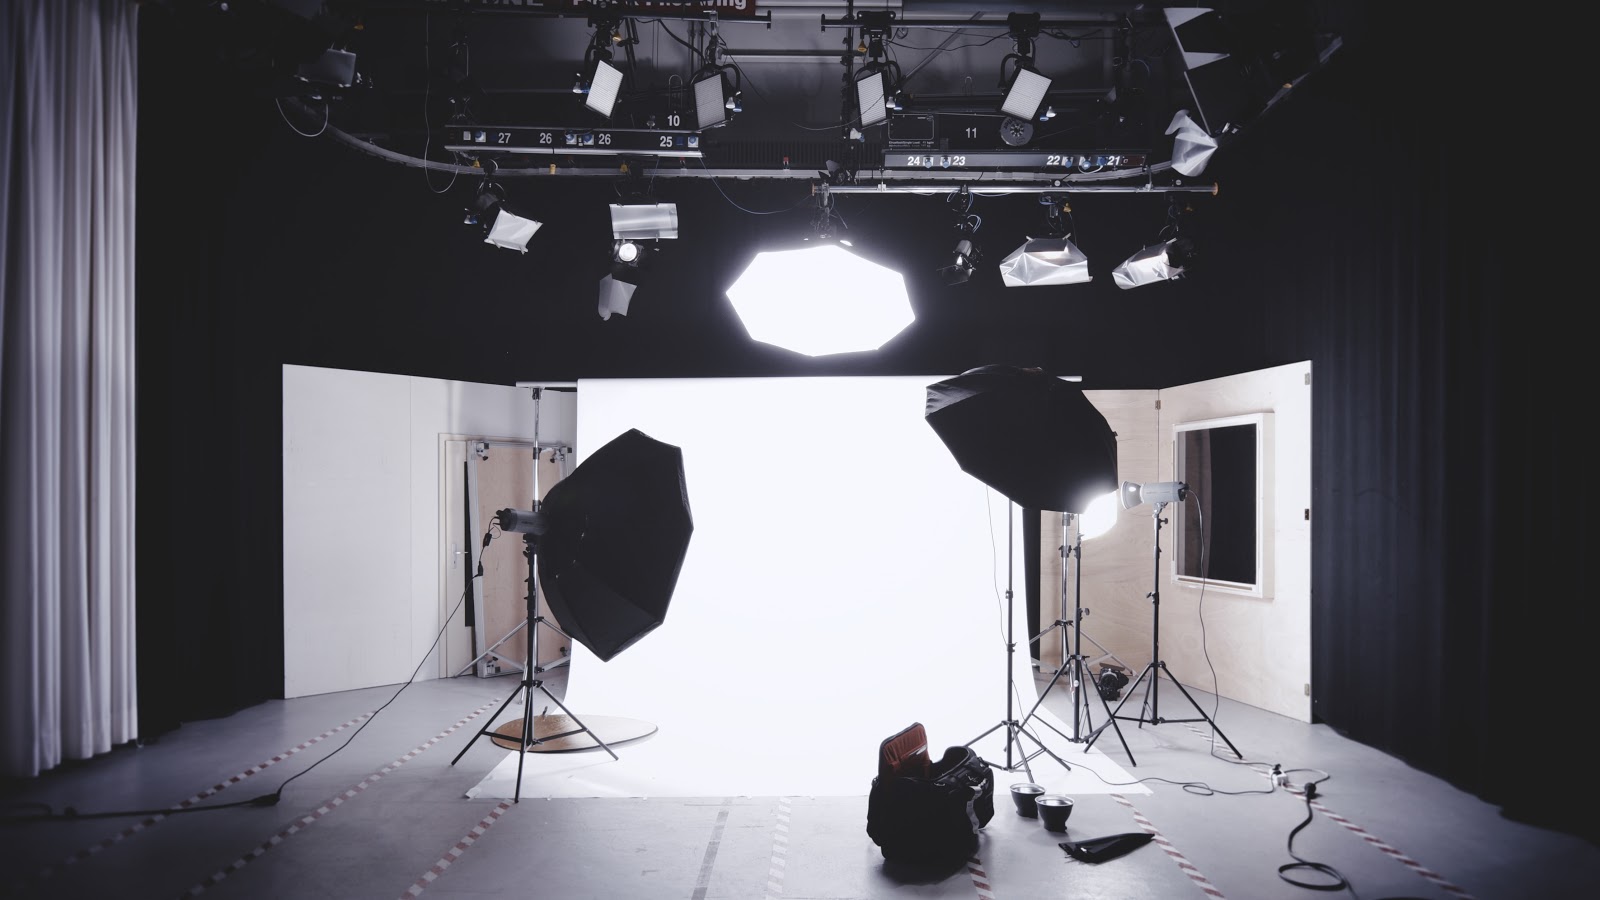
Here are three examples of ways you could set up the lighting for a vlog:
Spend 10 minutes googling and you’ll find a whole catalog of lighting kits you can buy. Heck, most YouTube personalities plug links to their recommendations or sponsored products.
The truth is you don’t need to spend $5,000 on professional equipment, or even $500 on amateur gear. Vloggers use many different types of lighting equipment, at varying price points.
For the absolute basics of a decent lighting system, all you need is some DIY craftiness and a willingness to experiment.
It’s a low bar of entry, and something you can — and should — improve as soon as you can.
As the name suggests, direct lighting is the primary light source. Your main goal with a direct light source is to create shadows or “texture” within the scene. (And, you know, illuminate your face for the camera!)
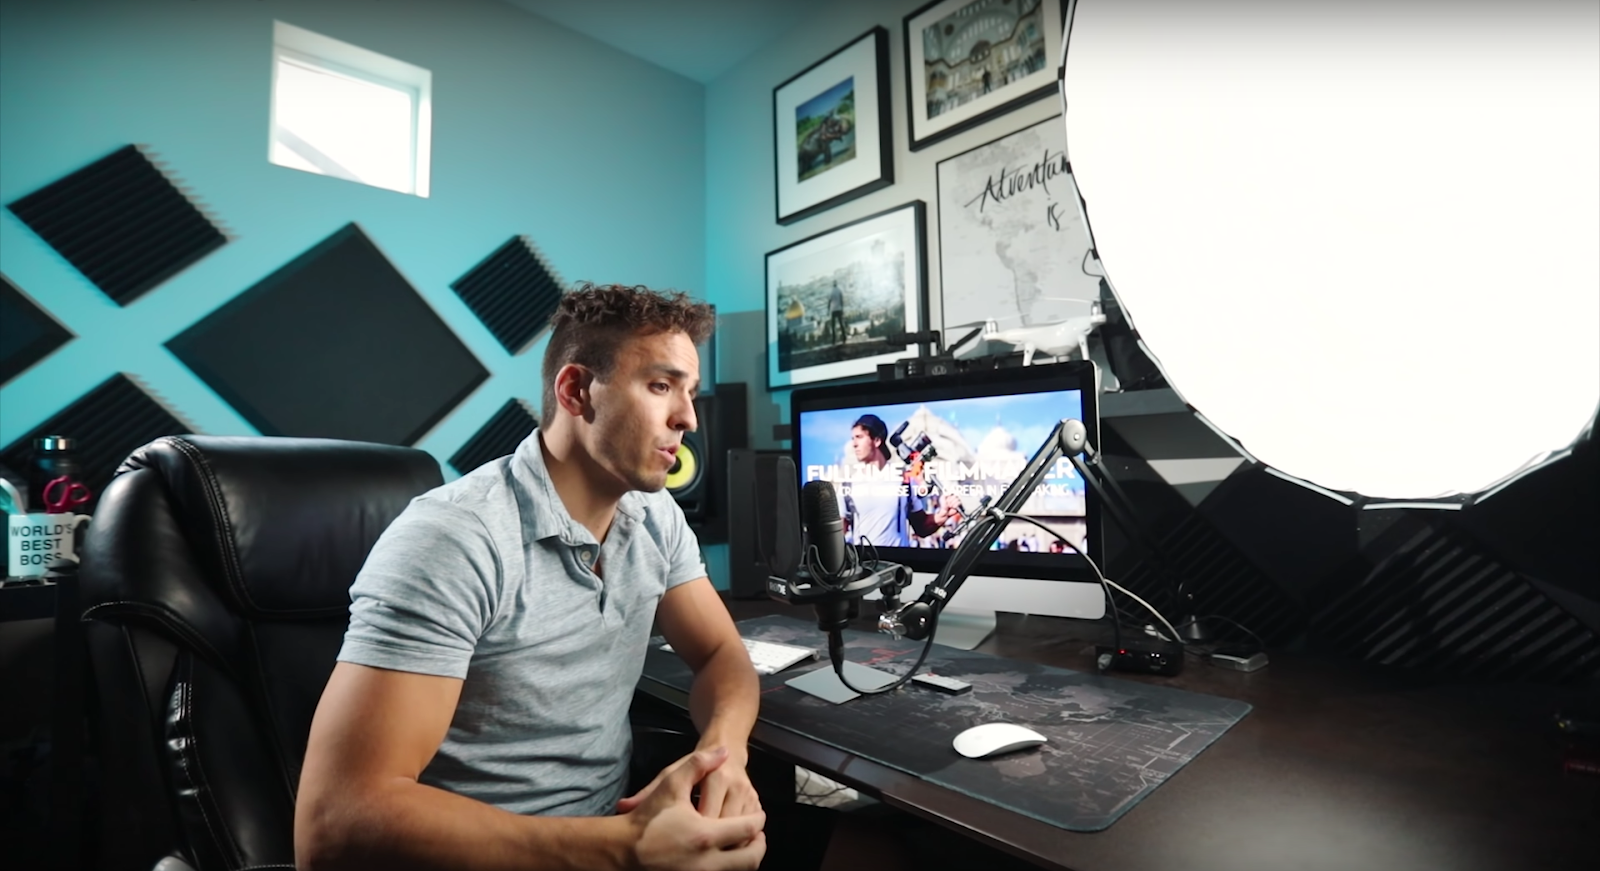
Image courtesy of Parker Walbeck
The most popular option is a softbox, which offers focused and diffused light. But you technically don’t need one for a vlog setup.
When choosing the primary video lighting for your vlog, try to stay consistent. A large window works fine and is as free as stuff comes. Other options could be work lights or clamp lights, and you can pick those up on the cheap from a home improvement store.
And once you choose a light source, you’ll want to stay consistent to establish a visual tone or brand for your channel.
(Because of its consistency, a softbox is also a great option if you're looking to light a green screen.)
One great thing about vlogging is that you get to put your personality into the product. While we don’t recommend you do anything weird with your lighting — again, solid lighting is something viewers expect these days — you do have room to experiment.
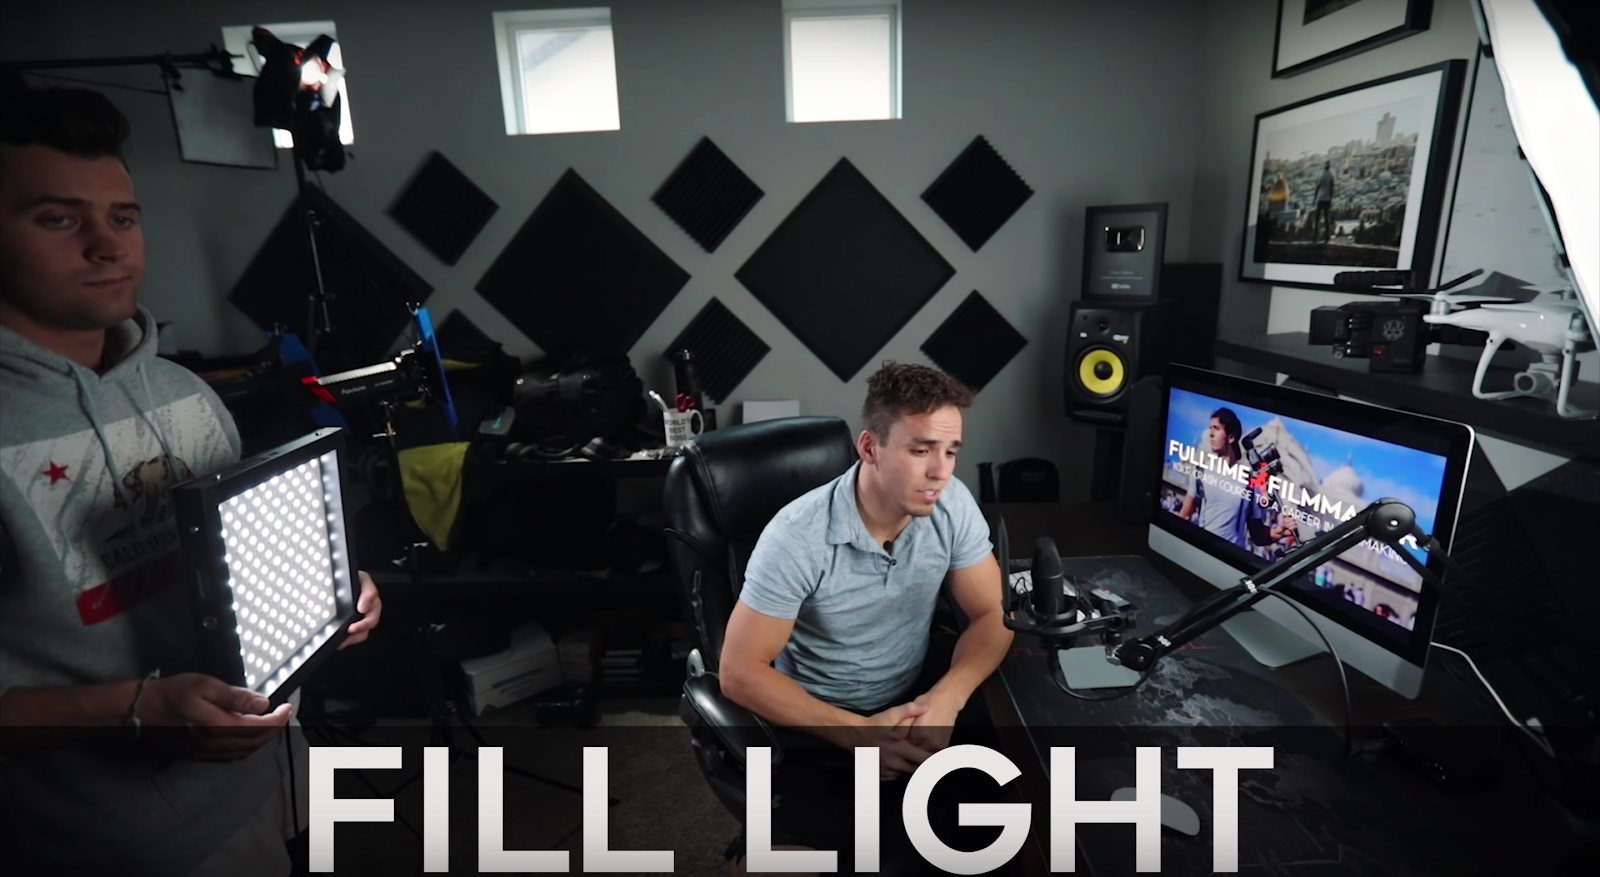
Image courtesy of Parker Walbeck
Most DIY lighting options can be used in any of the three main “roles.” If you use a window as your direct lighting, you could grab a bright lamp or buy a work light as your fill lighting. Or vice versa, depending on the brightness of the lamp.
But regardless of what you pick, things should look natural, not staged. That’s where second and third lights come into play.
If direct light’s goal is to create shadows, then the fill light should help you minimize how dramatic they are. (Unless you’re telling ghost stories with a flashlight under your chin, you’ll want to keep the depth of your shadows to a minimum.)
Part of good lighting is to “round out” the features, and a back light (situated behind you) provides the third piece in the setup. This light defines hair and head shape and all that good stuff. It adds another dimension to separate you from the backdrop.
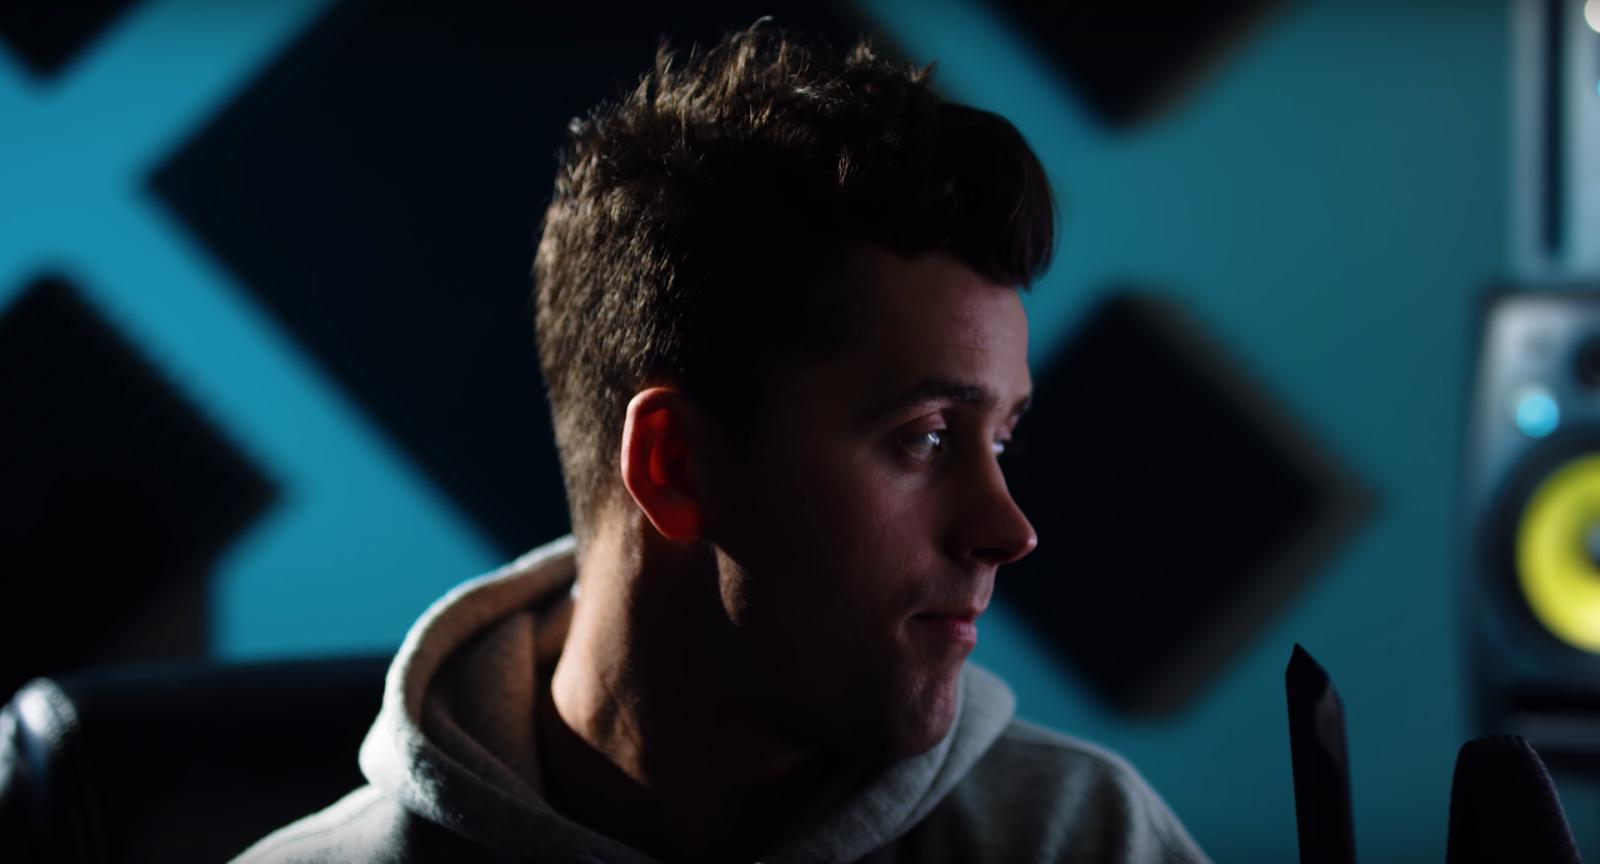
Image courtesy of Parker Walbeck
When it comes to DIY options for back lighting, you can use just about anything. It’s important to try to match light temperature across all three points, but it isn’t strictly necessary when you’re just starting out.
Even things like a lamp with a sheet over it, a window across the room, or lights from a different room can do the job. You just need a faint, non-distracting highlight behind you.
Sometimes you need a little help to modify the lighting you’ve got to work with — scrims are an easy way to adjust things. Most scrims are lightweight and made from textured fabric, and their job is to reduce how intense (or “harsh”) a light source is.
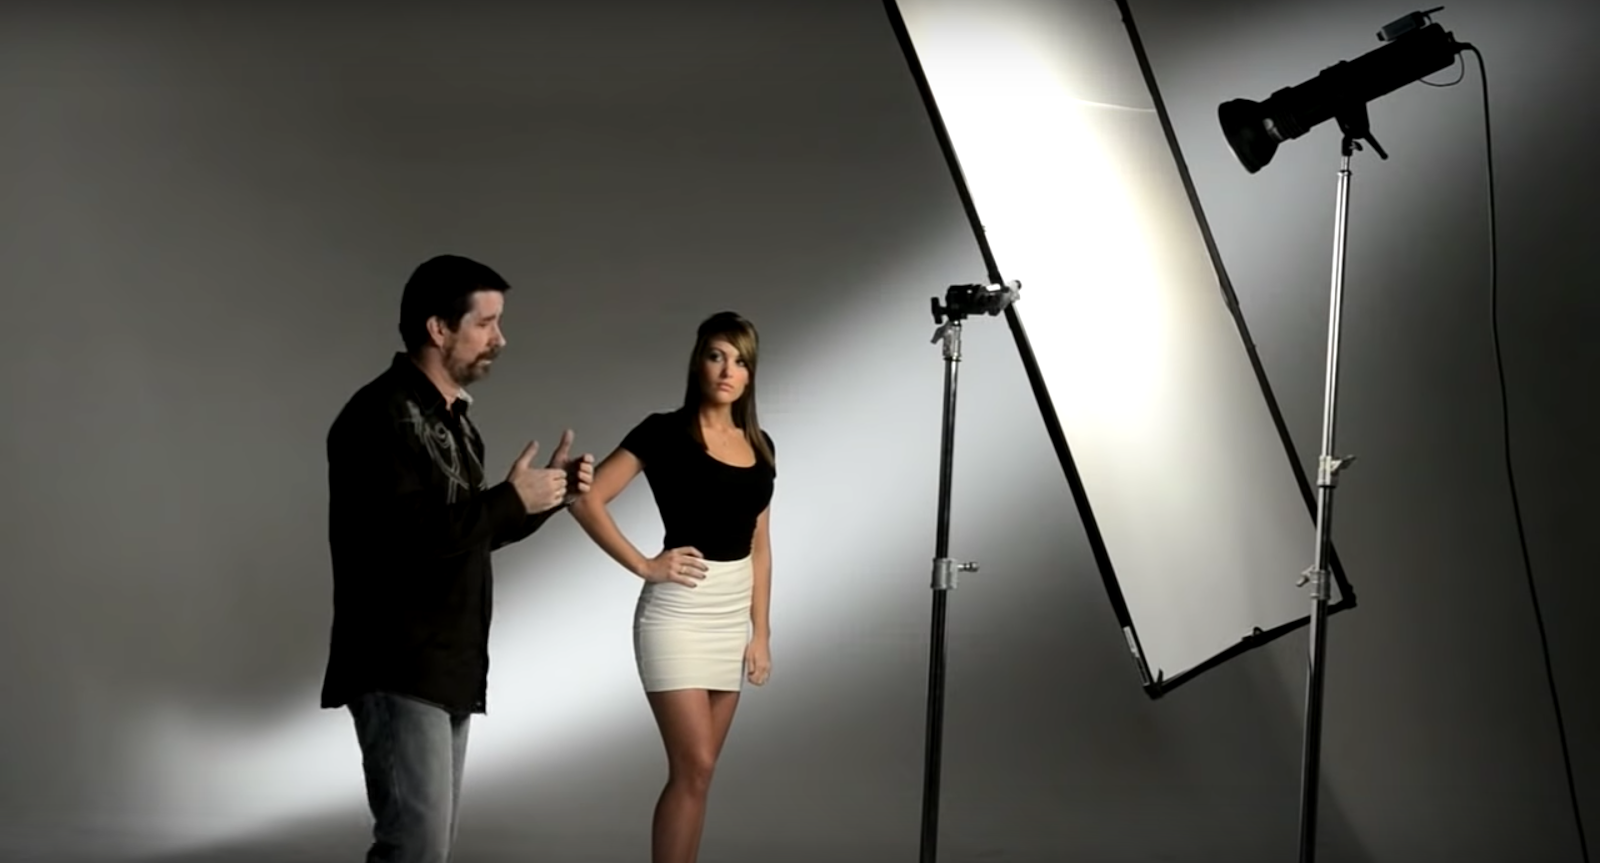
Image courtesy of Eric Eggly
Scrims are one of the cheapest DIY projects when it comes to video lighting for vlogs. All you need to make one is a portable clothes rack and a sheet. And if you’re using a window as your direct light, a curtain can function like a homemade scrim.
The second tool you can use to change lighting is reflectors. As the name suggests, these are tools that redirect light. They work kind of like mirrors, but bounce the light without creating strange glares or flashes.
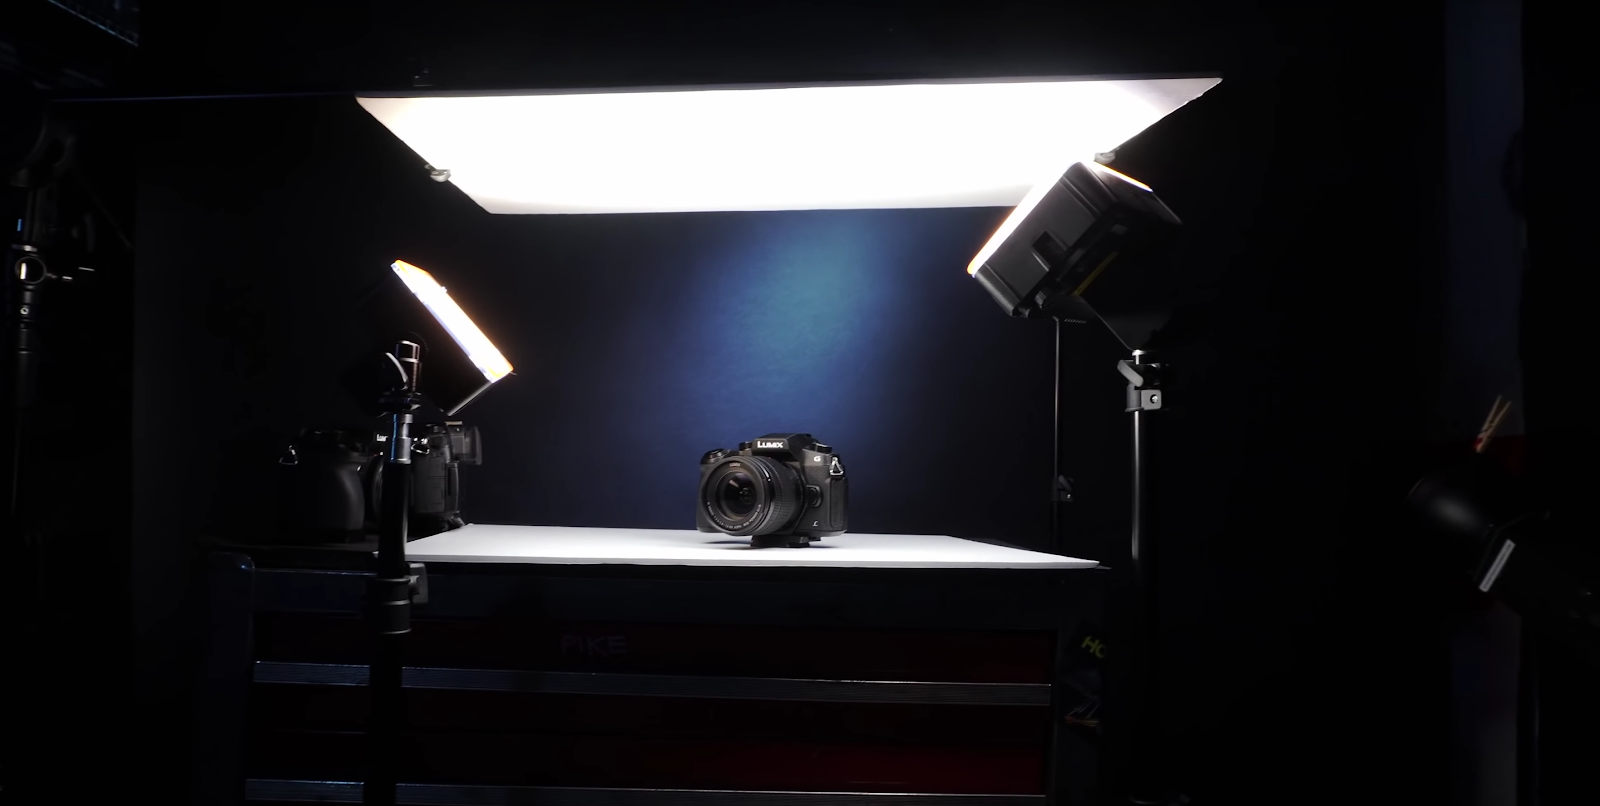
Image courtesy of DSLR Video Shooter
An easy — and popular — DIY alternative is tinfoil around some sort of wire frame. (Coat hangers do the trick nicely.) But you can also pick up a cheap fabric reflector for $50 or less.
Unlike scrims, reflectors can also replace lights. Let’s say you’re using a window as the direct light. And maybe you’re recording at 10 a.m. but all your lights have warmer “afternoon” tones.
Have no fear, new vlogger! This is where a reflector can save you. By placing a reflective surface to one side, you’ll be able to fake a second “source” of light. It’ll create some balance for your video and match the tone you need.
Now a reflector may not look quite as good as a light, or even a DIY replacement. But it’s proof that you can figure out video lighting for vlogs without buying professional equipment.
In fact, there’s no easy replacement for studio lights, scrims, and reflectors. But those things aren’t necessary for vlogs. Content is king, and viewers will care about your content more than whether you use a $1,000 studio light or a $19.99 work lamp from Home Depot.
If you’ve got access to studio equipment, then by all means use it! But if not, don’t feel like you can’t start that vlog series you’ve been thinking about for months. Chances are you’ve already got all the light sources you need.
Lighting plays a major role in video production, and it’s something every viewer will appreciate (even if they don’t realize why). The best content creators are the ones who evolve over time, and that kind of flexibility can also help you minimize the cost of starting a channel.
If you're looking for more creative and cinematic ways to use vlog lighting, be sure to check out this video and try out some new techniques:
One last piece of advice: Make sure you test out your lighting first. Ingenuity is a great thing, especially on YouTube. Just don’t get too strange with your setup — you might drive off the subscribers you’ve worked so hard to attract!
Start by watching videos from creators who have built successful channels. It doesn’t matter whether it’s Roman Atwood, Tyler Oakley, or Zoe Sugg. The important thing is to look for hints about their lighting setup and get an idea of how they light their vlogs.
You may not be able to replicate what they do, and you probably won’t be carrying around $10,000 in camera gear. But with enough attention to detail, you’ll start to develop an eye for great vlog lighting.
And then you can absolutely create your own video lighting setup for less than $100.
Check out Soundstripe's blog for more video lighting tips:

