Compositing is a process that gives video editors a near endless amount of creative freedom in post-production.
With some experience and the right tools, you could create matte paintings of entire landscapes and 3D renders of made-up creatures — and then seamlessly layer all of these elements onto your shot footage.
Or you could take a more subtle approach and add visual effects (VFX) like rain, fog, or fire to completely transform a scene in a realistic way. (When done right, viewers would never guess that the original footage didn’t include any of those natural elements.)
Whether you’re building new cinematic worlds or using compositing on a much smaller scale, some of the best tools for today’s creators are:
- Photoshop
- Fusion
- After Effects
- Nuke
- Houdini
- Blender
If you already work with compositing and VFX every day, the intention of this guide isn’t to dissuade you from using your favorite software. (Why fix what isn’t broken, right?) This is just another resource that can point you in the direction of even more options.
But before exploring each of those compositing tools, let’s cover some basics.
What is compositing?
The simple and straightforward answer is that compositing is the process of physically or digitally combining two or more images into one.
Before the process went digital, photographers and videographers would physically cut film to create a composite image. They also relied on things like partial models and glass paintings to layer images on top of one another and capture the desired look on-camera. (More on those techniques in a second.)
Nowadays, you have the option to digitally add or remove image layers. Not only does this make it easier to streamline the entire process, but it also allows you to integrate computer generated imagery (CGI) and visual effects into your compositing workflow.
To give you more context about physical and digital compositing, here’s a breakdown of some of the most popular techniques for both:
Physical compositing techniques
1. Partial models

Image source: Mental Floss
Partial models like the one above from Indiana Jones and the Temple of Doom (1984) have been used by filmmakers as a compositing tool for years. It’s especially useful in scenarios where a stunt — like an intense chase scene through mine tunnels — isn’t logistically possible.
A partial model is a highly detailed and realistic miniature of a location, object, etc. With strategic placement in front of the camera, you can create the illusion that the model is much bigger than it really is.
This allows you to capture the shot you need and then seamlessly combine that shot with footage of your actors in post-production.
2. Glass paintings
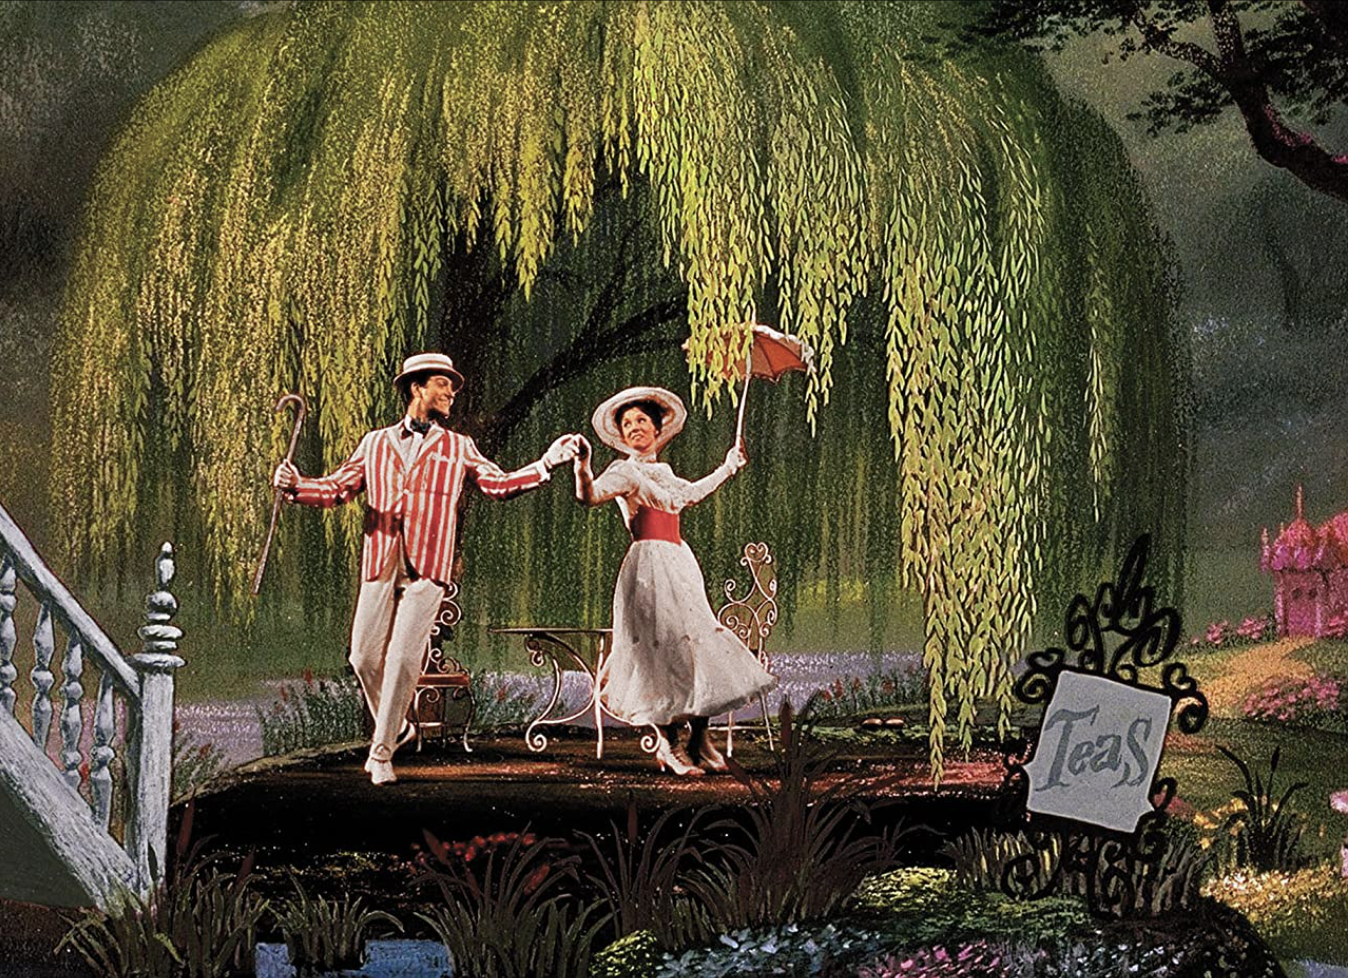
Image source: IMDb
Like the name suggests, a glass painting is created when artists physically paint onto a pane of glass to add details that aren’t present in an original setting. The glass is then positioned between the camera and the setting so that the painted details are visually layered on top of the background.
For example, let’s say you’re filming a field that is pretty bare and flat. By painting trees, hills, and foliage onto a pane of glass — and then placing the glass in front of the camera — the bare landscape would immediately be transformed in the shot captured on-camera.
These days, it’s become more common to create and composite matte paintings like the one above from Mary Poppins (1964) by using visual effects software instead of glass panes.
3. Rear projection
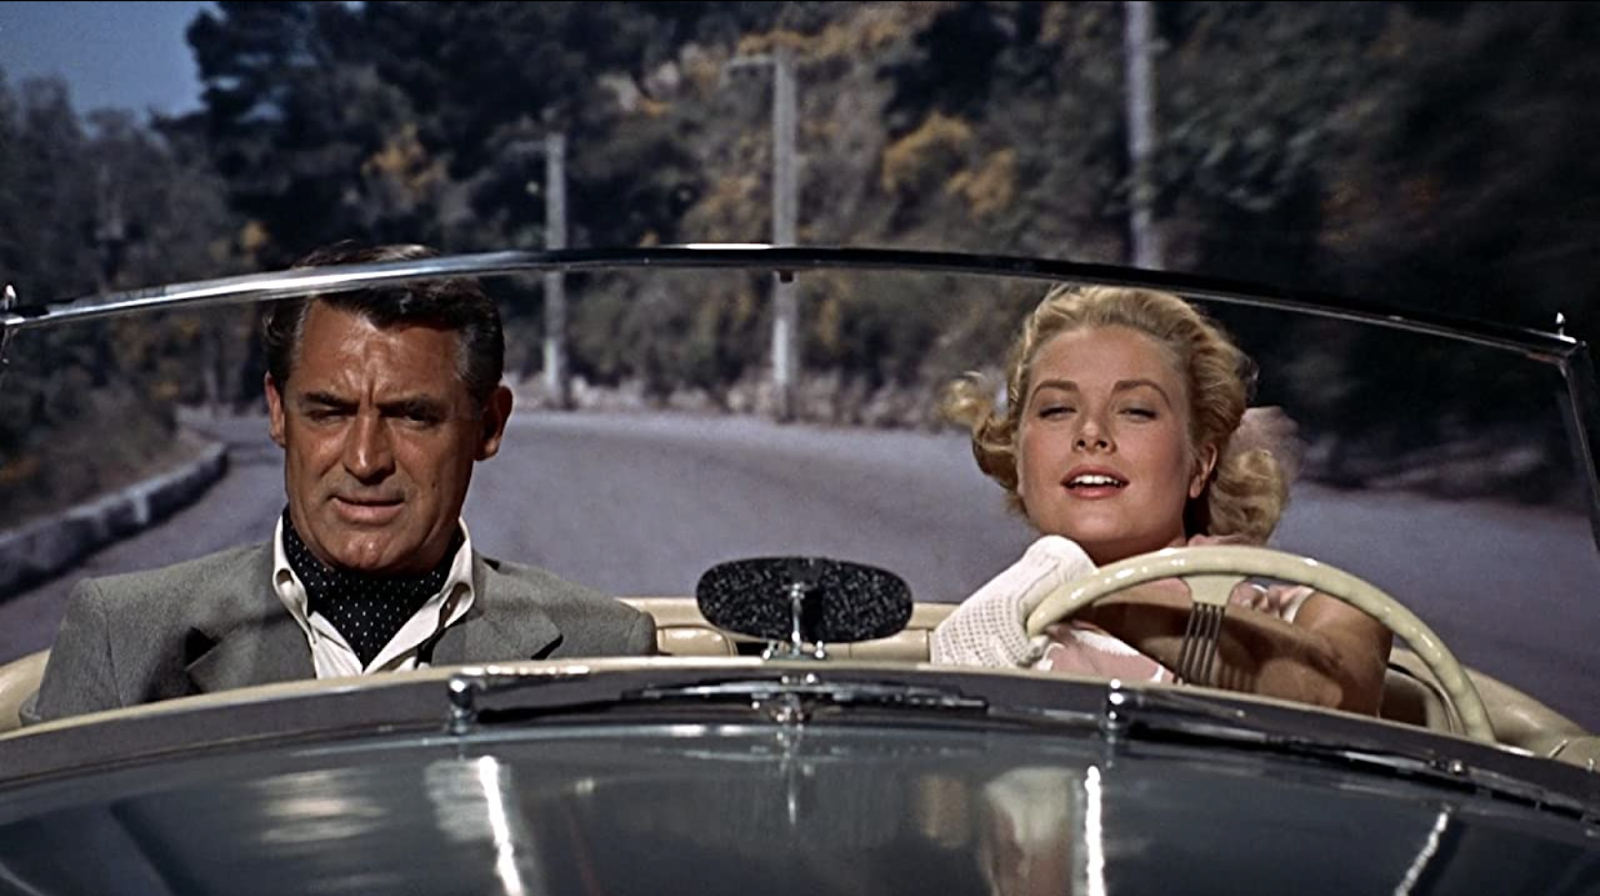
Image source: IMDb
This still from To Catch a Thief (1955) is a prime example of how filmmakers used a technique called rear projection to project pre-recorded footage onto a screen — making it appear like the actors were actually on the road, not parked in a studio.
Most car scenes that were filmed prior to the 1970s use this type of compositing technique, but a technique called front projection became much more popular in the years after. By projecting the pre-recorded footage onto the subject and the screen, the image quality was sharper and more realistic.
Digital compositing techniques
1. Multiple exposure
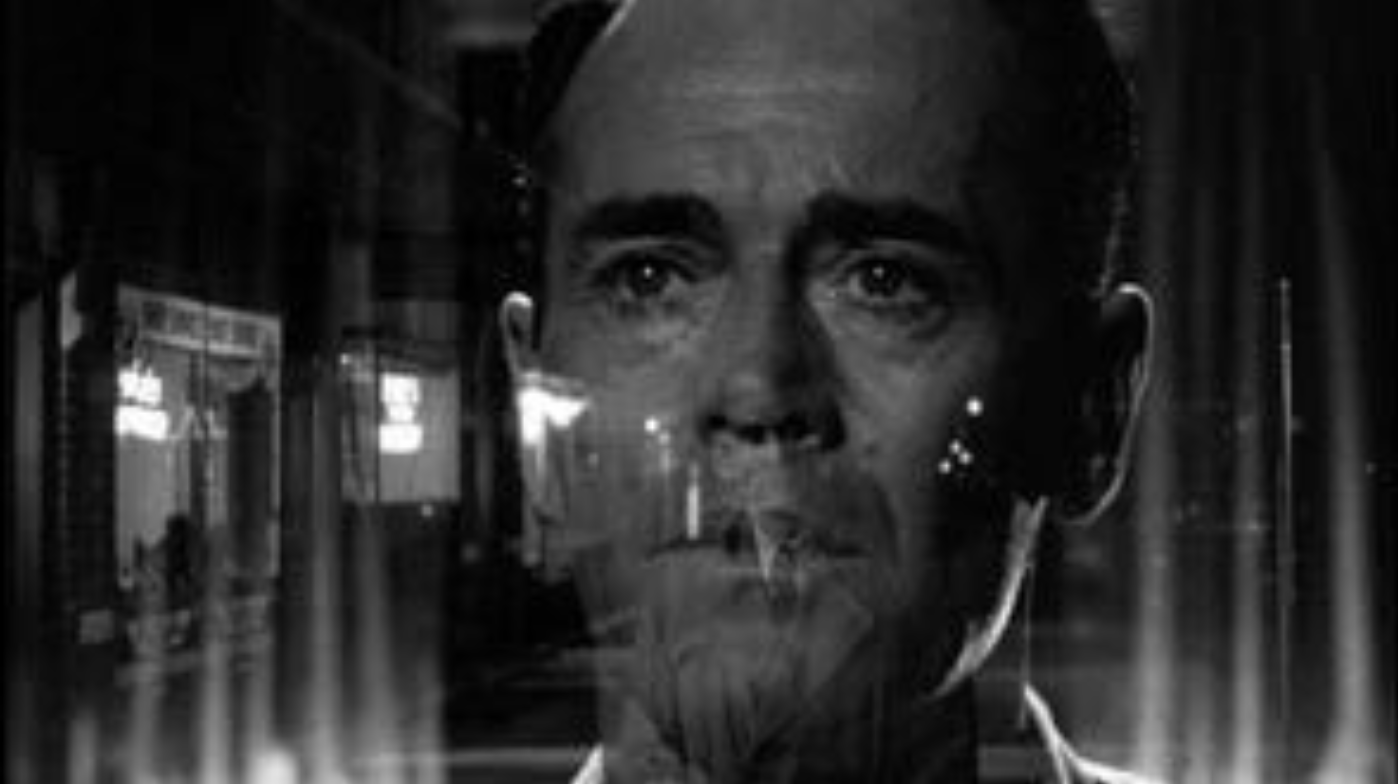
Image source: Studiobinder
Multiple exposure is the technique of layering multiple exposures or images on top of one another. Double exposure — another common method — achieves the same effect but is limited to two exposures or images.
From a compositing perspective, combining multiple exposures into one shot can serve a thematic purpose — making an eerie scene even more unsettling by giving the image a ghost-like quality (like the image above).
This technique can also be used for aesthetic purposes to create a visually intriguing image that 1) shows off your editing skills and 2) transforms the footage in a unique way.
2. CGI
Computer-generated imagery (CGI) is commonly used in the compositing process, particularly in filmmaking. In the video above, you can see how video editors manipulate shot footage in post-production by adding CGI and VFX layers.
It’s important to notice how the process of creating CGI and other VFX is different from creating a composite image, and there are a couple reasons for that:
- With CGI, you have to create everything from scratch in a VFX software.
- With compositing, you already have all of the visual elements you need — you just have to combine them all together.
In other words, compositing is like putting together a puzzle with CGI and VFX pieces instead of having to create the pieces from scratch and then fit them in place.
3. Blue or green screen
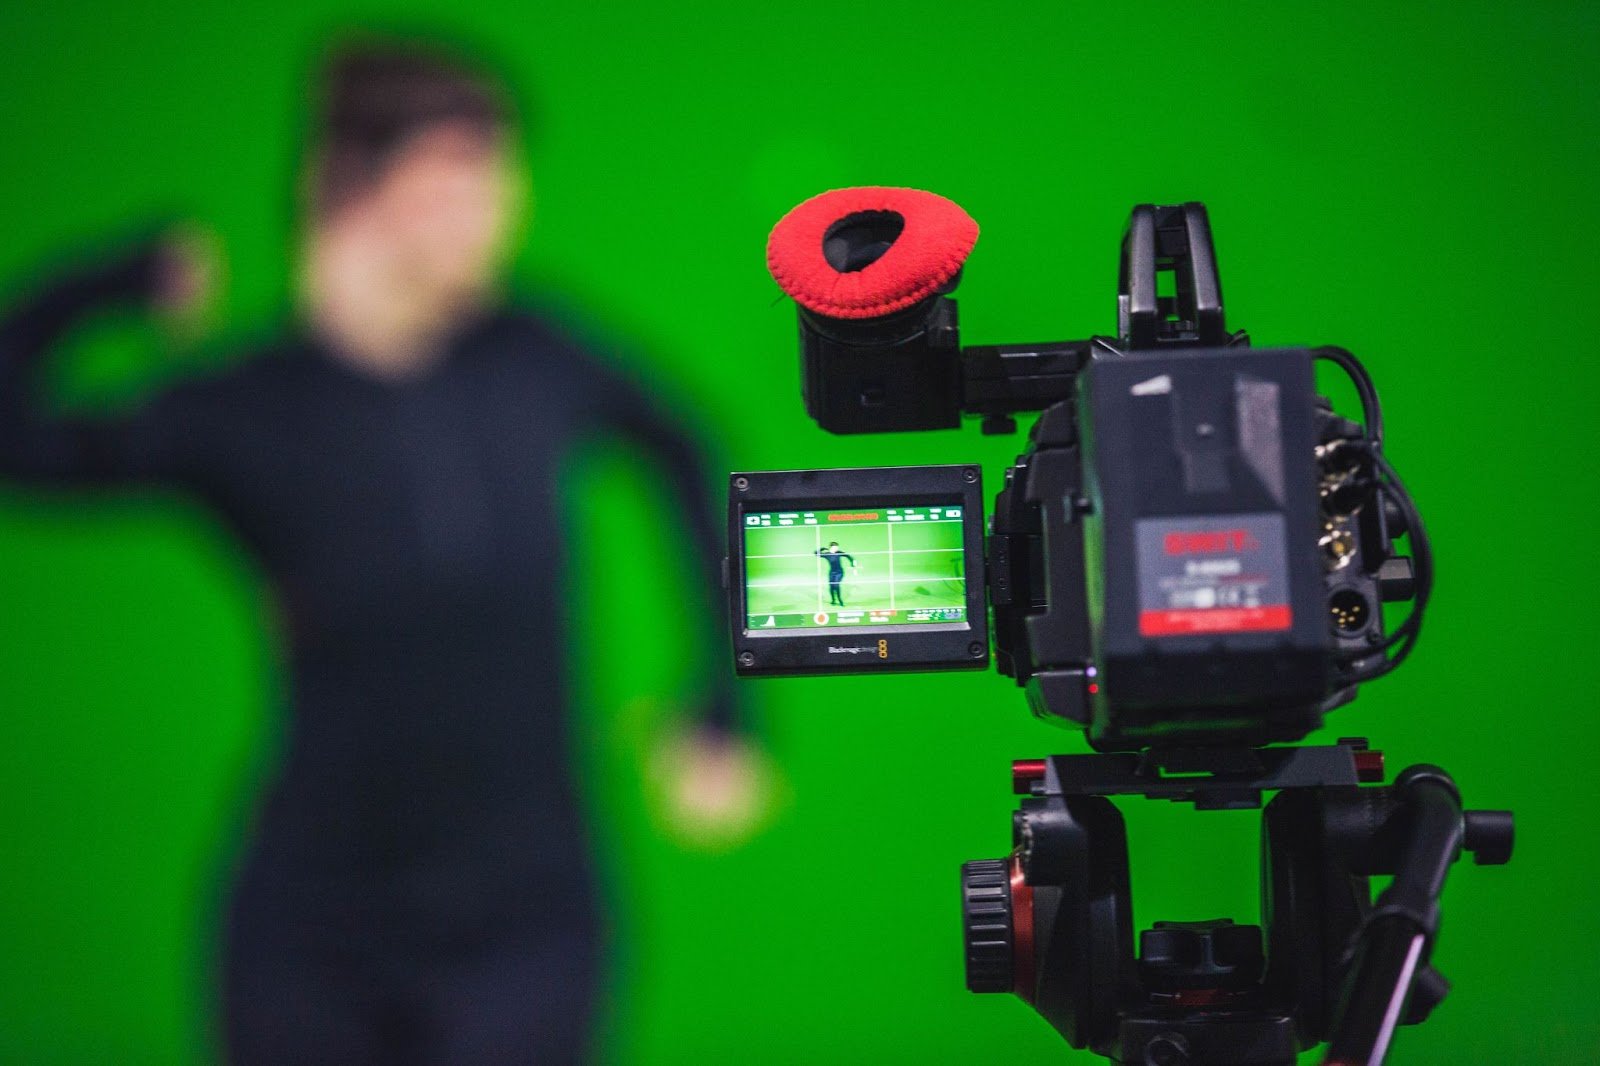
Even though the compositing process usually takes place in post-production, pre-production is the stage when you decide whether or not you’ll need to use a blue or green screen for compositing.
Green screen compositing (or chroma key compositing) involves filming with a green screen and then replacing the background with other visual elements — which can include CGI and VFX. This compositing technique gives VFX artists and video editors a ton of creative freedom to transform a scene in minor or major ways.
(To learn more about how creators can use green screen technology, check out this blog post.)
6 of the best compositing tools out there
Now that we’ve covered some of the best and most classic compositing techniques, let’s take a look at six compositing tools that can make your life easier in post-production.
1. Adobe Photoshop
When it comes to image editing and compositing — for 2D and 3D images alike — Adobe Photoshop is worth checking out, whether you’re new to compositing or not.
You can add multiple images to a composite, use layer masks, and blend the different visual elements together with some color correction adjustments too. This guide from Adobe includes video tutorials to walk you through this entire process.
2. Fusion
The Fusion page in Blackmagic’s DaVinci Resolve is a go-to compositing resource for many creators (including our creative team at Soundstripe) and there are several reasons why.
For one, Fusion uses nodes instead of layers to organize the visual effects, masks, animations, etc. added to your project. This makes it easy to track how the nodes are connected and make any necessary tweaks along the way.
It’s a good tool if you want to streamline your compositing process and create your own VFX at the same time.
3. Adobe After Effects
Adobe After Effects is a motion graphics and VFX software that, like Fusion, allows you to take VFX creation into your own hands and composite in 2D and 3D spaces. The compositions you create can be rendered in Premiere Pro quickly and easily, and you can also import designs from Photoshop, Illustrator, and other compatible tools.
(Here’s a blog post with nine After Effects tutorials for compositing, character animation, motion tracking, and more.)
4. Nuke
Similar to Fusion, Nuke uses node-based compositing to provide a more streamlined workflow for video editors and VFX artists. This software is collaboration-friendly — which is a perk for remote creative teams — and great for rotoscoping, 3D tracking, and VFX editing.
If you’re not too familiar with Nuke, this video tutorial breaks down how you can use the software and also fix common compositing issues:
5. Houdini
SideFX’s Houdini is a 3D animation software that has been used by VFX companies like Pixar and Walt Disney Animation Studios because of its design capabilities, node-based workflow, and procedural system.
When it comes to compositing, SideFX created this comprehensive resource to explain how you can use Houdini’s compositing networks in different ways.
6. Blender
Blender is a free and open source software that has built-in tools for animation, compositing, 3D modeling, and more. As far as free VFX software goes, this tool is one of the most well-known and well-liked resources out there for video editing and game creation.
In the video below, YouTuber Amort Media demonstrates how you can use a few different compositing techniques in Blender:
Further reading
In this guide, we’ve shared six of the best compositing tools available to creators today, as well as some of the most common compositing techniques (both physical and digital).
If you’re looking for more content about post-production, these articles from the Soundstripe blog cover a wide range of topics that should pique your interest:

