Feb 16, 2022
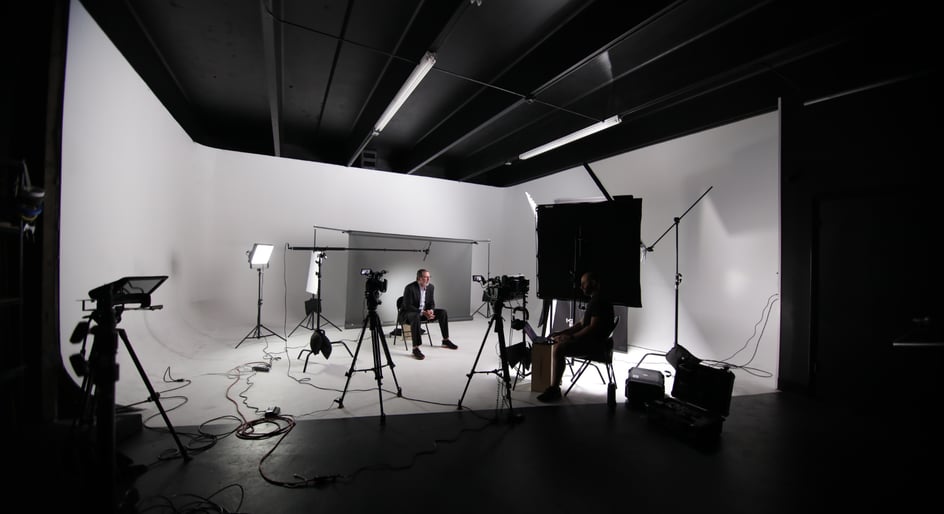
In what has somehow become the staple shot type for all corporate, commercial, and documentary work, the set “talking head” interview setup look is everywhere. You see it on your favorite news and sports channels, you see it on company’s websites, and you certainly see it in your favorite documentaries and true crime programs on Netflix.
But, for those trying to start out in film and video, how do you actually set these shots up? And, more importantly, how do you light them?
The answer might be both more simple, and more complex, than you think. It all depends on your desired goals, your budget and scope, and your video lighting gear and knowledge.
Let’s go over some of the best interview lighting kits and tips for those looking to shoot these talking head video interviews. We’ll also outline some techniques to help you start shooting today.
What are the best lights for interviews?
To answer this question, we’re going to need to backtrack a little bit. Of course there are several lights (and types of lights) that we could recommend for shooting interviews, but we need to go over some basics first.
The better question might be what type of interviews are you looking to shoot? (And second to that, what is your budget and scope?) Truth be told, there are several options to consider, but shooting a high-end commercial video with a budget in the tens of thousands is going to be approached differently than shooting a video with your friends in an afternoon.
However, many of the principles and techniques will remain the same. Here are some of the basics you should know:
3-point lighting
Without going too in-depth, any standard video interview setup is going to be built off of this triangle lighting formula. We’ll go over the individual lights below, but keep in mind that in an ideal interview setup, you should have these three lights which each serve a unique purpose.
The key light
This is your primary light source for any interview setup. It’s usually the brightest and closest to the subject and will inform the basis of how the rest of your lights will work. There’s plenty of variations you can explore, but you always want it to be bright, clear, and squarely focused on your subject.
The fill light
The next light you’ll need in a three-point lighting setup is the fill light. This one is usually off to the opposite side of your key light and does what its name implies: It fills in the rest of the light on your subject’s face. This light is usually less bright, sometimes farther away, and often lets you explore different shadow looks and techniques.
The back light
Finally, the third light in your three-point lighting setup is the back light (also called a hair light). This light could be argued as being the “least” important if you’re in a pinch, but trust me — it’s super helpful.
A good back light or hair light will also be less bright and severe, as it’s meant to help illuminate the back of your subject and make them “pop” out against the background.
Different light types
Once it’s understood that you’re going to need at least three properly arranged lights for an interview, we can start exploring the different types of lights you might want to use.
Here are some of the most common lights to consider:
Panel LED lights
Let’s start with the most popular type of lighting on the market: LED panel lights. You see these pro light kits either in large-form on big production sets or in small-form on DIY shoots, as they can truly range in size and budget.
However, as LED lighting has become more popular, they’ve also become cheaper, smarter, and easier to work with, making them great additions for shoots of any type.
As opposed to the more archaic (although still powerful and popular) HMI, tungsten, and fluorescent light sources, LEDs might be your best bet if you want smart controls, instant on-and-off capabilities, and general ease-of-use for your various project types.
Softbox lights
While LEDs might be the personal preference for many light types these days, I do have a soft spot in my heart for the softboxes of my youth. These types of lights were quite the discovery when I was starting out in film and video, as they truly help cast beautiful soft light on your subjects with natural light diffusion.
While you can use different types of lights as the source, softboxes are recognizable by their big, pillowy casings that light up evenly and brightly as a way to dampen the harshness of normal spot lights.
We’ll explore some kit options below, but keep in mind that softboxes are also quite affordable and easy to use. (A kit weighs very little and usually has simple-to-use power cables and power adapters.) However they require a bit more in terms of setup time and are a bit harder to focus and control due to their expansive nature.
Umbrella lights
Similar to softbox lighting, we also have to quickly talk about umbrella lights. Again, these will differ based on the type of lighting head you choose — for example, you can even use LEDs with an umbrella.
However, the very first lighting kit I ever bought was an umbrella light setup and it was hugely helpful when learning how to control three-point lighting setups and “paint” your subjects with your lighting.
Umbrellas also range in price from the cheap and easy (yet less sturdy and more breakable) to the higher end (and more reliable). They require about as much setup time with their light stands as softboxes, but are a bit easier to take on and off if you want to work with direct spotlights from time-to-time.
Best light kits
Now that these types of lights and setups are out of the way, we can start looking at some actual interview lighting kits and light stand kits which might be great for your interview shoots. Keep in mind that you can always mix and match your own lights as you see fit.
However, I would personally recommend looking into getting a light stand kit simply because it’s a good way to make sure your lights are consistent with each other. (Plus, if you’re first starting out, they can be surprisingly cost effective as well.)
Here are some of the best lighting kits on the market for shooting video interviews:
Fancierstudio 3-Point Fluorescent Umbrella Light Kit
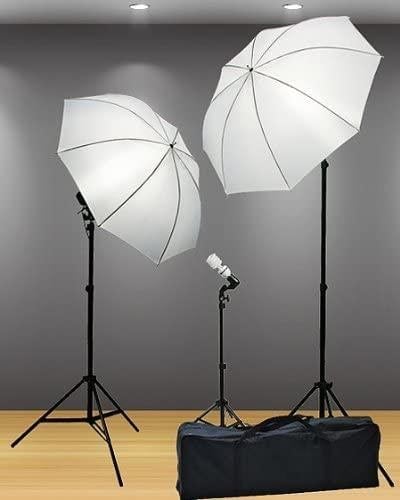
Starting off with an umbrella lighting kit, this Fancierstudio 3-point continuous lighting kit offers some bright and clean fluorescent umbrella lights at a remarkably affordable price point.
While this particular kit might be designed for amature videographers and photographers, it’s about as solid of a cheap starter kit as you can find, and it might be a great introduction for a beginner.
Price: $44.99
Fovitec 3-Point Fluorescent Studio Light Kit
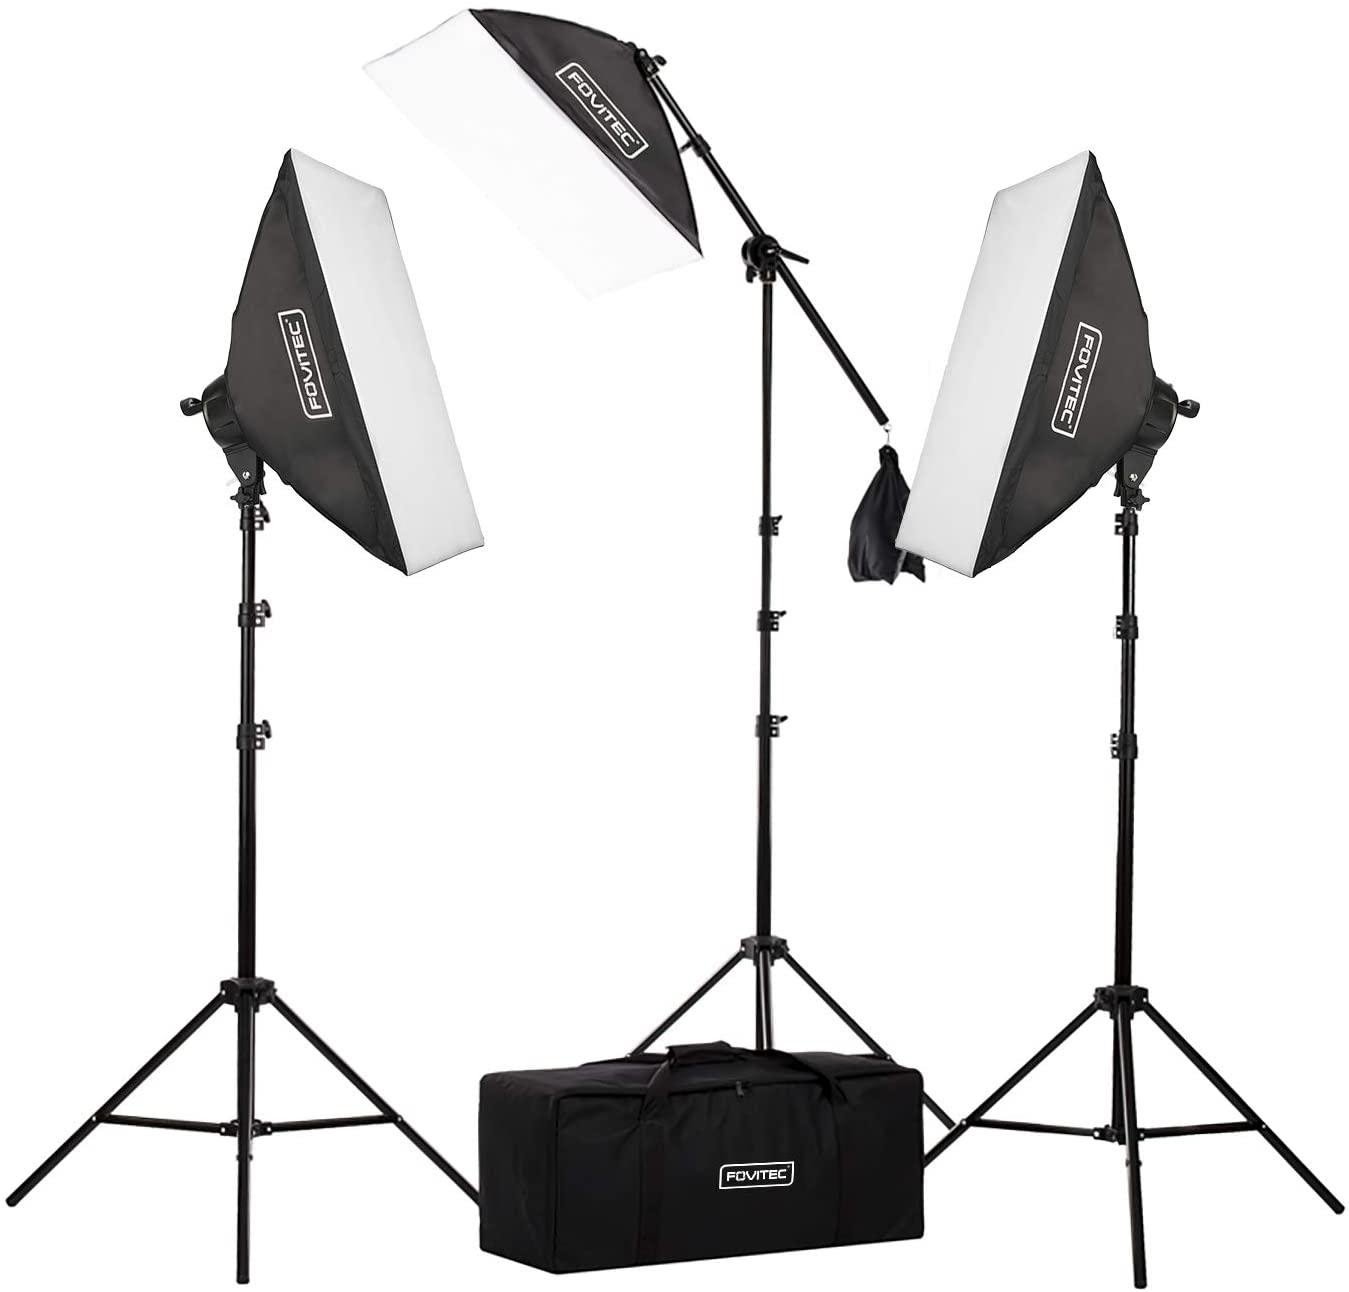
Moving along, we have our first softbox light kit to share and recommend. While a bit pricier than our umbrella option, this 3-point fluorescent studio light kit represents a step up in quality and usefulness.
As we covered earlier, softboxes make for very consistent and smooth lighting, and with three lights (plus a boom stand and carrying bag) this is still an affordable starter kit option.
Price: $189.95
Neewer 3 Pack Dimmable LED Video Light Kit
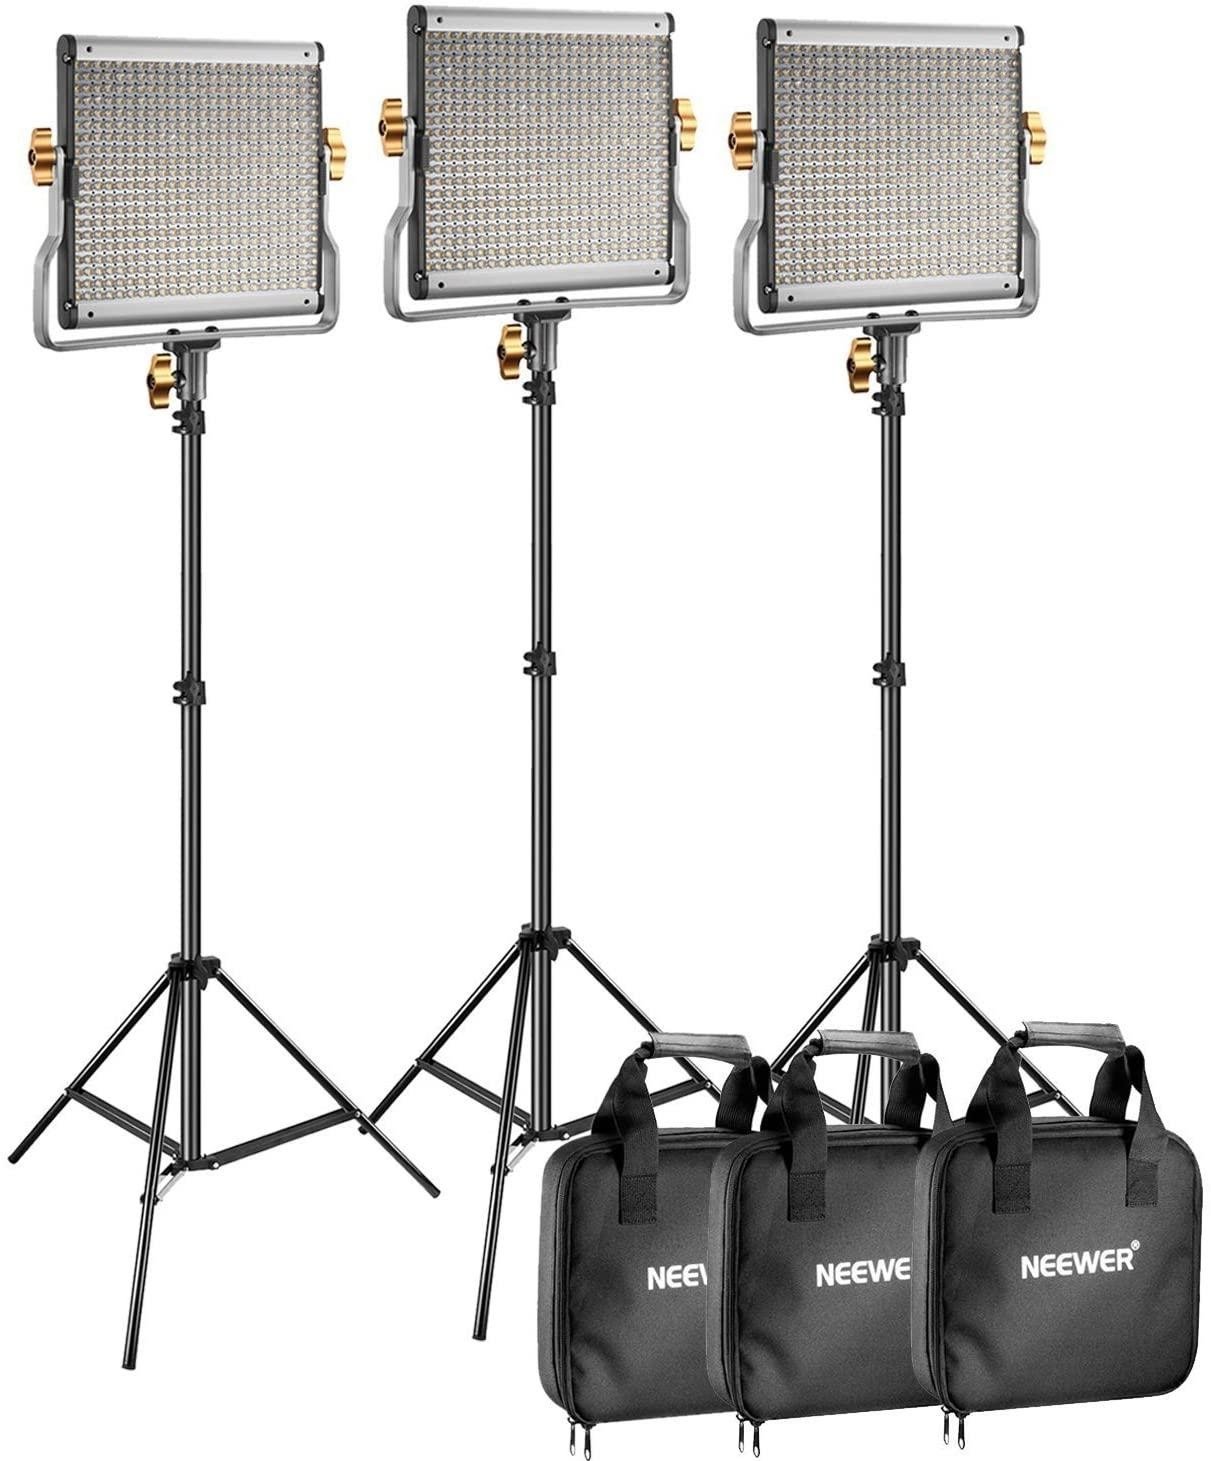
After looking at umbrella and softbox kits, I would definitely recommend looking into LED light options for your 3-point lighting interview setups.
While not exactly a go-to top-of-the-line brand for most filmmakers, these Neewer LED lights are actually quite capable and could be a solid first investment for any videographers looking to explore LED for the first time.
Price: $219.49
Lume Cube Panel Pro RGB Lighting Kit
If we’re going to talk about future-focused interview lighting setups, we have to go over one of the biggest disruptors in the game.
Lume Cube (along with some other great brands) are all about making LED the way of the future. And with the Lume Cube Panel Pro RGB lighting kits, you can rest assured you’ll get the best and most innovative LED lights for all your interview setup needs.
Price: $229.99 (x3 for a full 3-point lighting buildout)
Aputure 672 LED Video Light Panel Kit
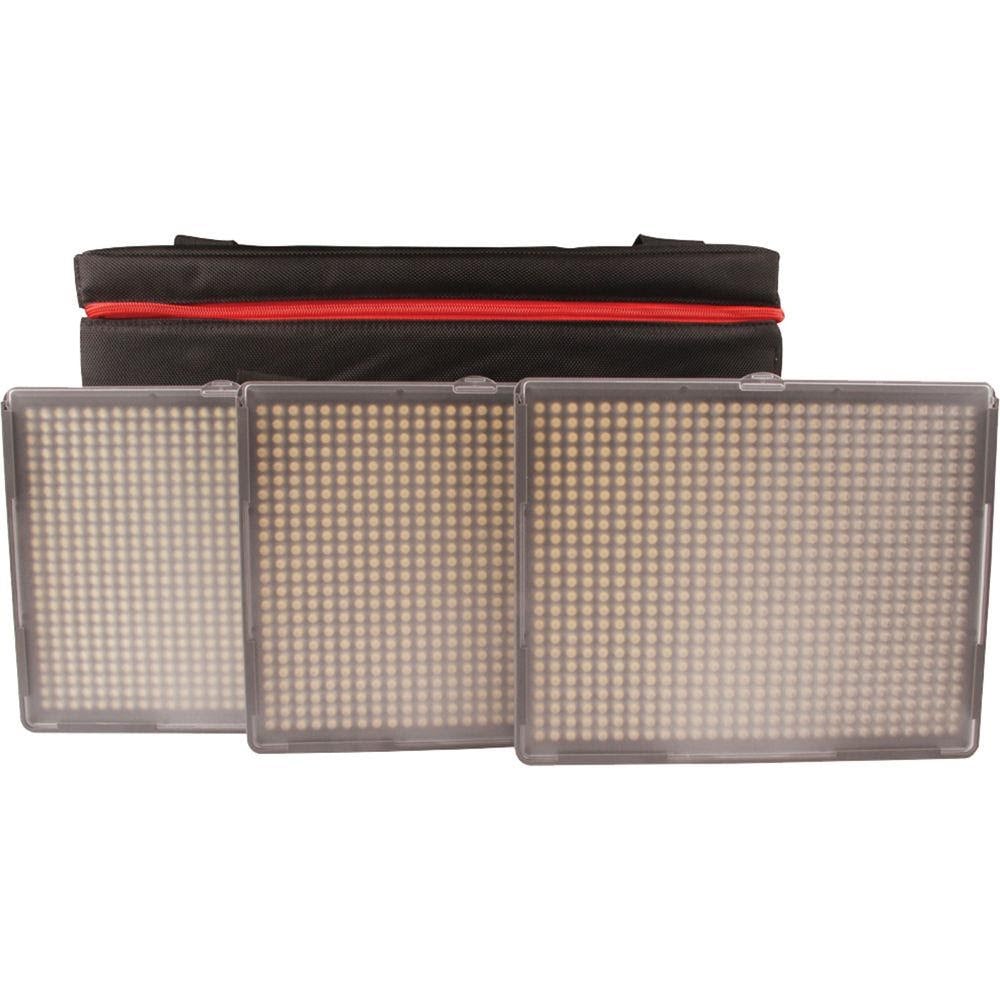
And rounding out our list of best lighting kits for shooting professional interviews, we have to highlight another familiar brand name in the LED lighting space: Aputure.
With their durable and lightweight design, coupled with great color-rendering and brightness, these easily controllable LEDs should work for any professional lighting setup you might need.
Price: $729.00
Tips for lighting interviews
Once you have your lights selected, we can move on to sharing some tips and tricks for making sure that you properly set up and execute your interview shoots.
As always, this advice will be subjective to the types of projects you’re working on and just how much control you have of your environments. But keeping that in mind, we can share these specific tips to help make sure that your interviews look clean, balanced, and creative:
- Put your subject at ease: First and foremost, never forget about your subjects! It can be intimidating being interviewed for videos of any type, so as you set up your lights try to be mindful of how close, bright, and hot they might be on your subject.
- Experiment with angles: When setting up your lights, the angle your subject is facing in regards to your camera is critical because it will dictate where the rest of your lights need to be. However, don’t be afraid to change up these angles to add more diversity or different desired effects.
- Keep your focus in mind: From there, you really want to make sure your lighting is being used in conjunction with your camera’s focus and capabilities. So be mindful of how much your lighting is contributing to (or hurting) your desired focal length and depth of field.
- Find the right ratio: When specifically setting up your key and fill lights, you’re really looking for the right ratio for your cinematic look. Too little fill might make your subject appear mysterious, whereas too much might make them look too bright. Experiment as much as possible before subjects arrive to find your perfect balance.
- Don’t forget your backgrounds: While it’s not technically a part of a 3-point lighting setup, a 4th light is always an option as a way to make your backgrounds really pop on screen. It never hurts to have an extra light with you to add some depth to your compositions by highlighting some elements in the background.
Further reading
Hopefully these lights, kits, tips, and tricks have covered everything you need to know about lighting interviews for your video setups.
Obviously, there’s always more to learn and explore, so if you’d like to check out some additional articles on lighting techniques, gear, or royalty free music, check out these links from the Soundstripe blog: