Oct 12, 2020
Producing good video content takes dedication and hard work.
It means wearing 15 different hats on any given day. And getting through days of reworking a project after client feedback, or trying to learn a new technique, or editing a video around a shot that just didn’t turn out like you wanted.
Every filmmaker, content creator, and marketing video editor knows that struggle all too well. You probably have some hats you really enjoy, and some you really don’t.
One of those hats is color grading. Talk about it in a room of filmmakers and you’ll get a variety of responses — a lot of which will be groans.
Color grading is an important part of editing, but it can slow down production. Maybe you don’t know which program to use, or how to get a particular look, or what you can do to make your editing life easier.
This article won’t give you a magic spell to color grade for you. But it will explain the process, highlight why it’s important, and give you the tips and tools to make it easier for you.

Two Stages Of Coloring
Alright, here’s an important caveat right off the bat: There are two different processes during post-production. So let’s kick this guide off with breaking down color correcting vs. color grading.
Color correcting is just what it sounds like: You take your raw footage and correct it. The goal is to make sure the visuals match real life as closely as possible.
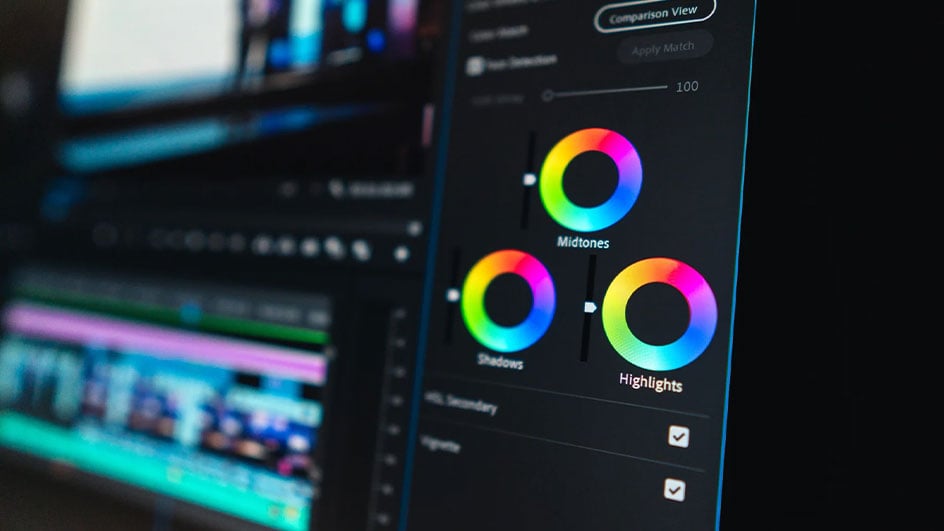
Color grading is less technical and more creative. (It’s typically an editor’s next step after the footage has been color corrected.) Because once you start color grading, you’re taking the corrected footage and transforming it to match your vision.
This process is generally thought of as the period when you get to stamp your own sense of style on the project. Whether you want the gritty texture of Mad Max: Fury Road or a classic 35mm tone, color grading is how you achieve that look and feel.
Why Color Grading Matters
Visual clarity matters. That’s not even remotely debatable, particular for filmmakers and content creators. You want every image in your video to have the right impact, and if you don’t have any control over the color hue, that means you don’t have complete control of the video.
Remember, color can affect the emotional tone and the overall feel of what our eyes see. More importantly, those things have a big influence on how our brains interpret the on-screen visuals.
This is a trick that photographers are using, taking the cinematic “look” we expect from big films and creating powerful still images. Remember, your visual storytelling can be just as impactful as the best script, and you don’t want to miss out on that benefit.
Helpful Tools For Coloring
This topic is a little more complicated to dive into, because choosing software and other tools is all up to you. If you are familiar with one program, then that becomes the obvious choice for what you should use.
If you aren’t familiar with any tools (or maybe want to try a new program in your workflow) then this breakdown should help you get an idea of how coloring works in the most popular video editing programs.
Adobe Premiere Pro
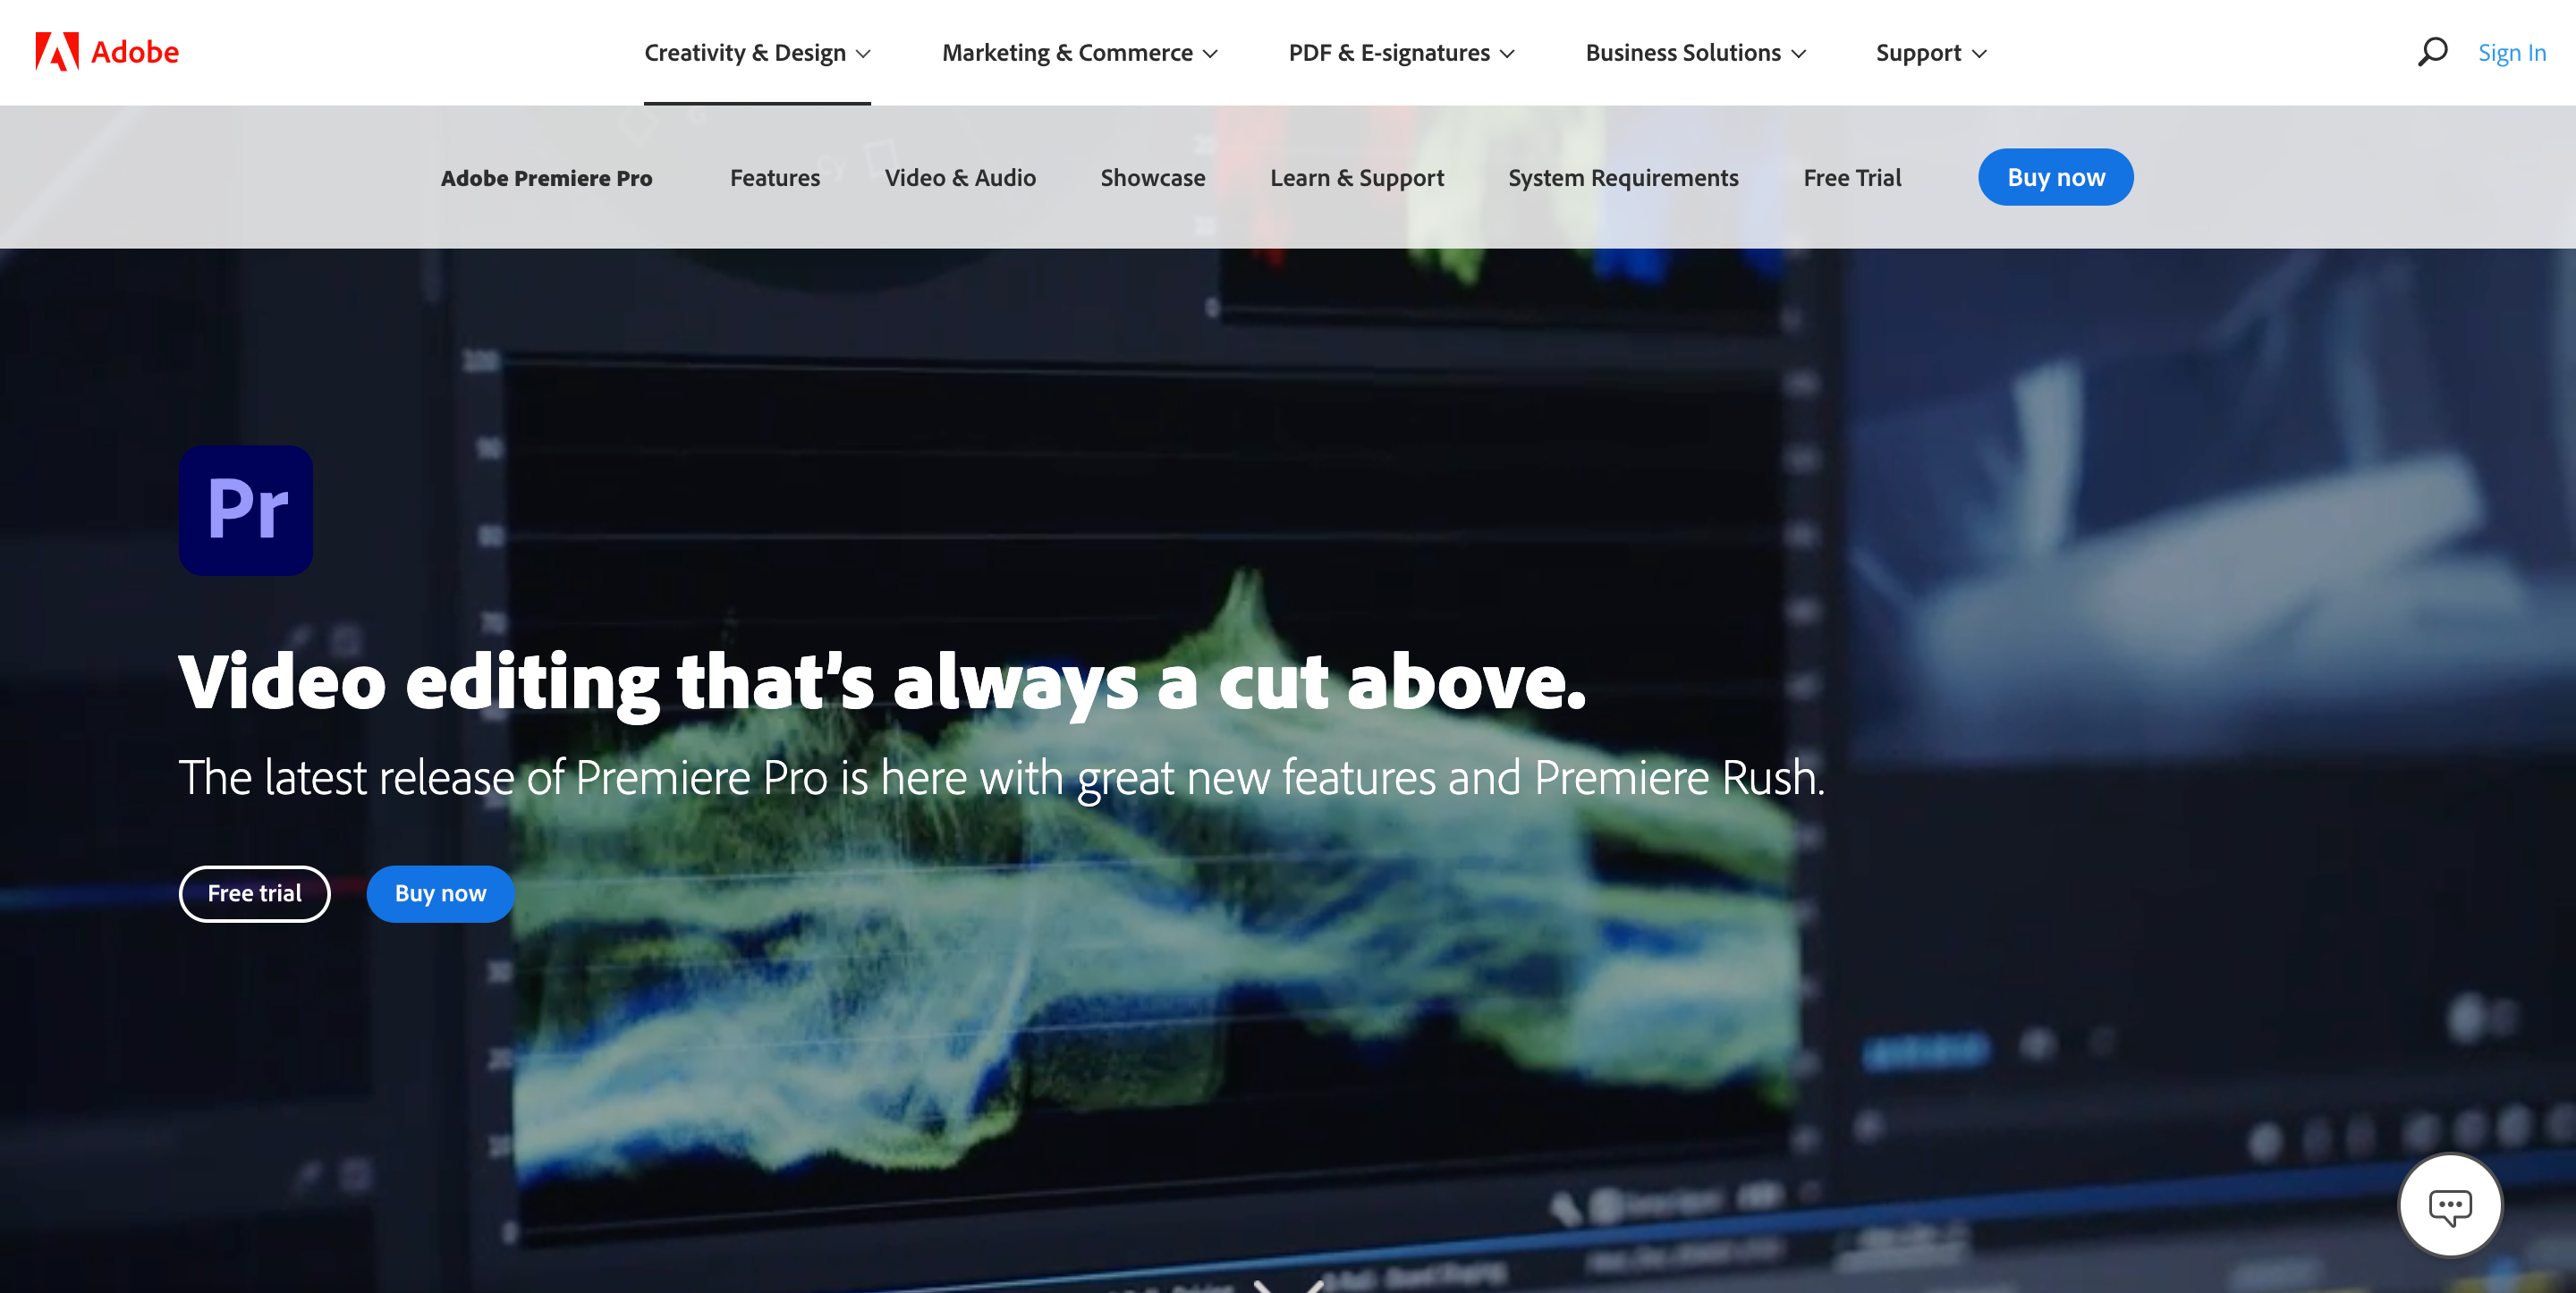
Shocker, I know. But Premiere continues to be the leading video editing software for filmmakers in every corner of the production industry. Heck, even an influx of content creators from a variety of backgrounds hasn’t affected this particular trend.
DaVinci Resolve
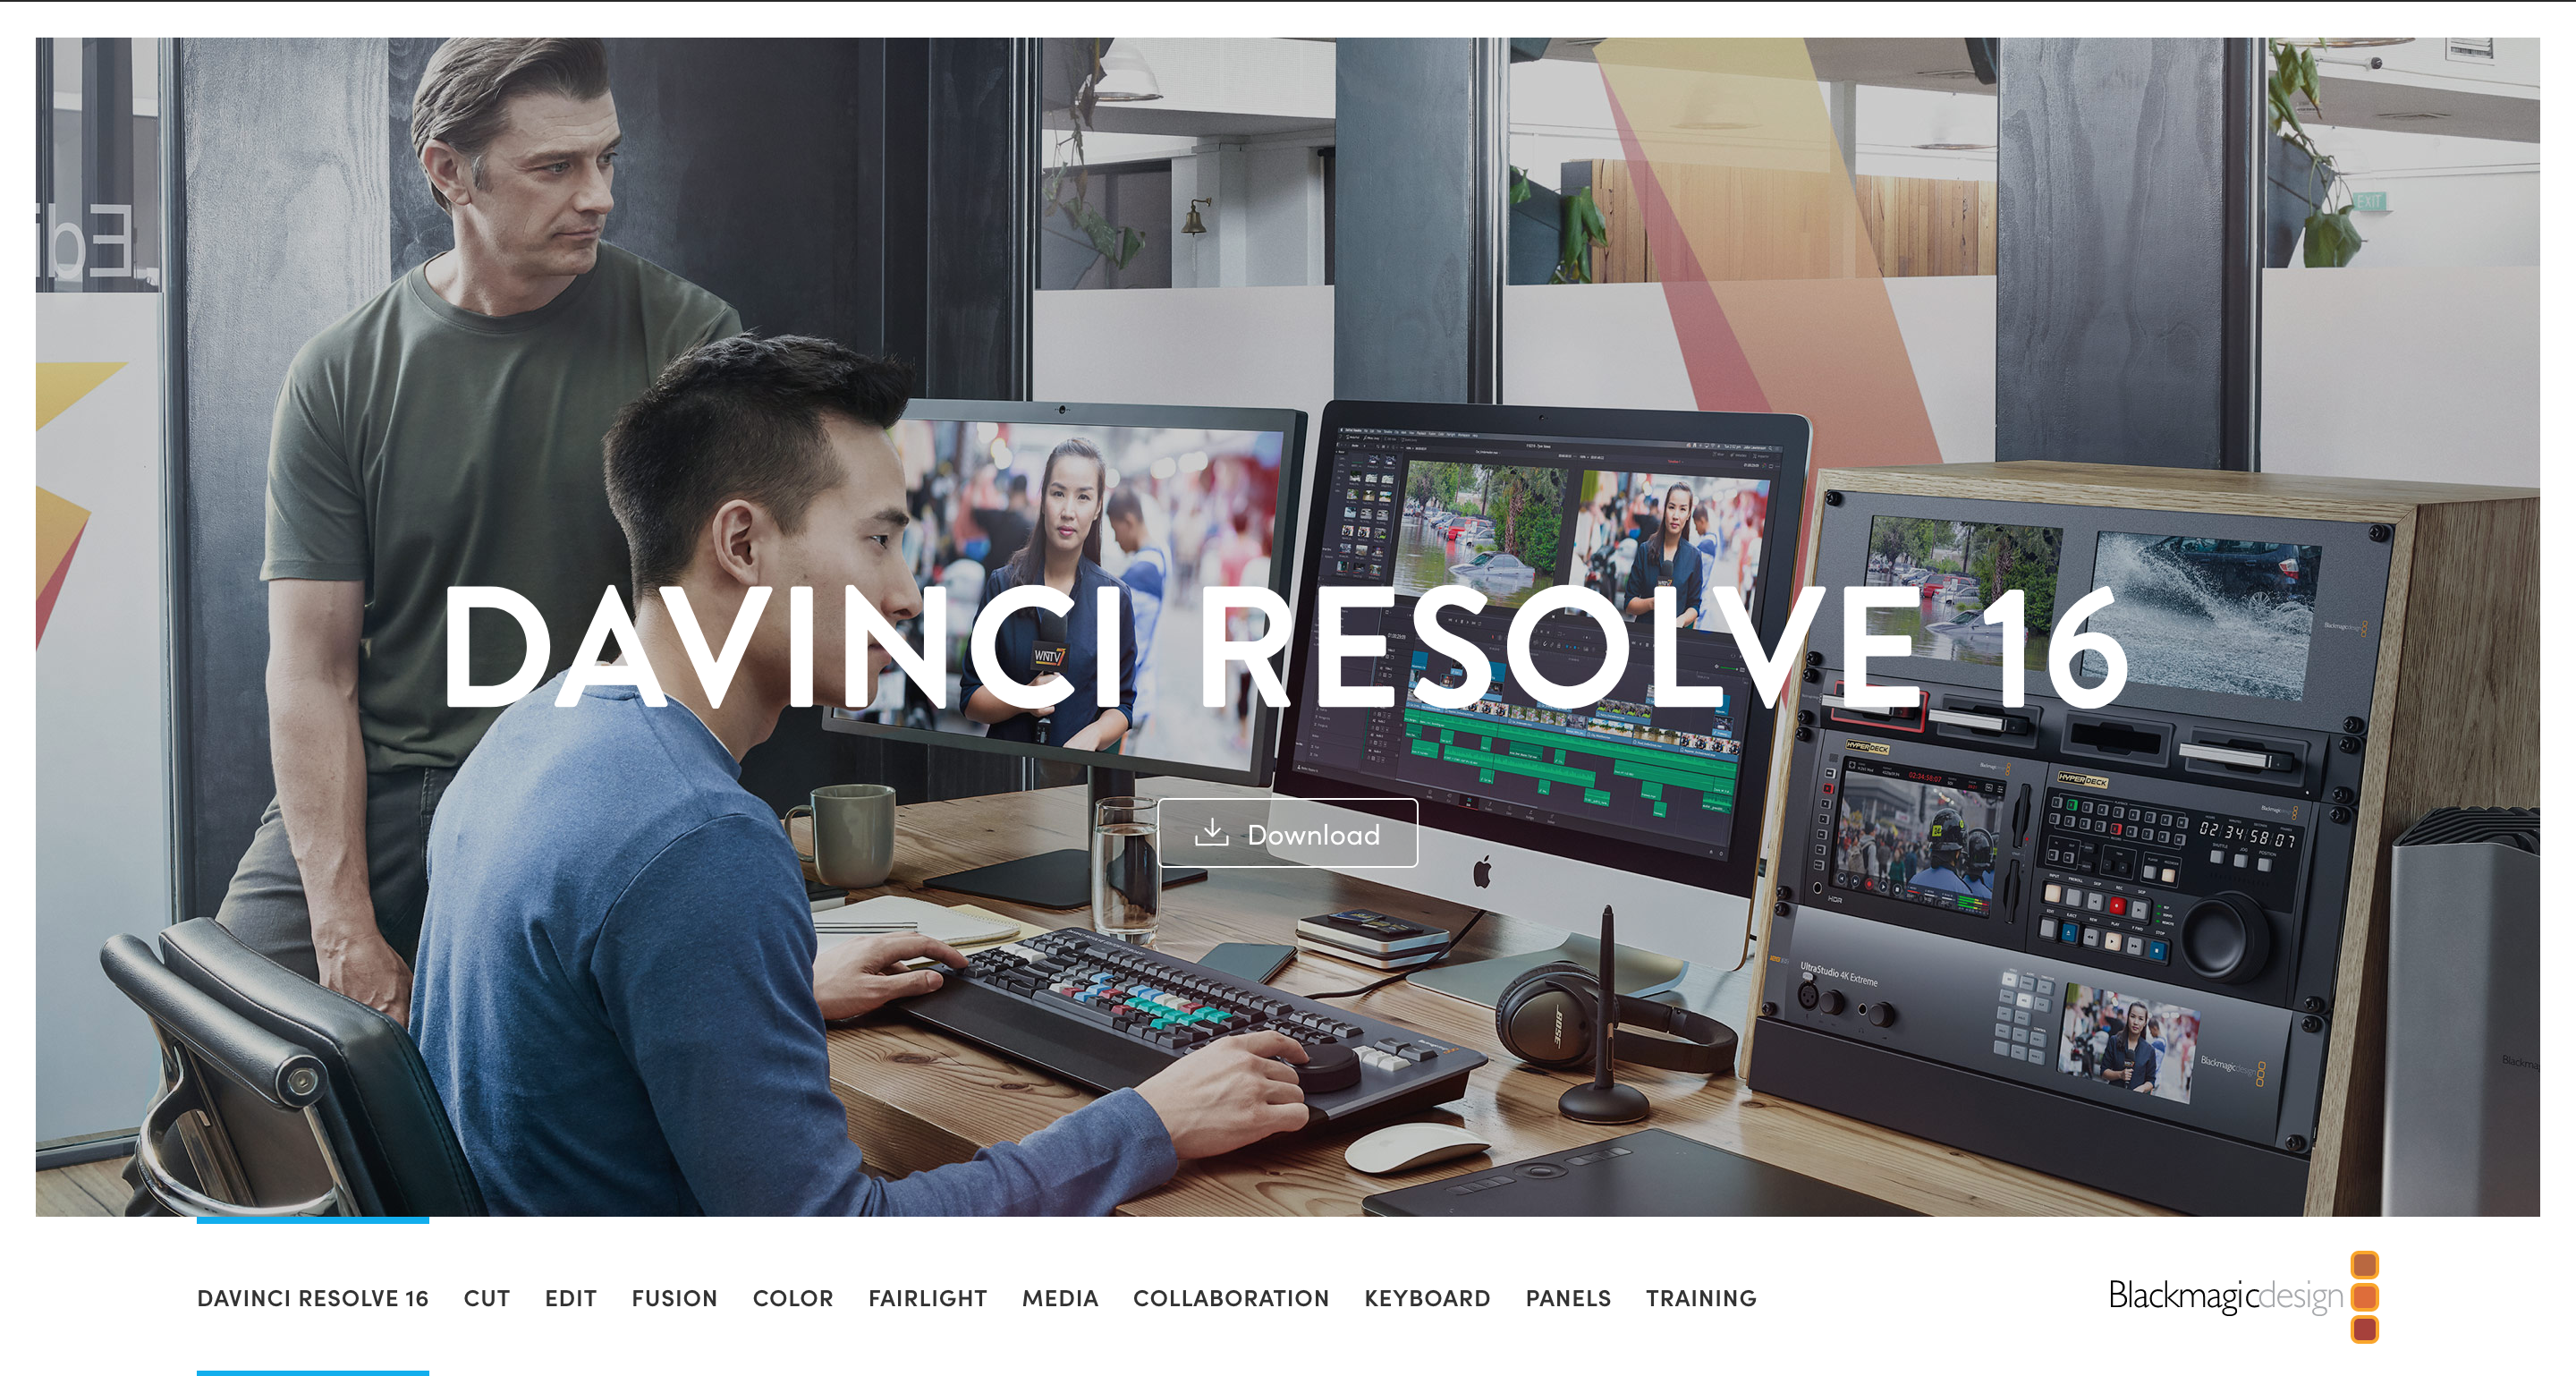
Regardless of how many options exist, the Video Editor Heavyweight Championship continues to focus on Premiere and DaVinci Resolve. The specific differences vary, of course, but a lot of color editors lean towards DaVinci’s specialized coloring suite.
Apple iMovie
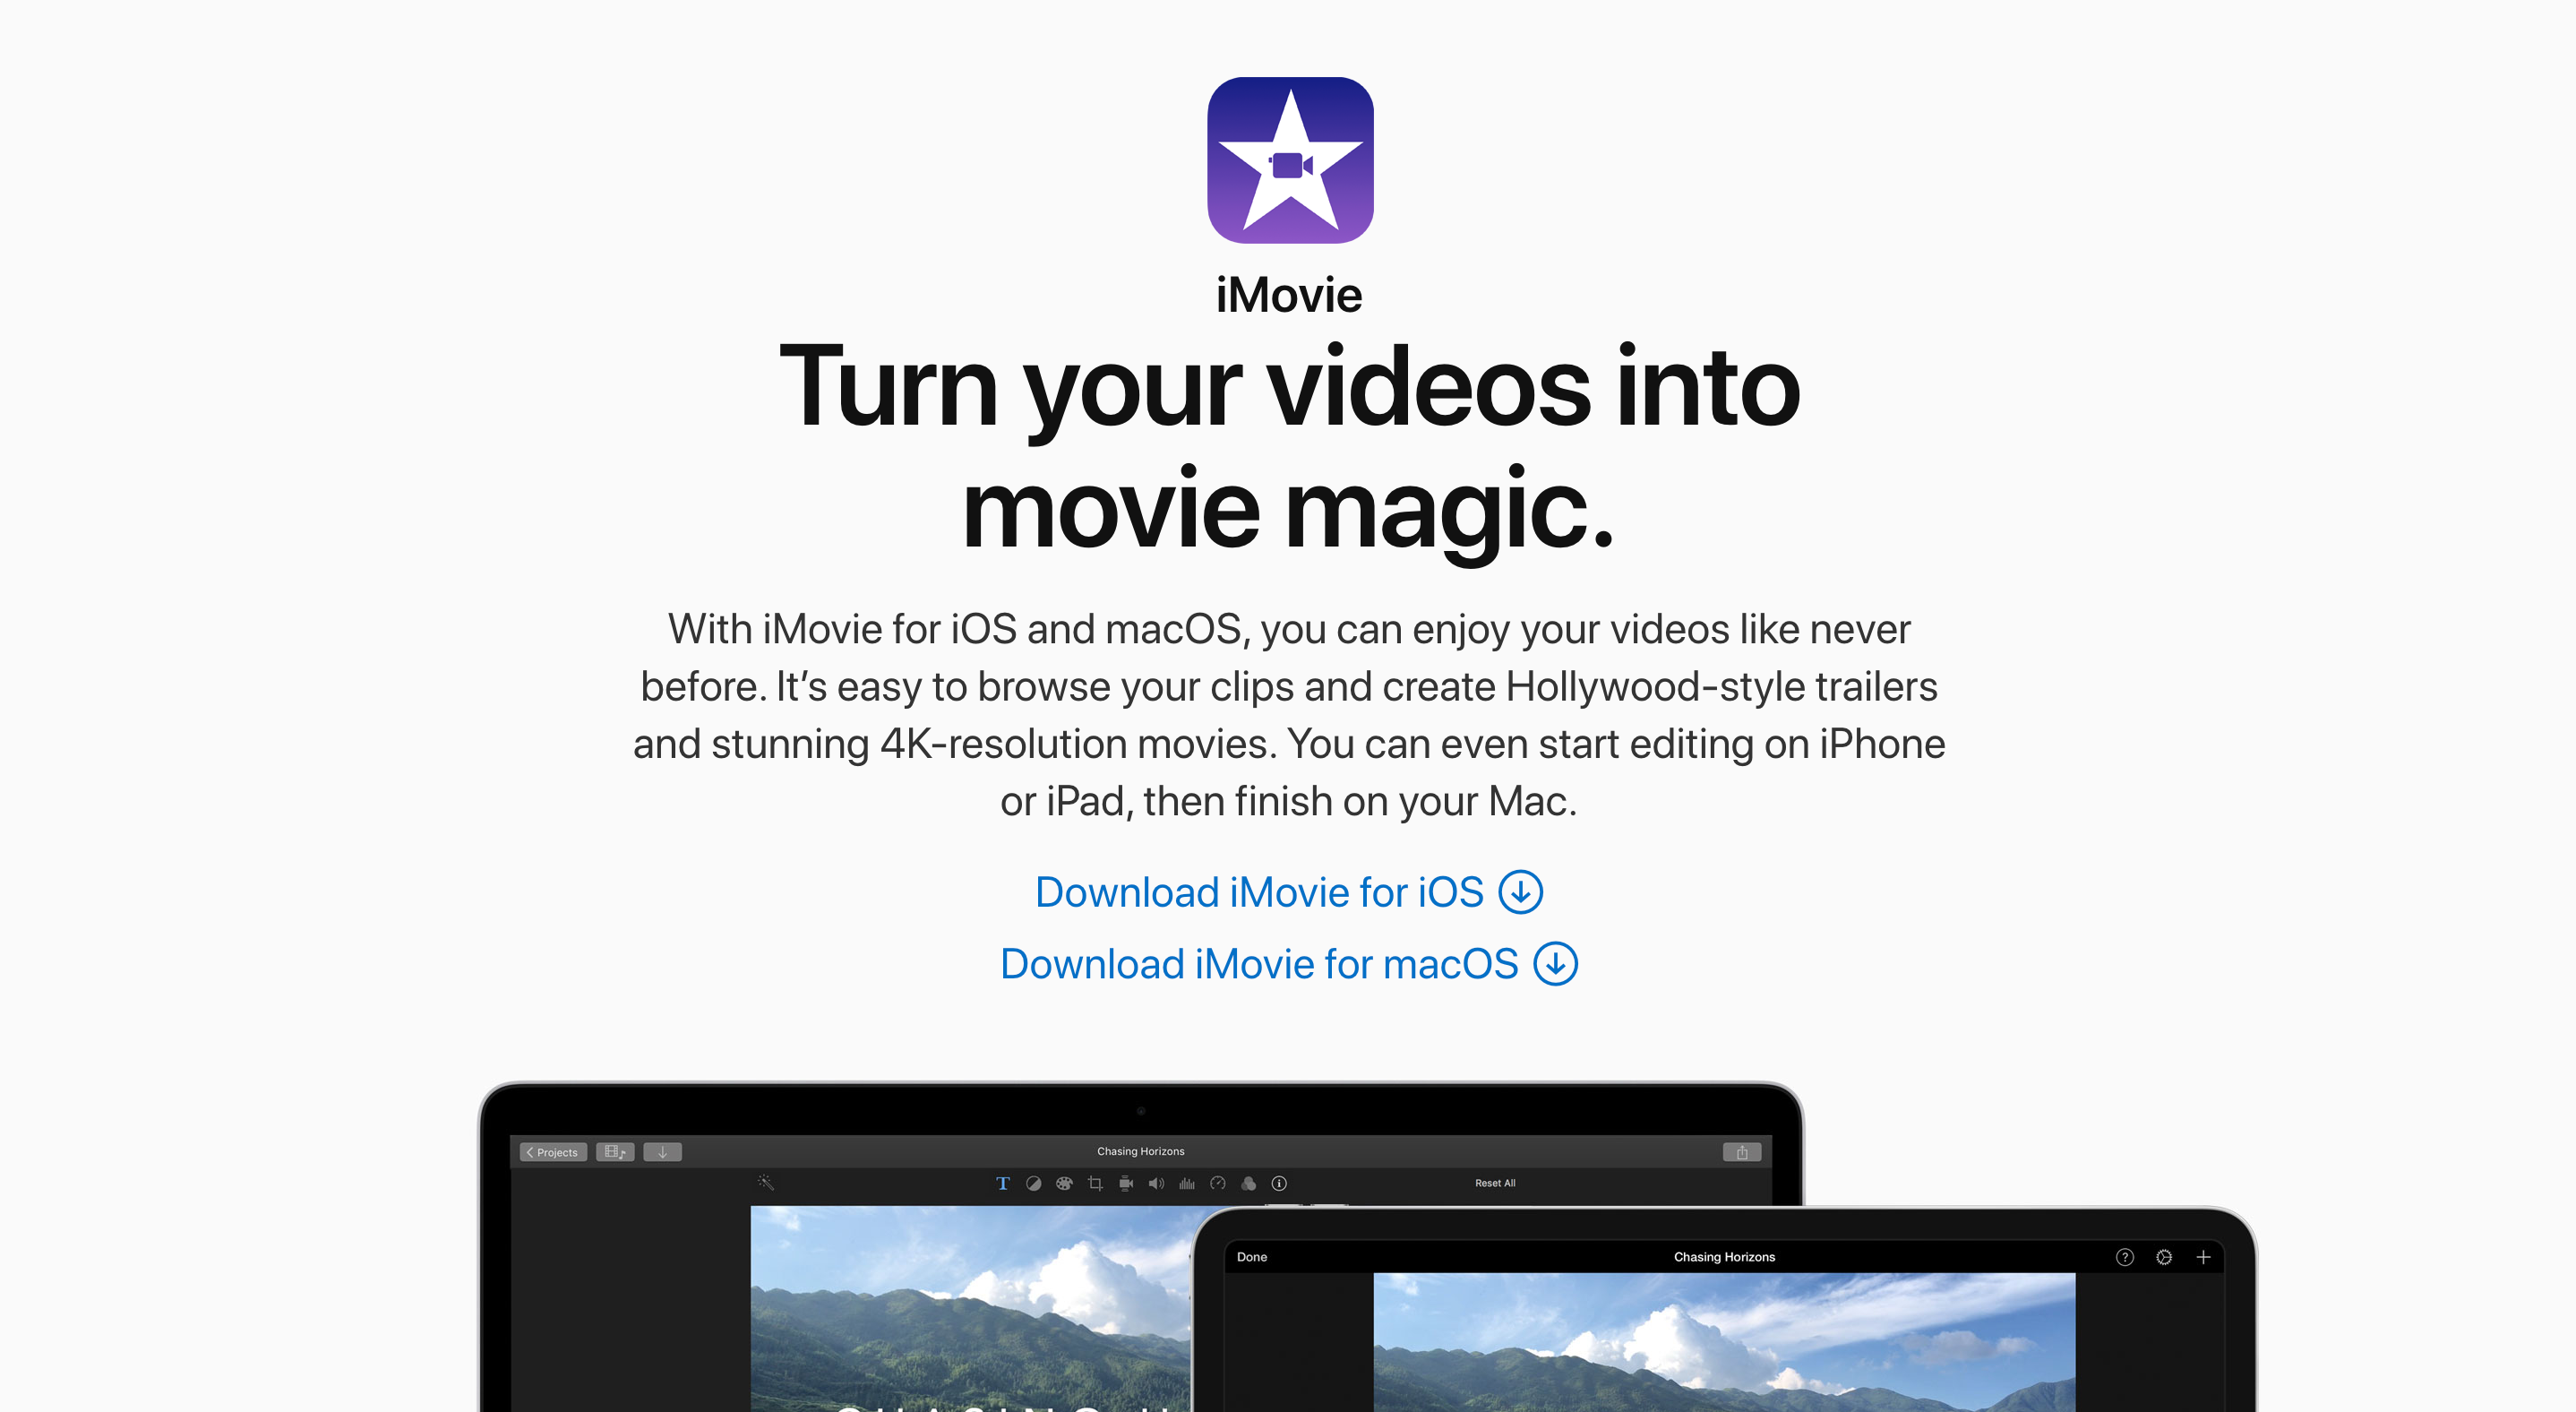
Apple iMovie doesn’t have nearly as big a suite of coloring tools as the other options here. You’ll be able to get in there and adjust the contrast, temperature, and brightness, which should be enough to get you started at least. As an added bonus, iMovie is the most affordable option with a price of “FREE.” (We don’t all have big budgets, after all.)
CyberLink PowerDirector 18
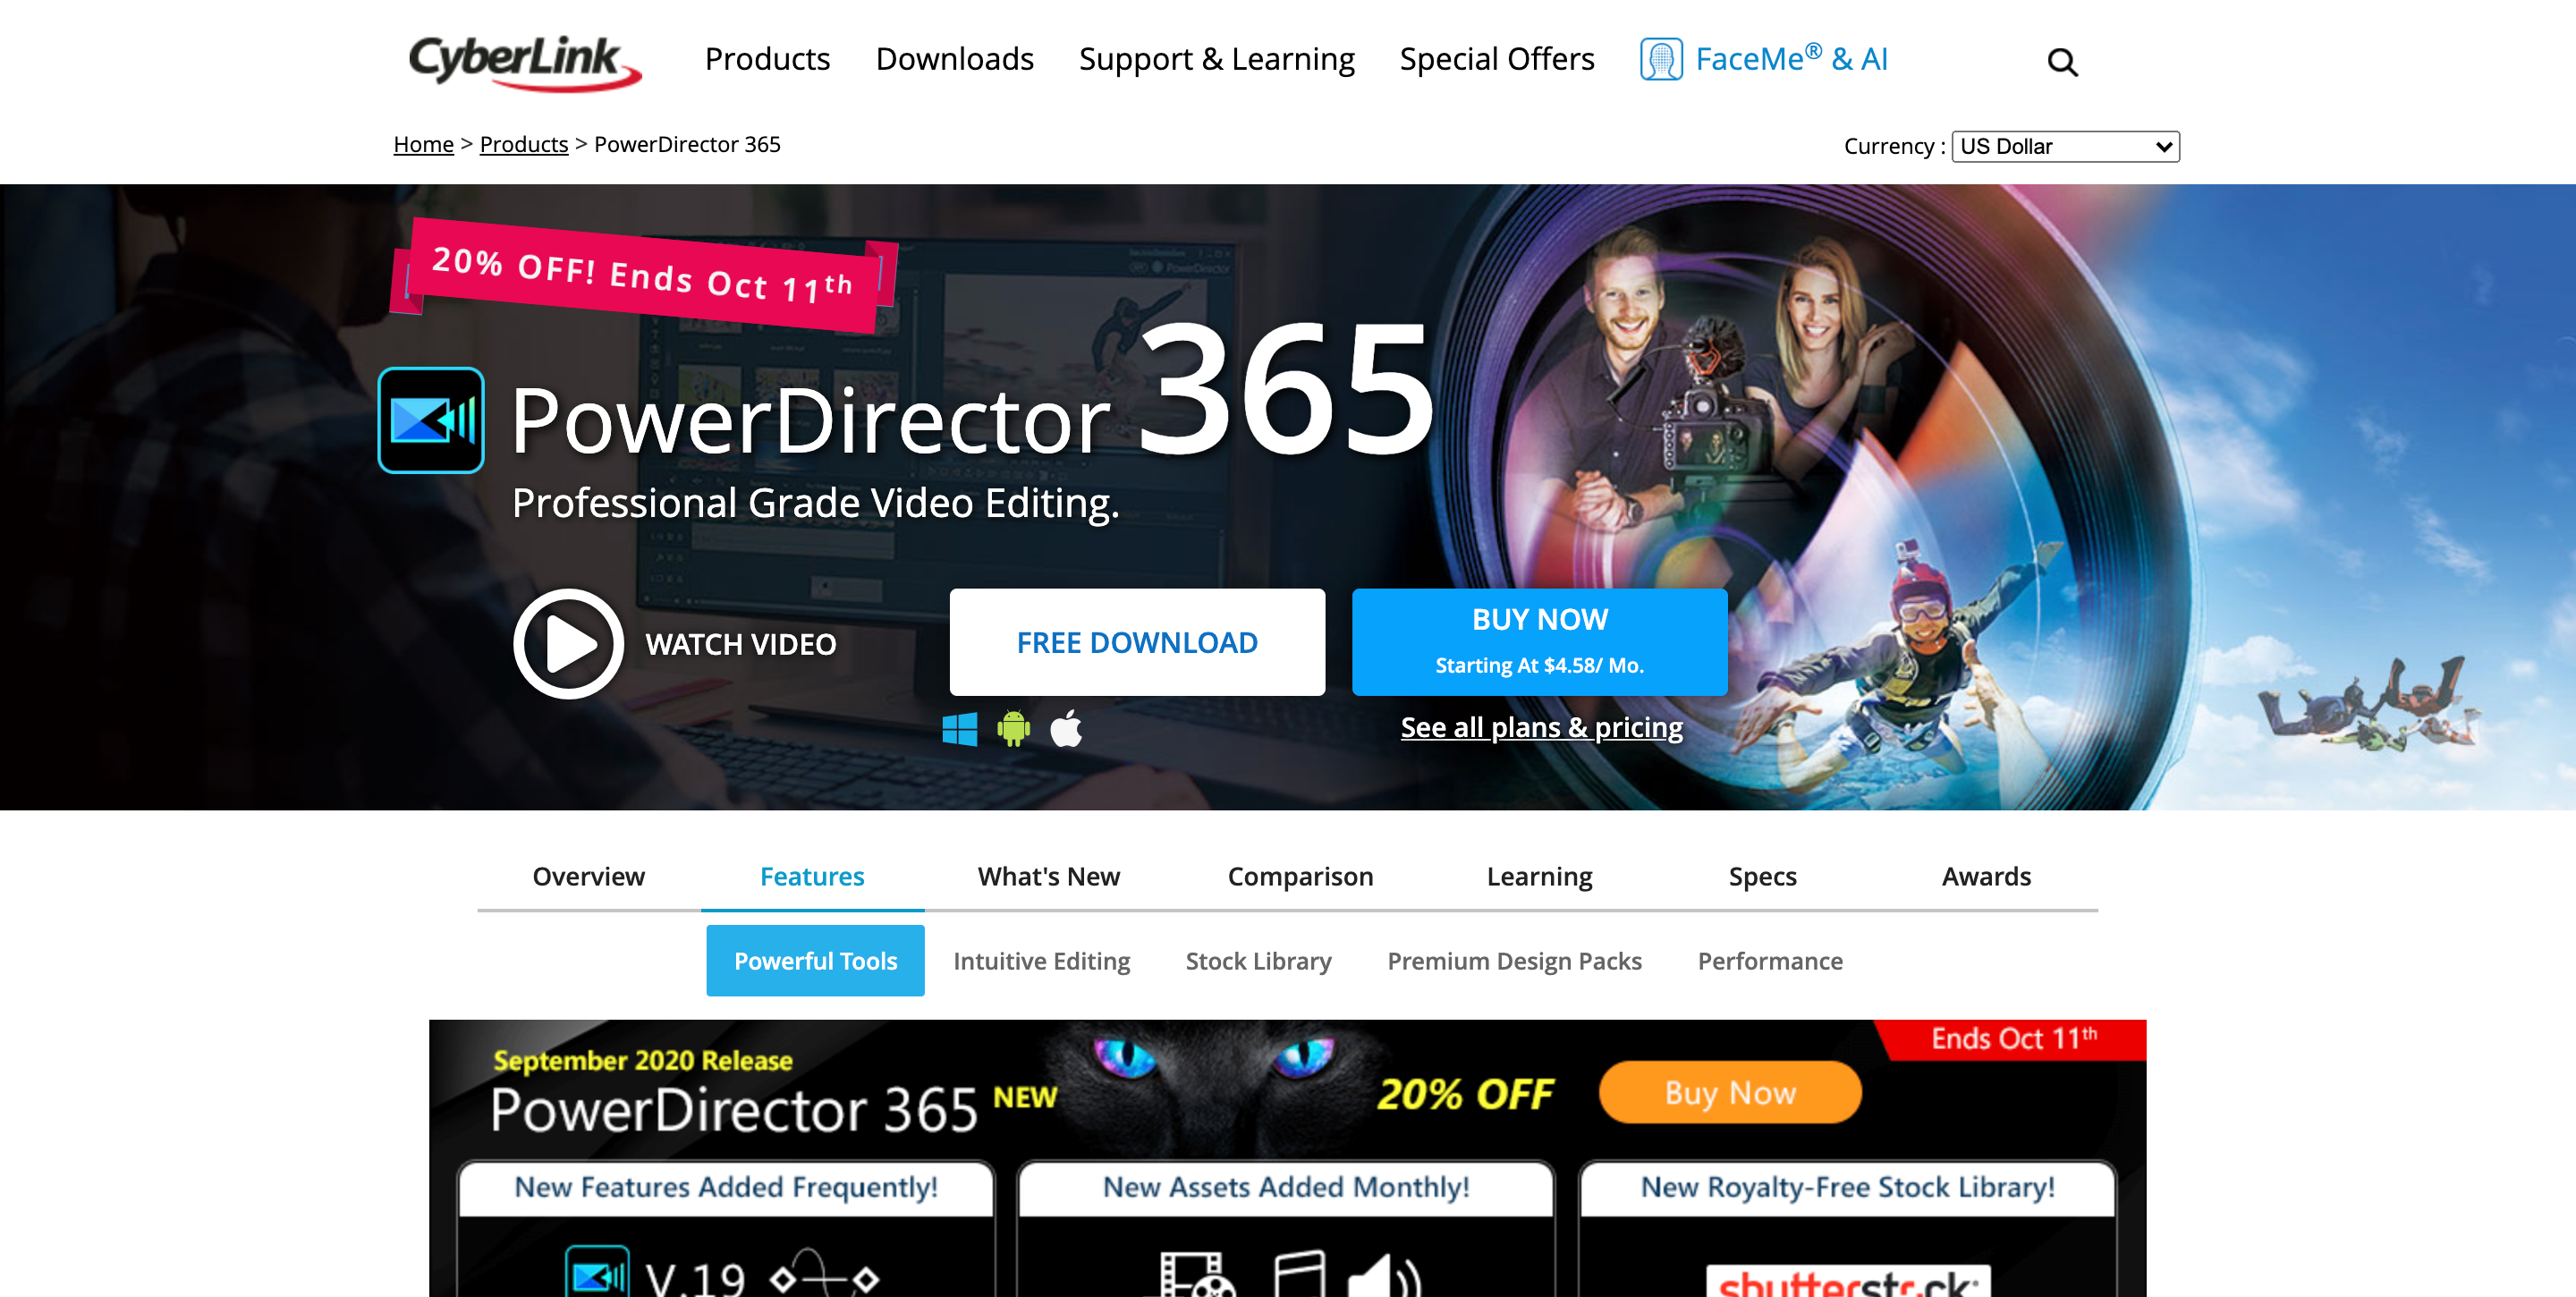
If you’ve never heard of this one, don’t worry — you aren’t alone. PowerDirector 18 is a Windows-only program that caters to new filmmakers who are ready to jump into editing. You’ll find just about every tool or resource you’d get in the more expensive editors, and the user interface is very organized and clean.
One additional tool for coloring is lookup tables, better known as “LUTs.” LUTs can be a technical process, but if you’re looking for ways to simplify color grading, they might be a worthwhile option. You can learn more about LUTs by reading our tutorial, which lives here.
Color Grading In Action
As much as I would love to provide a step-by-step guide to coloring, that would take a few thousand words and quite a few screenshots. My guess is you don’t have the time or the patience for that, especially if you’re already familiar with certain parts of the process.
But they say a picture is worth a thousand words, which means a video tutorial should cover this nicely.
This video is a pretty comprehensive look at a coloring workflow, from editing tools to color correction and finally to color grading. Heck, there’s even a few mentions about LUTs and how to incorporate them into your work.
But as Matti Haapoja said in that video, your personal workflow will look different. Don’t feel like you need to replicate everything in that video step for step.
Filmmaking is a creative activity. Sure, it has its technical parts, but every content creator has a different process for planning, shooting, and editing a video.
So while this guide (and the thousands of YouTube tutorials out there) can teach you about color grading, you don’t have to take any of it as scripture. You are free to discover what works best for you, and use this as a resource to help you get a head start in your journey as an editor.