Jul 5, 2022
Building an in-house creative agency is something that many brands aspire to do, and it makes sense why.
Instead of outsourcing services from a third party, brands can hire a team of professionals who really understand the brand’s identity, are dedicated to the brand’s mission, and give 100% of their attention to one brand instead of, let’s say, a dozen.
As an in-house creative, you thrive in different production settings — whether shooting a product ad, social media campaign, TV commercial, or client project. Ultimately, the focus is always on creating a stellar final product for a brand and its clients.
To create high-quality content on a consistent basis, you have to become a master of lighting setups. And by having a variety of techniques at your disposal, you’ll be able to try new things and still deliver the high quality clients expect from you.
Fortunately, we’ve created this guide to help you do exactly that.
Unless you work exclusively in the same studio for every shoot, your lighting protocol is bound to change from day to day. Let’s break that down with a hypothetical scenario.
If you were filming a product shoot at an outdoor location, your lighting needs would be much different than if you were filming in a small windowless studio. For one, natural lighting would be your main light source, so you’d focus on shaping the ambient light instead of setting up more lights.
In this situation, you might rely more on tools like reflectors and bounce boards to reduce harsh glares and get evenly spread light. But in the windowless studio, you might rely more on lighting equipment since it's a controlled environment with no natural light coming in.
This is all to say that the perfect lighting setup is subjective. As long as you know the basic lighting setups, you can hand-select the ones that work best for you at any given time. It’s a choose-your-own-adventure process, in other words.
So without further ado, let’s take a closer look at how you can make the most out of different lighting techniques when shooting in studio and non-studio environments.
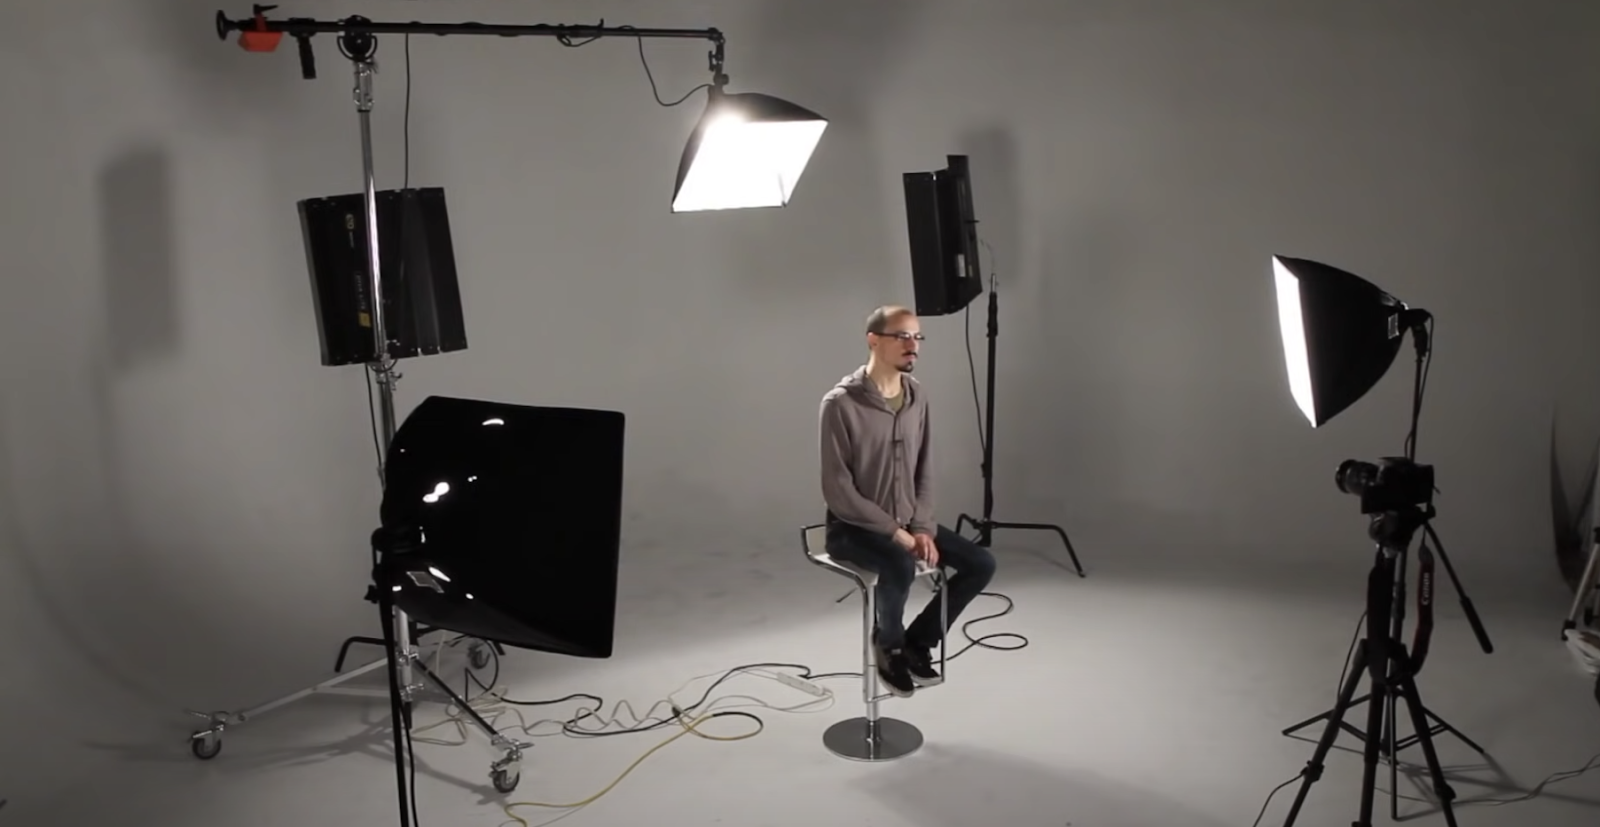
A three-point lighting setup is the Holy Grail of lighting setups, especially in studio settings. Traditionally, this setup consists of a key light, fill light, and back light (or overhead light), which you can see in the image above from YouTuber DiCasaFilm’s tutorial.
The key light is the main light source in this trio (pictured far right). By itself, this light can create harsh shadows on one side of the subject’s face. To counteract this effect, a fill light is set up (pictured far left) to reduce the shadow and add soft lighting.
A back light is placed above the subject as a way to create a more even spread of light and also add more separation between the subject and the background.
As you might’ve already experienced, this type of setup isn’t always easy to recreate in non-studio settings or large filming locations. And it’s not especially practical if you need to move around your equipment during a shoot.
The good news is that you can get inventive. For example, when shooting outdoors, the sun could be your source of high key lighting and reflectors could be used to create that fill lighting and overhead lighting effect.
Three-point lighting is one of the most effective and basic lighting techniques, but it’s not your only option. There are other ways to get great-quality lighting, even if you’re dealing with poor lighting conditions like unpleasant ambient light. Going forward in this guide, we’ll explain how.
Image source: Three lighting tutorials for YouTube
No matter where a shoot takes place, odds are that ambient light is already present. And that’s because ambient light is by definition any light source that you didn’t personally set up on location.
This could be overhead tungsten lights, natural light coming through a window, pre-existing lamps, candles, you name it.
Ambient lighting isn’t inherently bad, but the trouble comes when different ambient light sources have different color temperatures — which offsets the white balance of the shot. Here are some techniques you can use when working with ambient lighting:
(If you want even more tips and tricks for working with ambient light, check out this blog post.)
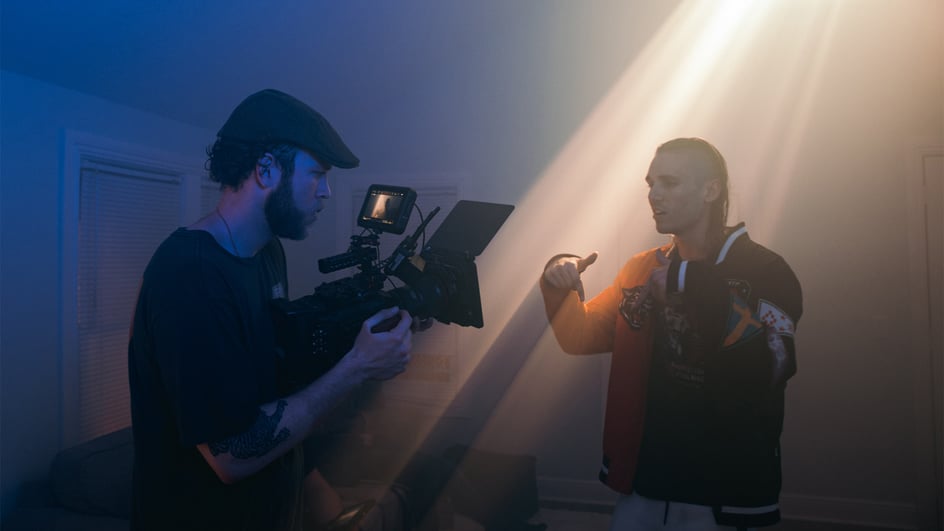
As far as lighting techniques go, motivated lighting is one of the most important (and fun) techniques to master.
For some context, a motivated light is an out-of-frame light source that enhances the lighting in a shot. From a viewer’s perspective, the light seems to come from a practical light source like a lamp, window, etc.
In the video above, Heather from Fellow Filmmaker shares how she rigged her motivated lighting setup by using a key light, an old reading light with color gels, black foam boards, handheld pocket RGB lights, and more.
Like Heather, you can take advantage of the materials and resources around you to set up and diffuse your motivated lights during a shoot. This type of lighting setup is achieved with some trial-and-error, so experiment with different techniques and see what works best.

Softbox lighting can be a type of motivated lighting that you create by placing — drumroll please — softboxes over a light source.
One of the main reasons that this type of lighting is so ideal for in-house creatives is that it does two things at once: It emits and diffuses light at the same time.
So if you’re shooting a social media video ad by yourself and don’t have extra hands to spare, you can set up a softbox light and a reflector stand (for bounce lighting purposes) to get good lighting for your footage.
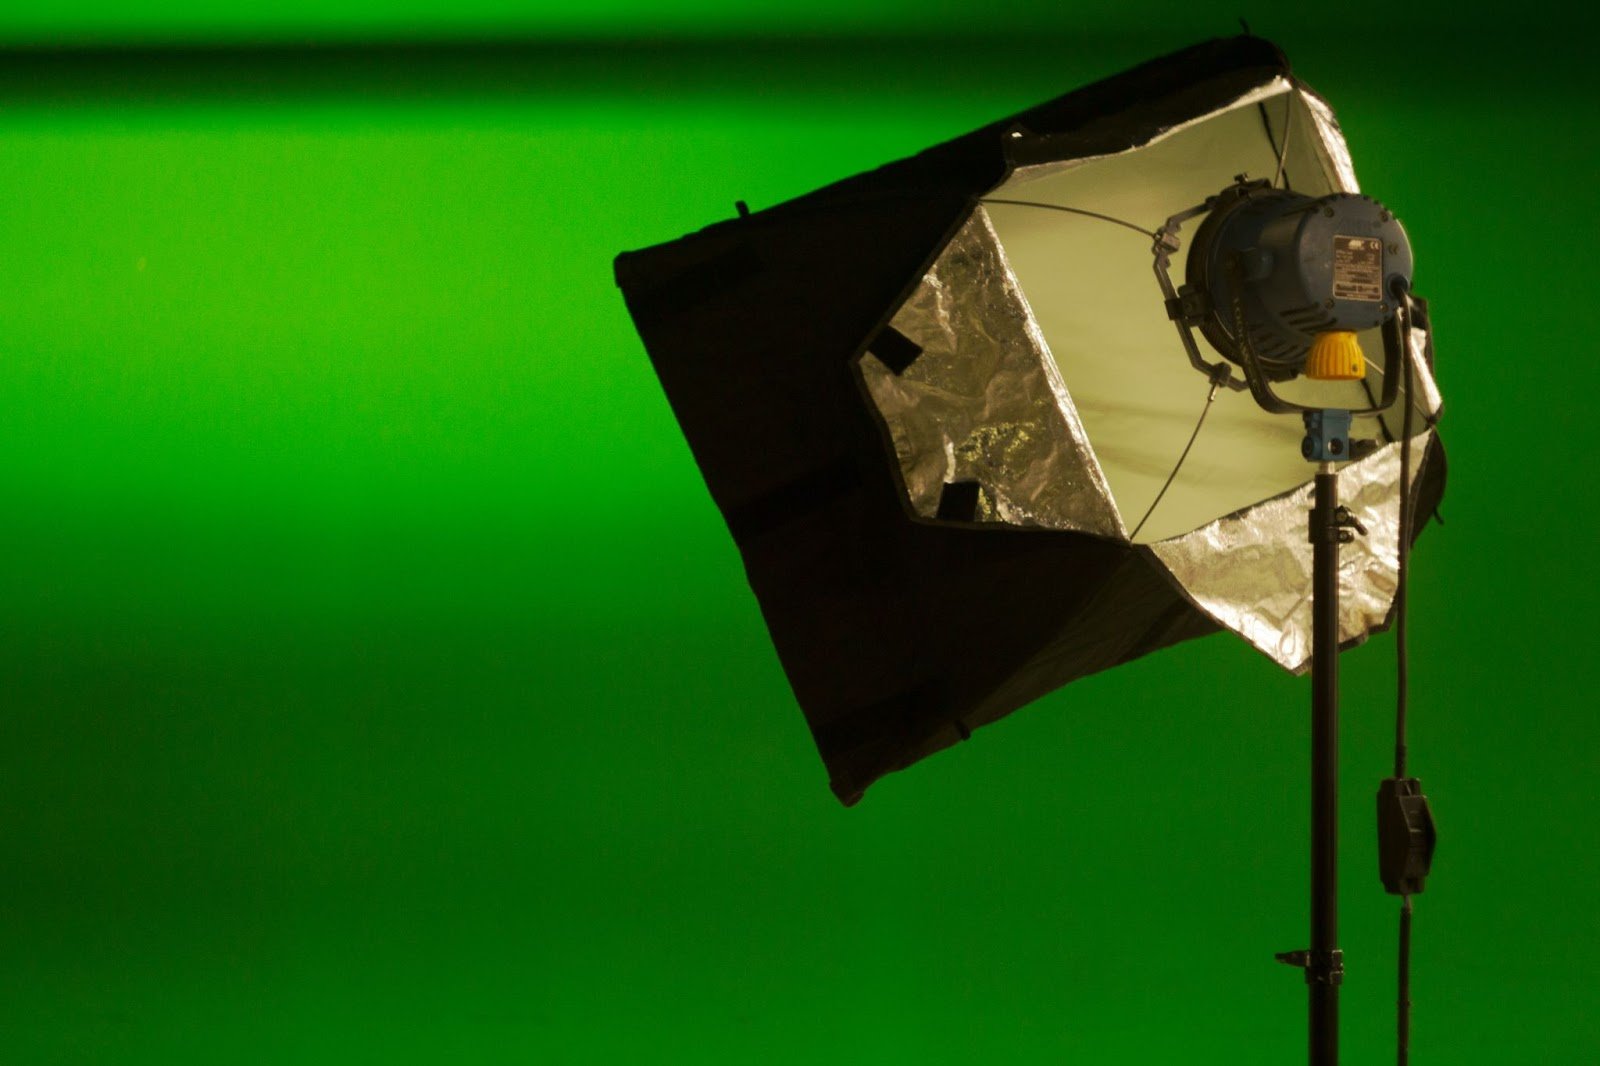
There are a ton of softbox lighting kits on the market, but you also have the option to make your own softbox. Soundstripe’s own creative team did this when shooting the music video for GLASWING’s “Like Water On A Glass Table.” (Peek the softbox light in the image above.)
If you’re curious, here was our technique for building a softbox:
(To learn more about this process, check out this video.)
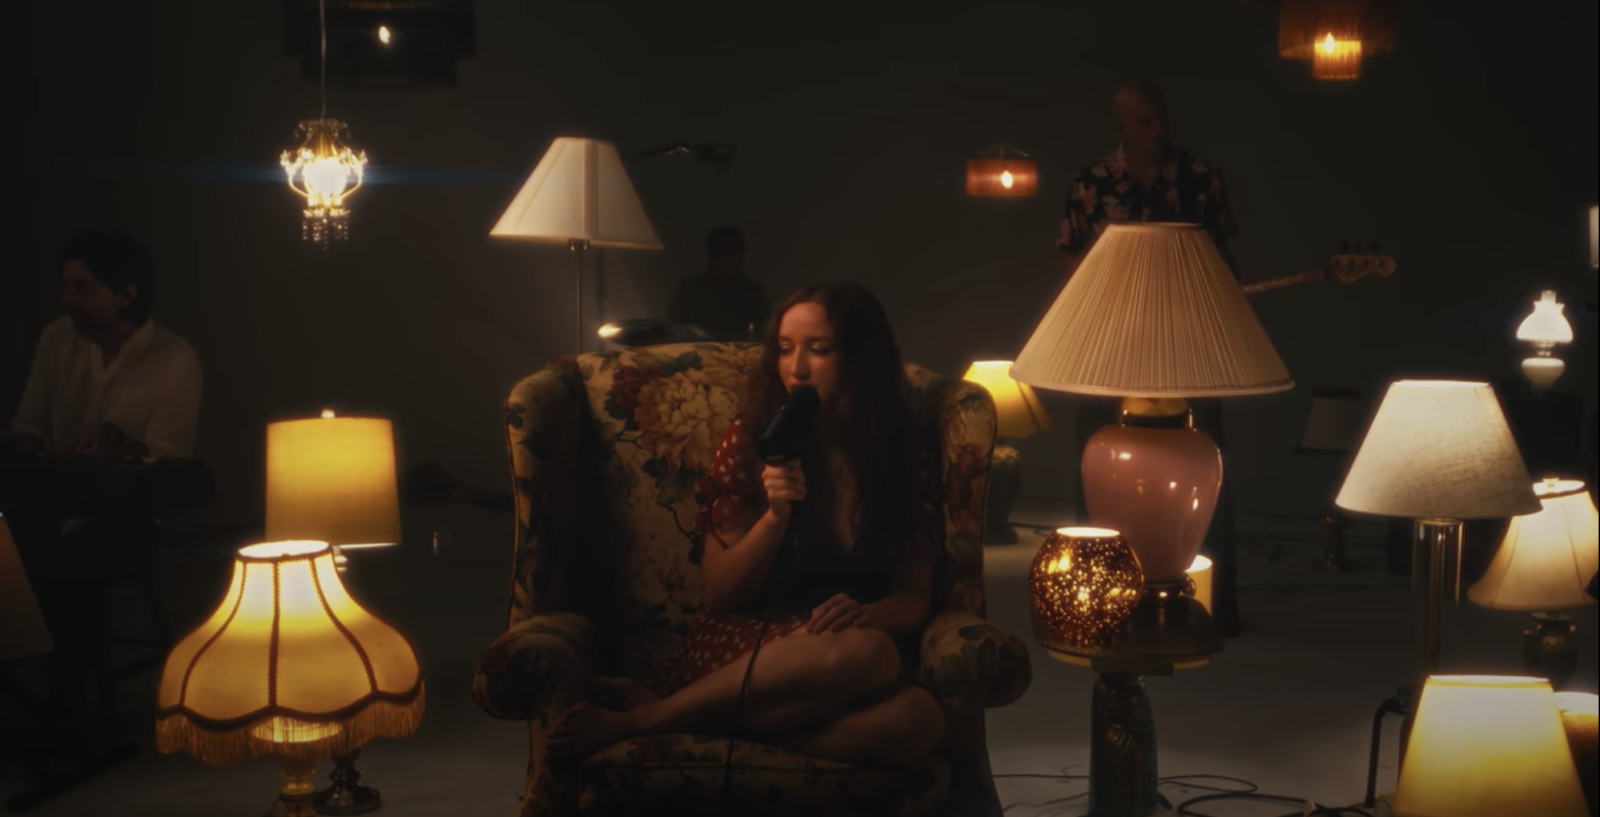
Whether you’re shooting a product advertisement, client video, or other project, practical lighting comes into play anytime there are light sources visible in-frame. This still from Jessie Villa’s live performance video is a prime example of this technique in action.
In this shot, practical lights in the form of lamps, candles, and overhead lights are scattered throughout the room. These light sources give off their own light and — with the help of motivated lights — give off the impression that there were no other lights at work during production.
Practical lights serve a logical purpose, but also a thematic one. Like the example above, this type of lighting can set the mood and tone for a project in a subtle but effective way.
Green screens are an in-house creative’s best friend — especially if you have a few chroma keying, compositing, and visual effects tricks up your sleeve. But before you can show off your post-production skills, you have to invest in a good lighting setup for production.
Just like with softbox lighting, you can make your own DIY setup for green screen lighting if you don’t want to buy a rig elsewhere. Once you’ve acquired a green screen, you can then use a three-point lighting setup (or a couple of softboxes) to get an even spread of light on the screen.
(If you’re looking for an even more in-depth breakdown of green screen lighting, here’s a blog post on the topic.)
Even though lighting techniques serve logistical and practical purposes during a shoot, they can also be used creatively for aesthetic and thematic purposes. One such example is the Chiaroscuro lighting technique.
To achieve Chiaroscuro lighting, you need to pay close attention to how you position your light sources and bounce light onto a surface. This signature effect is made by contrasting bright light and dark shadows on a face, object, or setting.
(For more information about this lighting technique, check out this blog post.)
Hopefully, the lighting tips and tricks outlined in this guide will be useful when navigating different filming environments as an in-house creative. By understanding the basics of lighting, you can apply these techniques in new ways and create lighting setups that work best for your workflow.
If you’re interested in honing more of your production skills, these articles from the Soundstripe blog can be a great launching point for you:

Have questions? Give us a call
855.224.0847
© 2024 Soundstripe Inc. All rights reserved.
Built by Creators.

